

Most american tractor owners know that even a small accessory upgrade can make a big difference in performance and safety. With over 2 million tractors in use across american farms, proper maintenance and installation of new parts play a vital role in keeping equipment reliable and ready for any job. This step by step guide helps you approach tractor accessory replacement with confidence by focusing on practical tools, proven techniques, and essential safety tips.
Table of Contents
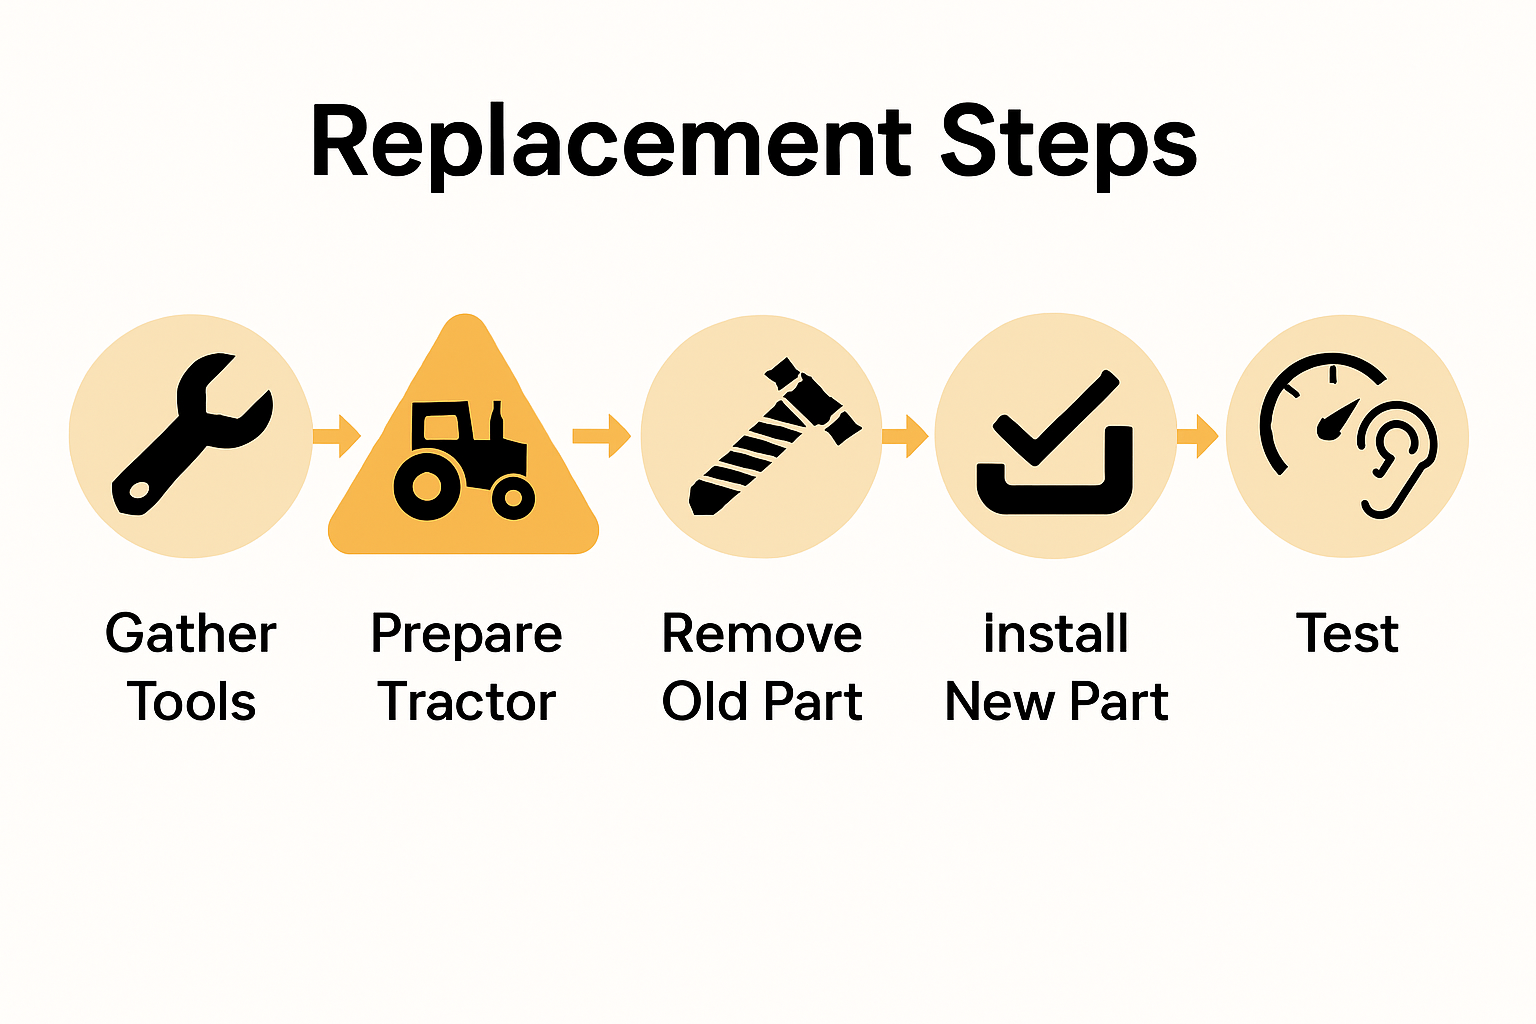
- Step 1: Gather Required Tools and New Accessories
- Step 2: Prepare Tractor for Safe Replacement
- Step 3: Remove Old or Damaged Accessories
- Step 4: Install New Tractor Accessories Carefully
- Step 5: Inspect and Test Installed Accessories
Quick Summary
| Key Point | Explanation |
|---|---|
| 1. Gather tools and parts first | Collect all necessary tools and replacement accessories before starting to minimize downtime and complications during repairs. |
| 2. Ensure safe tractor positioning | Position the tractor on level ground, engage the parking brake, and disconnect the battery to create a secure work environment. |
| 3. Remove old accessories carefully | Inspect and remove old accessories systematically to avoid damage and prepare for the new installation while labeling components for reference. |
| 4. Install new parts with precision | Align new accessories according to the original configuration and use a torque wrench to ensure correct fastening for optimal performance. |
| 5. Conduct thorough inspections and tests | Perform visual checks and functional tests after installation to ensure all new components work correctly and safely under various conditions. |
Step 1: Gather Required Tools and New Accessories
Before replacing your tractor accessories, strategic preparation makes the entire process smoother and safer. You’ll want to assemble all necessary tools and replacement parts beforehand to minimize downtime and prevent unnecessary complications during the repair.
Start by consulting your tractor’s service manual to identify specific tools required for the job. Typically, you’ll need a comprehensive socket set, adjustable wrenches, torque wrench, safety gloves, and potentially specialized mounting hardware. When selecting replacement accessories, follow manufacturer instructions carefully to ensure proper fit and safety. This means using only manufacturer approved mounting points and avoiding improvised attachment methods.
Pro Tip: Organize your tools and accessories on a clean, flat surface before beginning work. Group similar tools together and lay out replacement parts systematically to streamline your workflow.
Plan to allocate approximately 30-45 minutes for gathering and organizing your tools. Having everything prepared in advance will help you work efficiently and reduce the chance of interruptions once you start the replacement process. Your next step will involve carefully inspecting the existing accessories and preparing the tractor for removal.
Step 2: Prepare Tractor for Safe Replacement
Preparing your tractor for safe accessory replacement requires careful attention to positioning, power management, and workspace setup. Your primary goal in this step is to create a secure environment that minimizes potential risks and ensures smooth equipment maintenance.
Positioning your tractor on level ground is crucial before beginning any replacement work. Engage the parking brake, turn off the engine completely, and lower any attached implements to create stability. Disconnect the battery to prevent any unexpected electrical engagement during your work process. Make sure you have adequate lighting and a clean, dry workspace that provides enough room to maneuver and access the components you’ll be replacing.
Pro Tip: Always keep a fire extinguisher nearby and wear protective gloves and safety glasses during tractor maintenance to minimize potential injury risks.
Carefully inspect the area around your tractor for any potential hazards like loose tools, uneven ground, or obstacles that could interfere with your work. By taking these preparatory steps, you’ll create a safe and efficient environment for replacing your tractor accessories. Your next step will involve carefully removing the existing accessories and preparing for the new installation.
Step 3: Remove Old or Damaged Accessories
Removing old or damaged tractor accessories requires precision, patience, and careful technique. This step is critical for ensuring a smooth transition between your current and replacement equipment, minimizing potential damage to your tractor’s mounting points and structural integrity.
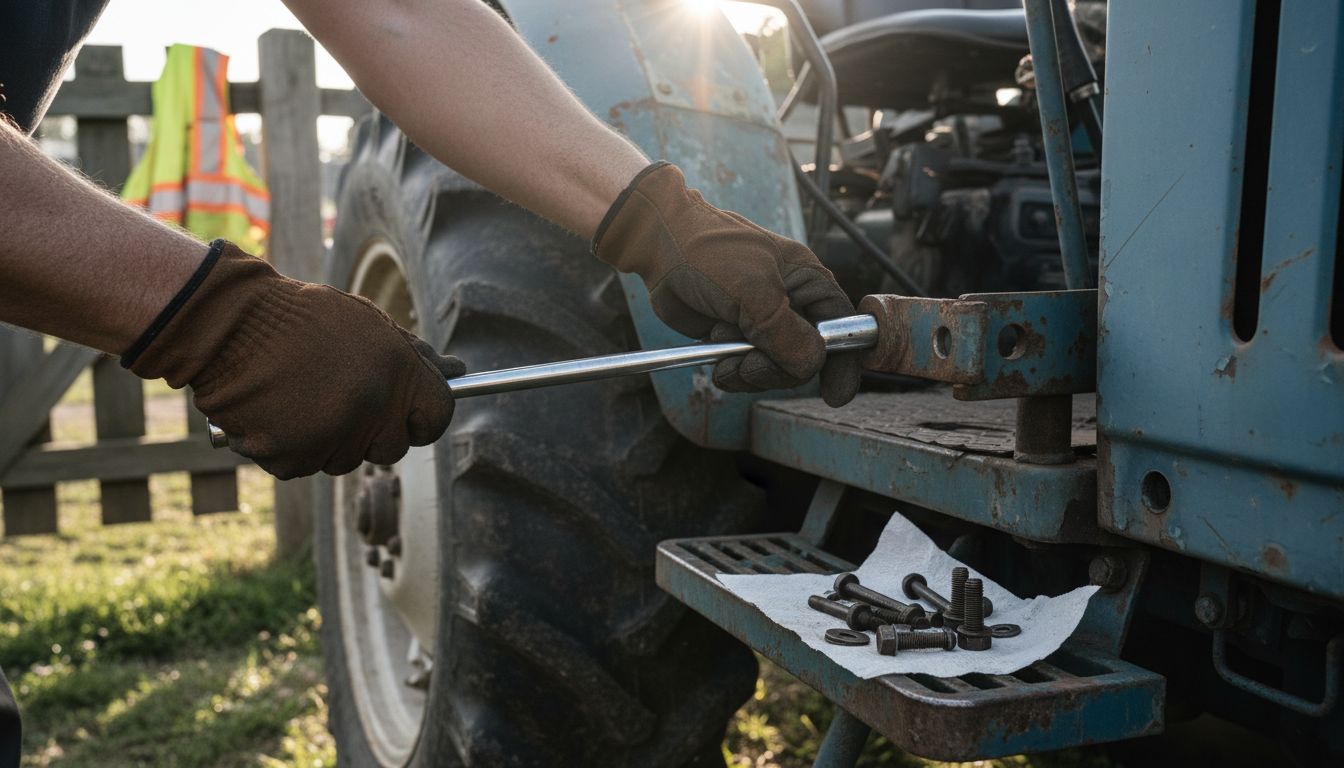
Begin by carefully inspecting the existing accessories and identifying all connection points. Ensure all implements are properly secured and stationary before attempting removal. Use appropriate wrenches and socket sets matched to the specific mounting hardware. Work systematically from one connection point to another, applying steady and controlled pressure to loosen bolts and fasteners. Pay close attention to any signs of rust or corrosion that might complicate the removal process.
Pro Tip: Apply penetrating lubricant to stubborn bolts 15 minutes before removal to help reduce resistance and prevent potential threading damage.
As you remove each component, organize and label the hardware to assist with future reinstallation or comparison with new accessories. Take photographs of the original mounting configuration if you want an additional reference point. Your careful approach during this removal stage sets the foundation for a successful accessory replacement. The next step will involve preparing the mounting surfaces and inspecting them for any potential wear or damage before installing your new tractor accessories.
Step 4: Install New Tractor Accessories Carefully
Installing new tractor accessories demands precision, attention to detail, and a methodical approach to ensure optimal performance and safety. Your goal is to seamlessly integrate the new components with your existing tractor infrastructure while maintaining manufacturer specifications and equipment integrity.
Begin by thoroughly comparing the new accessories with your previous installation notes and photographs. Carefully align each mounting point, ensuring perfect correspondence with the original configuration. Check that all connection surfaces are clean, free from rust or debris, and properly prepared for the new installation. Apply a light coating of anti seize lubricant to bolts and connection points to prevent future corrosion and facilitate smoother mechanical interactions.
Pro Tip: Use a torque wrench with manufacturer recommended specifications to ensure each fastener is tightened to the precise tension required for optimal performance and safety.
Proceed slowly and systematically, verifying alignment and connection integrity at each stage of the installation. Double check that all accessories are seated correctly and that no additional adjustments are required. Your meticulous approach during this installation phase will directly impact the long term reliability and functionality of your tractor. The final step will involve conducting a comprehensive system check and test to confirm proper accessory integration.
Step 5: Inspect and Test Installed Accessories
The final stage of replacing tractor accessories involves a comprehensive inspection and testing process to ensure your new components are functioning safely and effectively. Your goal is to validate the installation and confirm that every mounted accessory meets performance and safety standards.
Begin with a visual inspection of each newly installed accessory, checking for proper alignment, secure fastening, and absence of any visible damage or misalignment. Carefully move each component through its full range of motion to verify smooth operation and identify any potential friction points or mechanical resistance. Pay close attention to connection points, looking for any signs of uneven wear, loose bolts, or unexpected movement that might indicate improper installation.
Pro Tip: Run a series of low speed tests under controlled conditions before attempting full operational use, allowing you to catch and address any potential issues before they become critical.
Perform a systematic functional test by engaging the accessories under various operating conditions. Listen for unusual sounds, monitor performance metrics, and observe how the new components interact with your tractor’s existing systems. Document any observations or minor adjustments needed during this testing phase. Your thorough approach will help prevent potential equipment failures and ensure optimal performance of your newly installed tractor accessories.
Simplify Your Tractor Accessory Replacement with Expert Support
Replacing tractor accessories can be challenging when you face tight timelines, unclear mounting requirements, or worry about using the wrong parts. This article underlines the importance of precise tool preparation, safe tractor positioning, and careful installation steps that impact your machine’s safety and performance. Avoid the frustration of delays caused by incompatible or low-quality components by choosing trusted solutions that fit perfectly and stand up to tough agricultural conditions.
Explore our extensive inventory of reliable tractor accessories at pexlivanidis.com where over 20,000 items are ready to support your repair needs. Whether you need replacement bolts, mounting hardware, or entire accessory kits, we offer options designed to make your maintenance process safer and more efficient. Don’t risk damaging your expensive equipment by improvising. Take control of your project now with genuine parts and expert guidance. Visit our online store today and order with confidence. Your tractor deserves nothing less than dependable components delivered swiftly, so you can complete your replacement step by step without disruption.
Frequently Asked Questions
What tools do I need to replace tractor accessories?
To replace tractor accessories, you’ll typically need a comprehensive socket set, adjustable wrenches, a torque wrench, safety gloves, and perhaps specialized mounting hardware. Gather these items before starting your project to streamline the process.
How do I safely prepare my tractor for accessory replacement?
Position your tractor on level ground and engage the parking brake. Turn off the engine and lower any attached implements to ensure stability, then disconnect the battery to avoid any electrical surprises during the work.
What is the best method for removing old tractor accessories?
Remove old tractor accessories by inspecting connection points and loosening bolts and fasteners steadily. If you encounter stubborn bolts, apply penetrating lubricant and wait 15 minutes before attempting to remove them to reduce resistance.
How can I ensure my new tractor accessories are installed correctly?
Verify that each new accessory aligns with the original mounting points and is securely fastened. Use a torque wrench to tighten each bolt according to manufacturer specifications for optimal safety and performance.
What steps should I take to test the new tractor accessories?
Conduct a thorough inspection of newly installed accessories for proper alignment and secure fastening. Perform low-speed tests to identify any issues, monitoring the accessories under different operating conditions to ensure functionality before full use.
How long does it typically take to replace tractor accessories?
The entire process of replacing tractor accessories can take anywhere from 1 to 2 hours, depending on the complexity of the accessories and your familiarity with the tractor. Allocate sufficient time for preparation, removal, installation, and testing to ensure a successful replacement.