
More than 60 percent of tractor owners in Thessaloniki and Kavala face unexpected breakdowns during peak season, often scrambling for affordable solutions. With a reliable american tractor or other trusted machinery in your field, every hour of downtime costs real money and halts your daily work. This practical step by step guide will help you confidently handle repairs on your own, reducing costs and keeping your equipment running when you need it most.
Table of Contents
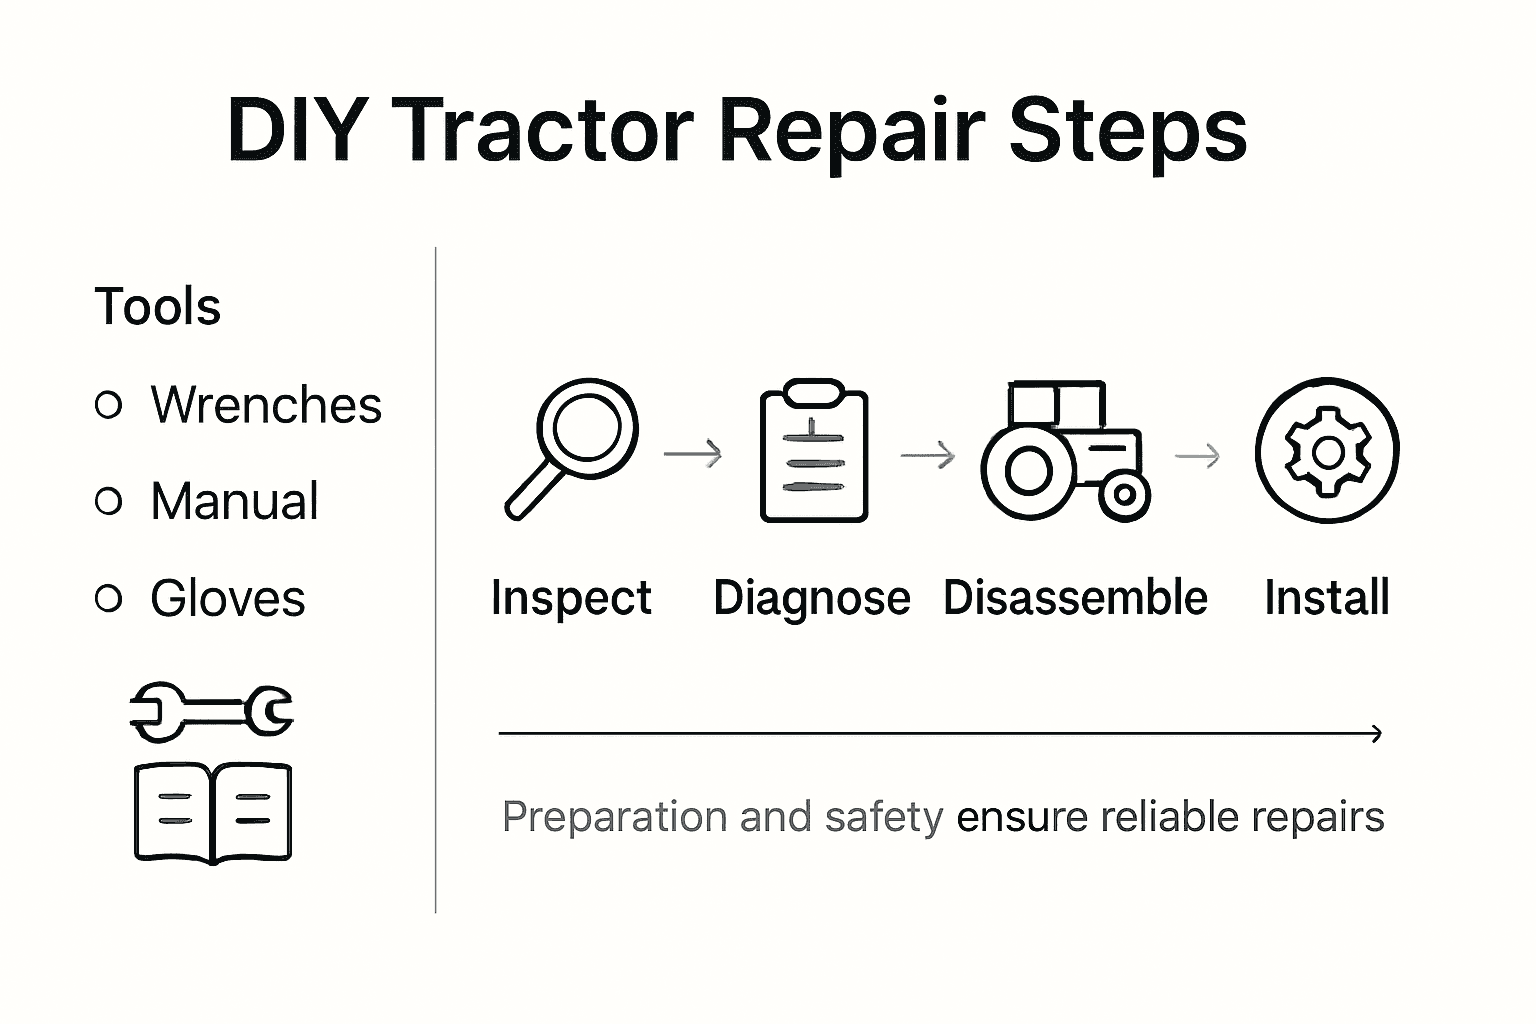
- Step 1: Prepare Your Tractor And Gather Tools
- Step 2: Diagnose The Exact Mechanical Issue
- Step 3: Disassemble Faulty Parts Safely
- Step 4: Install New Or Repaired Components
- Step 5: Test Tractor Functionality And Inspect Work
Quick Summary
| Key Point | Explanation |
|---|---|
| 1. Conduct a Thorough Inspection | Perform a pre-operation check of your tractor to catch issues early and ensure safe maintenance. |
| 2. Document Diagnostic Observations | Take detailed notes on sounds and symptoms to support effective troubleshooting and repair strategies. |
| 3. Prioritize Safety During Disassembly | Follow safety protocols, including power disconnection and proper protective gear, to prevent injuries while handling components. |
| 4. Ensure Accurate Reinstallation | Carefully compare new parts with originals and follow torque specifications to maintain mechanical integrity and performance. |
| 5. Test and Verify Functionality | Conduct comprehensive post-repair tests to confirm all systems are operational and secure before returning the tractor to use. |
Step 1: Prepare Your Tractor and Gather Tools
Before diving into any tractor repair, strategic preparation ensures safe and efficient maintenance. You will need to conduct a thorough pre operation inspection and organize your tools carefully to minimize potential complications during the repair process.
Start by performing a comprehensive equipment assessment. Utilize a systematic inspection checklist to methodically evaluate your tractor’s condition. Check critical systems including fluid levels, tire pressure, brake functionality, and overall mechanical integrity. Pay special attention to hydraulic lines, electrical connections, and safety features. This initial evaluation helps identify potential issues before they become major problems during your repair work.
Gather all necessary tools and personal protective equipment beforehand. Your toolkit should include wrenches, socket sets, pliers, screwdrivers, torque wrenches, jack stands, and safety equipment like gloves and eye protection. Organize your tools in a clean, accessible workspace near the tractor to streamline your repair process. Position good lighting and ensure you have sufficient room to maneuver around the equipment.
Pro tip: Always photograph critical components and connections before disassembly to help you remember exact positioning during reassembly and prevent potential reinstallation errors.
Step 2: Diagnose the Exact Mechanical Issue
Diagnosing a tractor mechanical problem requires systematic investigation and careful observation. Your goal is to identify the root cause of the issue by methodically examining the equipment and understanding its performance characteristics.
Develop a structured troubleshooting approach that begins with a comprehensive sensory and visual inspection. Listen carefully for unusual sounds like grinding, knocking, squealing, or vibrations that might indicate specific mechanical problems. Check for visible signs of wear such as fluid leaks, damaged belts, cracked hoses, or loose connections. Pay special attention to critical systems including the engine, transmission, hydraulics, and electrical components. Document your observations meticulously to help track potential failure points.
Utilize diagnostic tools and measurement techniques to confirm your initial observations. Use a multimeter to check electrical systems, pressure gauges to assess hydraulic performance, and temperature sensors to evaluate engine conditions. Compare your findings against manufacturer specifications and recommended performance standards. This methodical approach helps pinpoint whether the issue stems from mechanical wear, electrical malfunction, fluid contamination, or improper calibration.
Here’s a quick reference comparing common tractor problem types and their typical diagnostic tools:
| Issue Type | Common Symptoms | Diagnostic Tool | Likely Cause |
|---|---|---|---|
| Electrical Problem | No start, dim lights | Multimeter | Faulty wiring or battery |
| Hydraulic Failure | Slow movement, leaks | Pressure gauge | Seal or hose damage |
| Engine Overheating | High temp readings | Temperature sensor | Low coolant, blocked flow |
| Brake Malfunction | Poor stopping, squeaks | Visual inspection | Worn pads or linkage |
Pro tip: Always consult your tractor’s service manual and create a detailed written log of symptoms and diagnostic measurements to establish a clear diagnostic trail and support more accurate repair strategies.
Step 3: Disassemble Faulty Parts Safely
Disassembling tractor components demands precision, patience, and strict adherence to safety protocols. Your objective is to carefully remove damaged or malfunctioning parts without causing additional damage or risking personal injury.
Follow comprehensive safety guidelines when approaching the disassembly process. Begin by disconnecting all power sources electrical connections, and hydraulic systems. Implement robust safety lockout procedures to prevent unexpected movement or energy release. Wear appropriate personal protective equipment including safety glasses, heavy work gloves, steel toed boots, and protective clothing that covers exposed skin. Use proper lifting equipment like hydraulic jacks or mechanical lifts when handling heavy components to prevent strain or potential crushing injuries.

Organize your workspace methodically before beginning disassembly. Lay out clean drop cloths to capture small parts and prevent losing critical components. Use clearly labeled containers to sort and store bolts, nuts, and small mechanical elements in the order they were removed. Take detailed photographs or create diagrams documenting the original positioning of each component to ensure accurate reassembly. Employ specialized tools designed for your specific tractor model and maintain a clean, well lit workspace that allows comfortable movement and clear visibility of your work area.
Here is a summary of safety precautions and their benefits during tractor disassembly:
| Safety Measure | Procedure Example | Benefit |
|---|---|---|
| Lockout/Tagout Power | Disconnect battery, secure key | Prevents accidental startup |
| Personal Protective Equipment | Wear gloves, safety glasses | Reduces injury risk |
| Use Proper Lifting Equipment | Employ hydraulic jacks | Avoids strain or crushing |
| Organized Parts Storage | Label bolts, use containers | Prevents loss or mix-ups |
Pro tip: Create a systematic parts mapping diagram before disassembly and take sequential photographs to serve as a visual reference guide for reassembly and prevent potential reinstallation errors.
Step 4: Install New or Repaired Components
Successfully installing replacement parts requires precision, attention to detail, and a methodical approach to ensure your tractor returns to optimal operating condition. Your goal is to reinstall components accurately while maintaining the equipment’s overall mechanical integrity and performance standards.
Follow systematic installation procedures that prioritize precise alignment and proper fastening techniques. Begin by carefully comparing the new or repaired components against the original parts to confirm complete compatibility. Inspect mounting surfaces for any debris or damage that could compromise the installation. Use torque specifications exactly as recommended in your tractor’s service manual when tightening bolts and fasteners. Work systematically from larger structural components to smaller mechanical elements, ensuring each piece is positioned correctly and securely.
Apply a comprehensive verification process after installation. Check all connections for proper tension and alignment. Lubricate moving parts according to manufacturer recommendations and verify that all safety mechanisms and operational features function correctly. Test each reinstalled component individually before conducting a full system operational check. Pay special attention to hydraulic connections, electrical systems, and mechanical interfaces to ensure smooth integration of the new or repaired parts.
Pro tip: Organize your fasteners by size and type before reinstallation and use a torque wrench with calibrated settings to ensure precise and consistent tightening across all critical connection points.
Step 5: Test Tractor Functionality and Inspect Work
Comprehensive testing is the final critical stage of your tractor repair process. Your objective is to systematically verify that all repaired components function correctly and safely under realistic operating conditions.
Implement a structured post-repair testing protocol that covers every mechanical system. Begin with a stationary engine test to check for unusual sounds, fluid leaks, or unexpected vibrations. Gradually progress through operational checks including hydraulic system performance, transmission shifting, brake responsiveness, and electrical system functionality. Monitor all gauges and warning indicators carefully during these initial tests. Run the tractor through a complete range of motion and power settings to simulate actual working conditions and identify any potential issues that might not be apparent during initial inspection.
Conduct a comprehensive walk around inspection after initial operational testing. Visually examine all repaired areas for proper alignment, secure fastening, and signs of potential stress or misalignment. Check fluid levels and look for any unexpected seepage or leakage. Test each control mechanism methodically to ensure smooth operation and proper response. Document your findings meticulously and compare current performance against the tractor’s original operational specifications. If any anomalies are detected, return to previous repair steps and reassess your work carefully.
Pro tip: Record a video of your initial test run to create a permanent reference document and allow for detailed review of tractor performance that can be compared against future maintenance records.
Get Your Tractor Repair Done Right with Quality Parts from Pexlivanidis
If you have followed the detailed steps in the “Step by Step Tractor Repair Guide for Fast DIY Fixes” you already know how important it is to diagnose issues carefully and install components precisely. Avoid the frustration of mismatched parts, improper fittings, or delays caused by missing tools by turning to Pexlivanidis for reliable tractor accessories and spare parts. With a vast inventory of over 20,000 items, you can find exactly what you need to complete your repair quickly and safely. Our products will help you maintain the mechanical integrity of your tractor, so you can get back to work without guesswork or repeated trips to the store.
Don’t let downtime slow your operation. Visit our online store to browse tractor replacement parts designed for precision and durability. Whether you need hydraulic hoses, brake components, electrical wiring, or engine parts, Pexlivanidis offers fast shipping within Greece for orders over 100€ and special wholesale options for professional users. Start your next repair step with confidence. Explore our product listings, get expert support, and make your tractor repair easier today.
Frequently Asked Questions
What tools do I need for DIY tractor repairs?
To perform DIY tractor repairs, you will need essential tools like wrenches, socket sets, pliers, screwdrivers, and a torque wrench. Gather your tools and organize them in a clean workspace before starting repairs to streamline the process.
How can I diagnose a mechanical issue with my tractor?
Begin diagnosing a mechanical issue by performing a thorough visual inspection and listening for unusual sounds. Document your observations and use diagnostic tools like a multimeter or pressure gauge to confirm your findings before proceeding with repairs.
What safety precautions should I take when disassembling tractor parts?
Ensure your safety by disconnecting all electrical and hydraulic systems, and using personal protective equipment such as gloves and safety glasses. Also, implement lockout/tagout procedures to prevent accidental startups during disassembly.
What steps should I follow to install new or repaired components?
When installing new or repaired components, compare them to the original parts for compatibility, and ensure all mounting surfaces are clean. Use specified torque settings while securely fastening the components to maintain optimal performance.
How can I effectively test the functionality of my tractor after repairs?
To test your tractor’s functionality, conduct a series of operational checks starting with a stationary engine test, then progress to hydraulic and transmission performance checks. Monitor all metrics carefully and document your findings to ensure everything works correctly.
What should I do if I detect issues during the testing phase?
If you find issues during testing, return to your last repair steps to reassess your work and identify any missed components or improper installations. Keep a detailed log of observations to guide you in resolving the specific problems.