
Most farmers across Northern Greece know that even a small upgrade to their tractor can mean major efficiency gains. With over fifty percent of agricultural operators seeking practical solutions to work smarter, understanding proper installation techniques is vital. Whether using an American made implement or adapting local equipment, this guide delivers step-by-step instructions to help you prepare, select, and securely mount accessories for optimal performance and safety.
Table of Contents
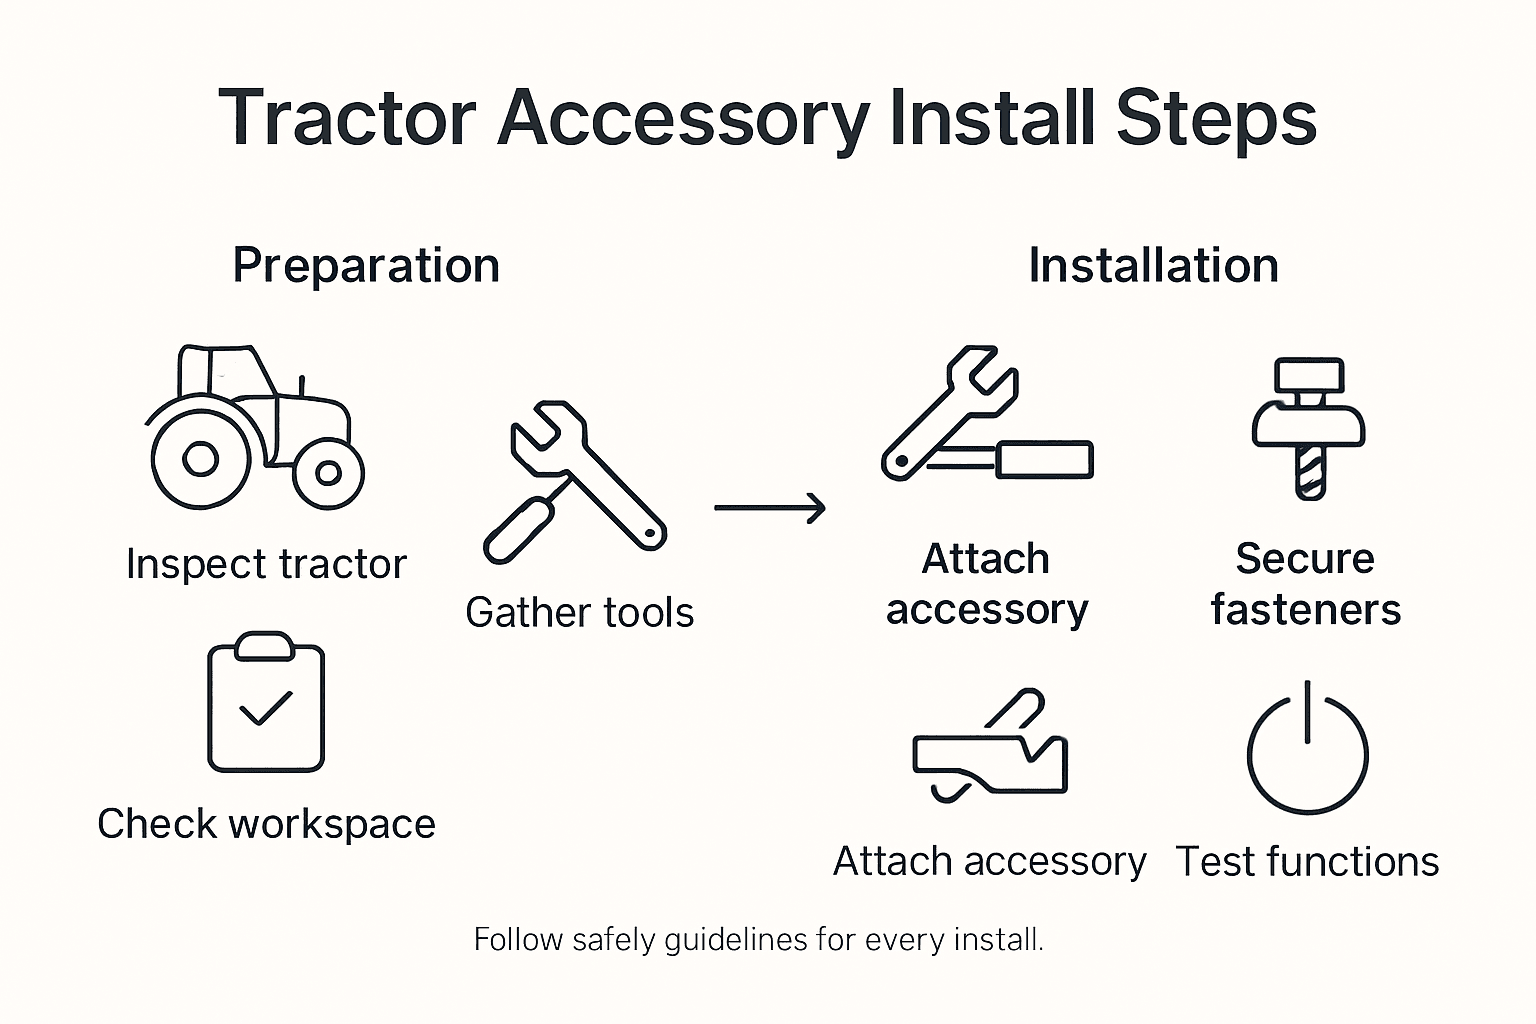
- Step 1: Prepare Your Tractor And Workspace
- Step 2: Select And Inspect Tractor Accessories
- Step 3: Mount Accessories According To Specifications
- Step 4: Secure Connections And Fasteners Properly
- Step 5: Test Accessory Function And Safety
Quick Summary
| Important Insights | Clarification |
|---|---|
| 1. Thoroughly Inspect Your Tractor | Check fuel levels, battery, and tire pressure to avoid installation interruptions and ensure safety. |
| 2. Choose Compatible Accessories | Match accessories to your tractor’s specifications, ensuring performance and safety for effective agricultural work. |
| 3. Follow Mounting Specifications | Adhere to manufacturer guidelines during installation for secure, stable attachments that prevent damage. |
| 4. Secure All Fasteners Properly | Use appropriate fasteners and torque specifications to ensure connections are robust and stable. |
| 5. Test Accessory Functionality | Conduct controlled tests to verify accessory performance and safety before field use, watching for any issues. |
Step 1: Prepare Your Tractor and Workspace
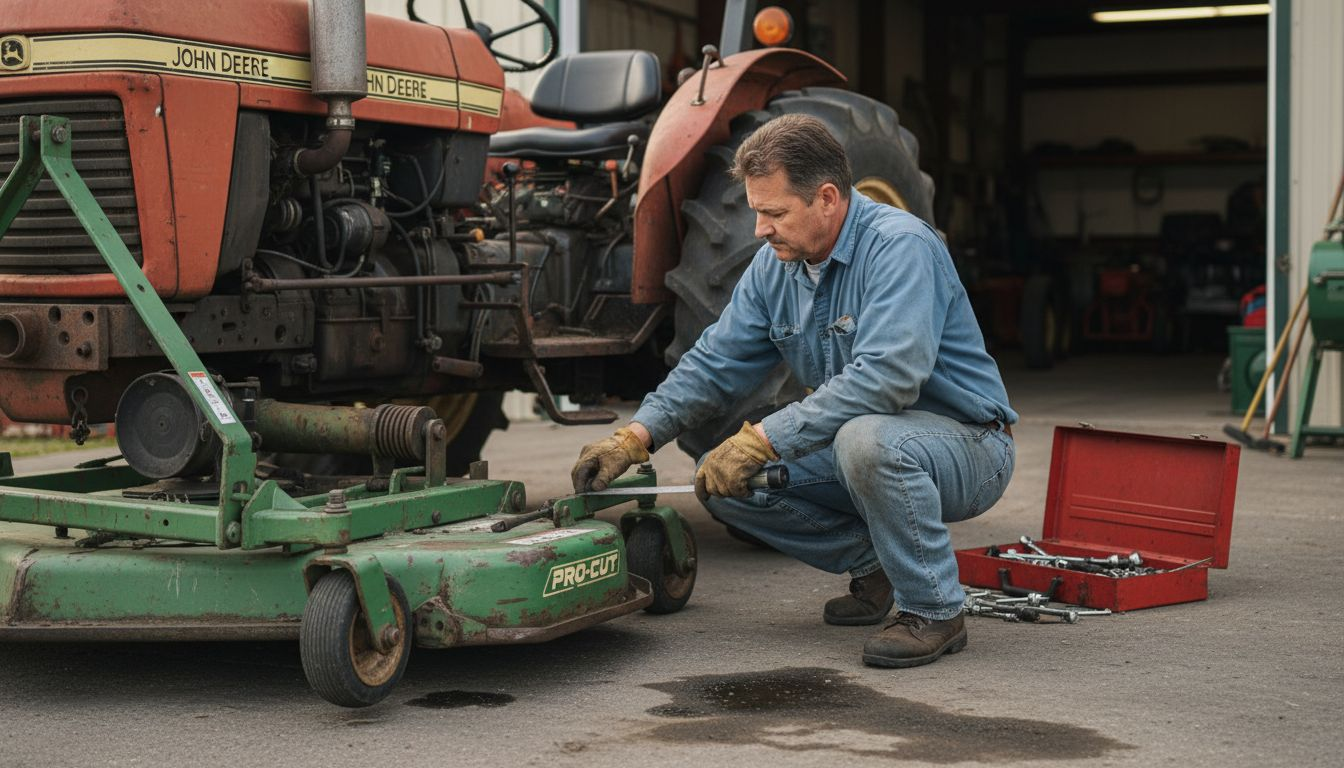
Preparing your tractor and workspace is the critical first step in ensuring a safe and efficient accessory installation process. Before beginning any work, you will need to systematically assess your equipment and work environment to minimize potential risks and optimize your installation workflow.
Start by thoroughly examining your tractor for any pre existing conditions using a comprehensive inspection approach. This means checking critical systems including fuel levels, battery condition, tire pressure, and identifying any loose or potentially defective parts. Clear your workspace of unnecessary debris and ensure you have adequate lighting and room to maneuver around the tractor. Pay special attention to your work surface stability and ensure you have a clean, level area that can support both your tractor and the tools required for accessory installation.
Verify that you have all necessary personal protective equipment available before beginning your work. This includes safety glasses, work gloves, closed toe shoes, and appropriate clothing that will not get caught in moving machinery parts. Keep a well organized tool area with all required wrenches, jacks, stands, and specific accessories needed for your particular installation project.
Here’s a quick overview of essential inspection points and their impact on tractor installation success:
| Inspection Point | Why It Matters | Potential Issues if Missed |
|---|---|---|
| Fuel level | Ensures uninterrupted work | Tractor stalls during installation |
| Battery condition | Prevents starting delays | Incomplete mounting operations |
| Tire pressure | Maintains stability | Increased risk of tipping |
| Work surface stability | Safety and tool support | Unsafe environment, damaged tools |
| Lighting availability | Improves visibility | Poor installation quality |
Pro tip: Always keep a fire extinguisher and first aid kit within immediate reach of your workspace as a critical safety precaution.
Step 2: Select and Inspect Tractor Accessories
Selecting the right tractor accessories involves careful evaluation to ensure compatibility, performance, and safety during your installation project. Your goal in this step is to choose accessories that precisely match your specific tractor model and intended agricultural needs.
Begin by carefully analyzing your tractor’s horsepower and attachment specifications to guarantee proper fitment and functionality. This means meticulously checking the power take-off (PTO) ratings, drawbar dimensions, and hydraulic system requirements. Examine each potential accessory for signs of wear, structural integrity, and mechanical compatibility. Look for any stress points, rust, or damage that might compromise performance or create safety risks during operation.
During your inspection, verify that all mounting points align correctly and that attachment mechanisms are secure and undamaged. Pay close attention to protective shields, connection points, and moving parts. Ensure that the accessories you select complement your tractor’s existing systems and will not overload its mechanical capabilities. When in doubt, consult your tractor’s manufacturer specifications or seek guidance from a professional agricultural equipment specialist.
Pro tip: Always keep manufacturer documentation and original specification sheets for each accessory to maintain accurate compatibility records and streamline future maintenance.
Step 3: Mount Accessories According to Specifications
Mounting tractor accessories requires precise attention to manufacturer specifications and safety protocols. Your goal is to ensure each accessory is securely and correctly attached to maximize performance and prevent potential equipment damage.
Understanding the specific hitching systems and mounting requirements is critical for proper installation. Different tractors utilize various hitching configurations including one point, two point, and three point mounting systems. Carefully align each accessory according to the exact manufacturer guidelines, paying close attention to connection points, weight distribution, and structural compatibility. Verify that mounting brackets, pins, and attachment mechanisms are clean, undamaged, and properly lubricated before installation.
Compare the main types of tractor mounting systems and when each is typically used:
| Mounting System | Key Features | Common Applications |
|---|---|---|
| One-point hitch | Single central connection | Light implements, older tractors |
| Two-point hitch | Dual mounting arms | Cultivators, specialty equipment |
| Three-point hitch | Triangular support structure | Modern plows, sprayers, loaders |
Proceed with installation by first positioning the accessory precisely and checking alignment from multiple angles. Ensure all connection points are fully seated and secured with appropriate fasteners. Double check that hydraulic connections are tight, electrical interfaces are correctly matched, and no cables or components are strained or pinched during mounting. Test the accessory’s range of motion and verify that it does not interfere with other tractor systems or compromise overall machine stability.
Pro tip: Always use a torque wrench when securing mounting hardware to ensure consistent and safe attachment pressure across all connection points.
Step 4: Secure Connections and Fasteners Properly
Securing connections and fasteners is a critical step in ensuring the safety and long-term performance of your tractor accessories. Your goal is to create robust, stable attachments that can withstand the demanding conditions of agricultural work.
Understanding the precise mechanics of fastener installation is essential for preventing equipment failure. Begin by selecting fasteners that precisely match the manufacturer specifications for size, strength, and material. Use lock washers, castellated nuts, or safety pins to prevent unintended loosening during operation. Inspect each fastener for signs of wear, corrosion, or damage before installation, and replace any components that show potential weakness.
Apply consistent and appropriate torque to each connection, following a specific tightening sequence that distributes pressure evenly. Avoid over-tightening, which can damage threads or compromise the structural integrity of mounting points. After initial installation, plan for periodic checks during the first few hours of operation to ensure all connections remain tight and secure. Pay special attention to areas experiencing significant vibration or dynamic load stress.
Pro tip: Maintain a detailed log of torque specifications and tightening sequences for each accessory to ensure consistent and accurate future maintenance.
Step 5: Test Accessory Function and Safety
Testing your newly installed tractor accessory is a crucial final step that ensures both operational effectiveness and operator safety. Your objective is to comprehensively verify the accessory’s performance under controlled conditions before full field deployment.
Conduct a comprehensive functional evaluation of the accessory using a systematic approach. Begin by performing low speed tests in an open area away from obstacles, checking the power take-off engagement, hydraulic system response, and mechanical movement. Verify that all safety guards and protective shields are securely in place and functioning as intended. Pay close attention to any unusual sounds, vibrations, or resistance during operation that might indicate misalignment or potential mechanical issues.
Gradually increase operational complexity by testing the accessory under progressively more demanding conditions. Simulate the specific agricultural tasks for which the accessory was designed, monitoring its performance and your tractor’s response. Check for smooth power transfer, consistent mechanical action, and stability across different operational angles and loads. Document any observations or performance variations that might require further adjustment or professional inspection.
Pro tip: Videotape your initial accessory tests to create a baseline performance record and help identify any subtle mechanical irregularities.
Make Your Tractor Accessory Installation Smooth and Reliable
Installing tractor accessories safely and effectively requires precision and the right parts. From preparing your tractor and workspace to securing connections and testing performance, every step demands quality components you can trust. Avoid delays caused by ill-fitting or worn-out parts that could compromise your equipment’s safety or functionality. Key concerns such as proper mounting systems, compatible fasteners, and reliable hydraulic connections all hinge on having a dependable supply of tractor accessories designed for your machinery.
Ensure your installation success by choosing from over 20,000 high-quality agricultural parts at Pexlivanidis.com. Whether you need spare parts matched to your tractor’s horsepower or specific accessories engineered for three-point hitch systems, our extensive inventory supports your goals. Benefit from expert guidance, free shipping on orders over 100€ in Greece, and options for wholesale membership if you are managing multiple machines.
Don’t risk costly mistakes in your tractor upgrades. Visit Pexlivanidis now to find precisely what you need. Act today to secure the parts that ensure safe mounting, secure fasteners, and reliable accessory function for your farm equipment.
Frequently Asked Questions
What initial inspections should I perform before installing tractor accessories?
Before installing tractor accessories, thoroughly inspect your tractor for critical systems, including fuel levels, battery condition, and tire pressure. Check for loose or defective parts to ensure safe operation and uninterrupted work. Start your inspection by verifying fuel and battery status, as this will help prevent delays during installation.
How can I ensure tractor accessories are compatible with my equipment?
To ensure compatibility, analyze your tractor’s horsepower and attachment specifications, including power take-off ratings and hydraulic requirements. Carefully check all potential accessories for structural integrity and mechanical compatibility with your tractor. Consider using manufacturer documentation to confirm proper fitment before proceeding with installation.
What safety precautions should I take during the installation process?
Always wear personal protective equipment, such as safety glasses, work gloves, and closed-toe shoes, when installing accessories on your tractor. Additionally, keep a fire extinguisher and first aid kit within reach to address any emergencies that may arise during installation.
How do I correctly mount and secure tractor accessories?
To correctly mount accessories, follow manufacturer specifications for hitching systems and connection points. Ensure that all fasteners are clean, undamaged, and lubricated before installation, and use a torque wrench to secure connections evenly. Properly seat the accessory and verify alignment from multiple angles, reducing the risk of equipment failure.
What steps should I take to test the functionality of installed accessories?
Conduct a thorough functional evaluation of your newly installed accessories by performing low-speed tests in a safe, open area. Gradually increase operational complexity and simulate tasks the accessory is designed for, paying attention to stability and performance. Document all findings to note any necessary adjustments or potential issues.
How can I maintain a secure connection over time?
To maintain a secure connection, inspect all fasteners and connections regularly for signs of wear or loosening, especially after the first hours of operation. Reapply appropriate torque as needed to prevent issues from vibration or dynamic loading, ensuring that your accessories function safely and efficiently during use.