

Over 60 percent of american farm accidents happen during machinery maintenance, highlighting the need for careful preparation and routine checks. When dealing with complex equipment, even experienced operators can miss small details that lead to costly breakdowns or injuries. This step-by-step guide brings safety and order to your process, helping you organize your workspace, spot issues early, and keep your agricultural machinery running smoothly all season.
Table of Contents
- Step 1: Prepare Your Workspace And Gather Required Tools
- Step 2: Inspect Machinery For Visible Issues And Wear
- Step 3: Clean Essential Components And Remove Debris
- Step 4: Replace Worn Or Damaged Parts With Quality Spares
- Step 5: Lubricate Moving Parts To Ensure Smooth Operation
- Step 6: Test And Verify Machinery Functionality And Safety
Quick Summary
| Essential Insight | Detailed Explanation |
|---|---|
| 1. Prepare a Safe Workspace | Organize your workspace by removing hazards, gathering tools, and ensuring good lighting and ventilation for safe maintenance. |
| 2. Conduct a Thorough Inspection | Regularly inspect machinery for wear and damage to prevent costly breakdowns and ensure optimal performance over time. |
| 3. Clean Machinery After Use | Always clean machinery thoroughly to remove debris, which protects equipment and enhances operational efficiency. |
| 4. Replace Worn Parts Promptly | Use high-quality replacement parts that match specifications to avoid failures and maintain equipment safety. |
| 5. Test Machinery Before Use | Carefully test all systems and components to ensure functionality and safety before operating agricultural machinery. |
Step 1: Prepare your workspace and gather required tools
Prepping your agricultural machinery workspace is more than just clearing some space. According to agsafety.osu.edu, you need a strategic approach to ensure safety and efficiency before any maintenance work begins.
Start by creating an organized, hazard-free environment. This means removing unnecessary items, ensuring clear walkways, and setting up a dedicated workspace with good lighting and ventilation. Gather all your essential tools beforehand: wrenches, screwdrivers, lubricants, cleaning rags, safety gloves, and protective eyewear. As agsafety.osu.edu recommends, verify that warning decals are intact and machine guards are properly positioned.
Pro Tip: Keep extension cords and air hoses neatly coiled and out of walking paths to prevent accidental trips or machinery damage.
Before you begin any work, review your machinery’s owner manual thoroughly. This will give you specific guidance on the exact tools and preparation needed for your specific agricultural equipment. Each machine has unique requirements, so never skip this crucial step.
Step 2: Inspect machinery for visible issues and wear
Inspecting your agricultural machinery is a critical preventative maintenance step that can save you significant time and money in the long run. Curriculumresources.edu.gh emphasizes the importance of regularly examining all machine components to maintain optimal performance and prevent potential failures.
Begin your inspection by systematically checking each major component. Look for signs of wear, rust, cracks, or unusual deformations in metal parts, hydraulic lines, belts, and connecting points. Pay special attention to pivot points, bearings, chains, and gears. As recommended by Curriculumresources.edu.gh, these areas require careful lubrication and should show no signs of excessive wear or damage.
Pro Tip: Use good lighting and wear safety glasses during your inspection to catch even minor imperfections that could indicate potential future problems.
Document any issues you find with photographs and detailed notes.
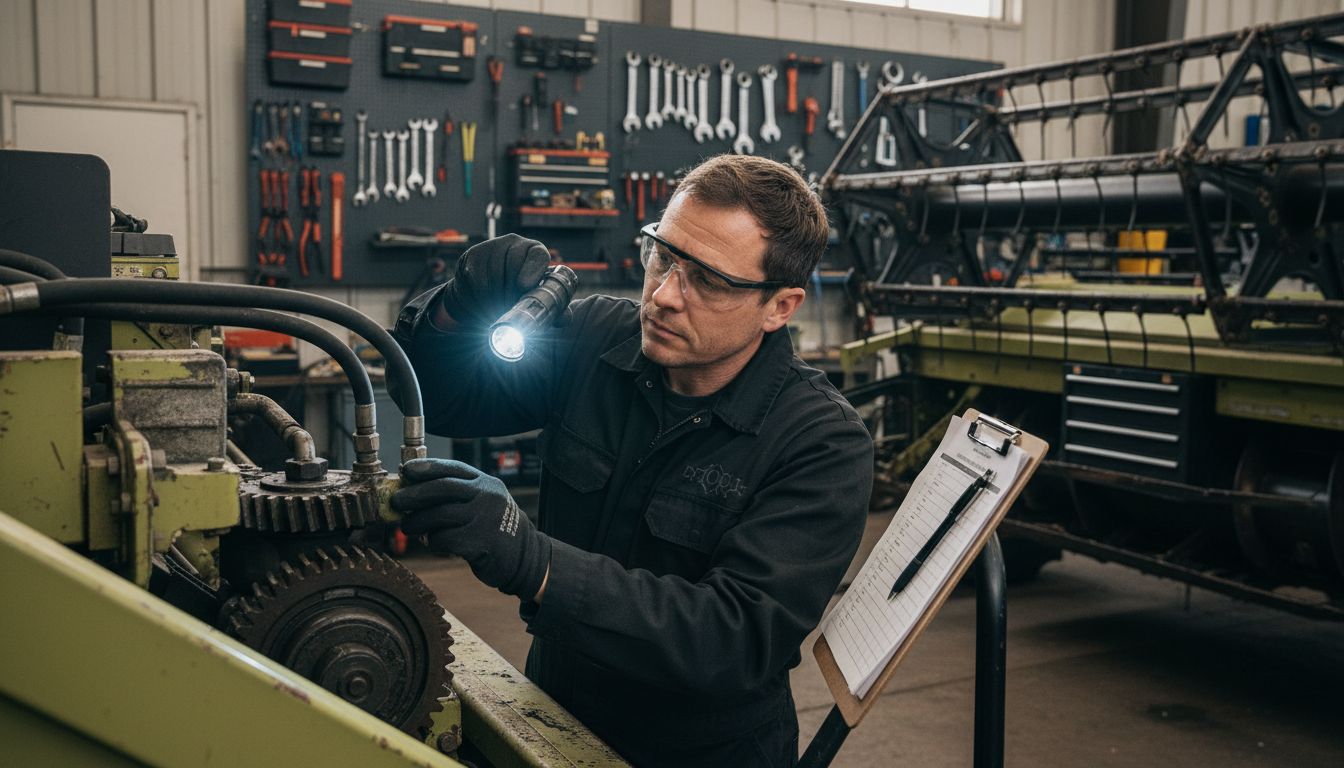 This creates a maintenance history that can help you track your machinery’s condition over time and predict potential breakdowns before they occur. Your next step will be addressing these identified issues systematically and professionally.
Step 3: Clean essential components and remove debris
Cleaning your agricultural machinery is more than a cosmetic task its a critical maintenance practice that protects your investment and ensures optimal performance. According to Curriculumresources.edu.gh, you should thoroughly clean your implement after each use to prevent potential damage and maintain equipment efficiency.
Start by removing loose dirt and crop residue using compressed air or soft brushes. Focus on moving parts, joints, and hard-to-reach areas where debris tends to accumulate. As recommended by Curriculumresources.edu.gh, use appropriate cleaning agents designed for agricultural machinery while being extremely careful to protect electrical components from water and moisture. Use microfiber cloths for delicate surfaces and consider specialized cleaning solutions that wont compromise your machines integrity.
Pro Tip: Always clean your machinery in a well ventilated area and wear protective gloves to shield yourself from chemicals and grime.
Take your time during the cleaning process. A methodical approach means youll not only remove debris but also have an opportunity to spot any potential issues that might have developed during recent use.
Your next step will involve a detailed inspection to ensure everything is in top working condition.
Step 4: Replace worn or damaged parts with quality spares
Replacing worn machinery components is a critical maintenance strategy that prevents cascading equipment failures and ensures your agricultural machinery continues operating at peak performance. Curriculumresources.edu.gh emphasizes the importance of promptly replacing damaged parts to maintain optimal machinery functionality.
Begin by carefully comparing the specifications of your current parts with potential replacements. As recommended by Farmtech.eu, focus on using high quality spare parts that are fully compatible with your specific machinery model. This means checking dimensions, material specifications, and performance ratings before making any replacements. Pay special attention to critical components like bearings, seals, belts, and hydraulic connections that directly impact machine performance and safety.
Pro Tip: Always keep your machinery’s original manual nearby when selecting replacement parts to ensure exact compatibility and avoid potential installation errors.
Document each replacement with detailed notes about the part number, date of replacement, and source of the spare part. This documentation creates a maintenance history that can help you track your machinery’s condition and predict future maintenance needs. Your next step will involve carefully installing these new components with precision and care.
Step 5: Lubricate moving parts to ensure smooth operation
Lubricating agricultural machinery is a precise science that directly impacts your equipment’s longevity and performance. Farmonaut.com emphasizes the critical nature of proper lubrication for preventing mechanical failures and maintaining optimal operational efficiency.
Start by identifying all moving components that require lubrication such as chains, bearings, gearboxes, and hinges. As recommended by Farmonaut.com, use only manufacturer recommended lubricants and follow precise application intervals. Avoid the common mistakes of over-lubrication or under-lubrication, both of which can cause significant mechanical damage. Clean the components thoroughly before applying lubricant to ensure maximum penetration and effectiveness.
Pro Tip: Keep a detailed lubrication log tracking each component’s last service date and specific lubricant used to maintain consistent maintenance records.
Apply lubricants systematically and carefully, paying close attention to friction points and areas experiencing high mechanical stress. Your goal is creating a thin protective layer that reduces wear and minimizes heat generation during machine operation. The next step in your maintenance process will involve final system checks to confirm everything is functioning smoothly.
Step 6: Test and verify machinery functionality and safety
Testing your agricultural machinery is the final and most critical step in ensuring reliable and safe operation. Agsafety.osu.edu emphasizes the importance of comprehensive verification before starting any equipment to prevent potential accidents and mechanical failures.
Begin your testing process by carefully reviewing the owner’s manual and performing a systematic functionality check. As recommended by Curriculumresources.edu.gh, verify all critical fluid levels including oil, fuel, and hydraulic systems. Check tire pressure, brake conditions, and ensure all machine guards are properly positioned. Confirm that warning decals are clearly visible and electrical lines show no signs of damage or wear.
Pro Tip: Keep a comprehensive first aid kit and emergency contact numbers readily accessible during machinery testing and operation.
Conduct a slow initial test run in a controlled environment, listening carefully for unusual sounds and monitoring performance across different operational parameters. Pay close attention to how each component responds during movement. If any irregularities emerge, stop immediately and investigate before proceeding further. Your goal is to validate that every system functions exactly as designed with maximum safety and minimum risk.

Keep Your Agricultural Machinery Running Strong with Reliable Parts
Maintaining agricultural machinery for peak performance requires careful attention to every detail from thorough inspections and cleaning to replacing worn parts and lubrication. The challenge lies in finding high quality, compatible spare parts that match your equipment’s exact specifications to avoid breakdowns and costly repairs. You want to extend the life of your machinery while ensuring safe and efficient operation without the stress of searching through unreliable sources.
At pexlivanidis.com, we understand these needs and offer a wide selection of over 20,000 tractor accessories and spare parts to support your maintenance efforts. Whether you need bearings, seals, belts or hydraulics, our inventory ensures you get the right parts quickly so you can keep your equipment in top shape. Take advantage of free shipping in Greece for orders over 100 euros and benefits for wholesale customers. Don’t wait for a breakdown slowdowns cost you time and money. Visit our store now to equip your machinery with trusted parts and enjoy peace of mind all season long.
Frequently Asked Questions
How can I prepare my workspace for maintaining agricultural machinery?
To prepare your workspace, create an organized and hazard-free environment by removing unnecessary items and ensuring good lighting and ventilation. Gather essential tools like wrenches, screwdrivers, and lubricants to streamline your maintenance process.
What should I inspect for during machinery maintenance?
During inspection, check for visible signs of wear, such as rust or cracks, particularly around moving parts like chains and gears. Document any findings to create a maintenance history and address issues systematically.
How do I clean agricultural machinery effectively?
To clean your agricultural machinery, start by removing dirt and debris using compressed air or soft brushes, targeting hard-to-reach areas. Use appropriate cleaning agents carefully, particularly around electrical components, and ensure proper ventilation during the process.
When should I replace parts on my agricultural machinery?
Replace parts when you notice excessive wear or damage that can impact performance, such as with bearings and seals. Compare new parts to the original specifications and ensure they’re compatible before installation.
How do I properly lubricate agricultural machinery components?
Lubricate moving components by identifying all necessary parts and using the manufacturer-recommended lubricants. Keep a log of lubrication dates and types to maintain consistent maintenance records and ensure optimal functionality.
What steps should I take to test my machinery after maintenance?
After maintenance, perform a thorough functionality check, including fluid levels and tire pressure, before a slow, controlled test run. Listen for unusual sounds and monitor performance to confirm that all systems are operating correctly and safely.