
Starting your morning in the fields of Thessaloniki or Kavala, one missed maintenance step can mean sitting idle while repairs eat away at your schedule. Practical, routine checks and cleaning are vital for anyone relying on a tractor to get daily work done. With clear preventative maintenance tips backed by expert research, this guide helps you keep your tractor running smoothly, prevent breakdowns, and lower repair costs season after season.
Table of Contents
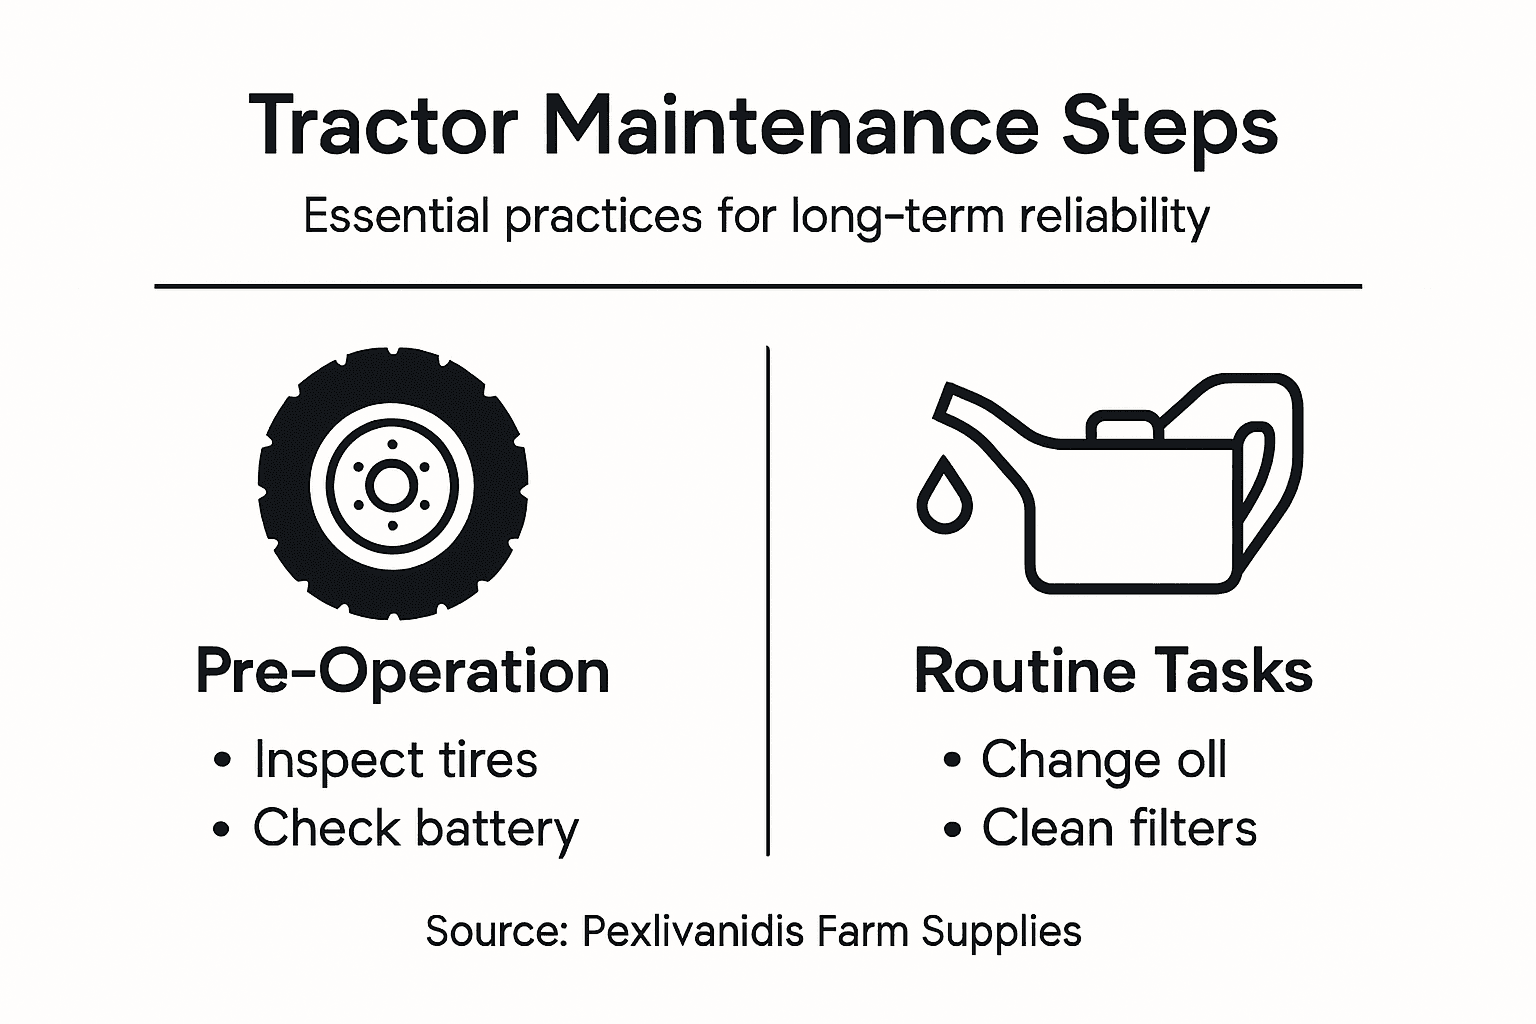
- Step 1: Prepare Your Tractor And Workspace
- Step 2: Inspect Key Tractor Components Thoroughly
- Step 3: Perform Essential Maintenance Tasks
- Step 4: Verify Performance And Maintenance Quality
Quick Summary
| Key Point | Explanation |
|---|---|
| 1. Conduct Pre-Operation Checks | Quickly inspect fluid levels, tires, and safety equipment to prevent breakdowns. This saves time and enhances safety in the field. |
| 2. Inspect Key Components Thoroughly | Examine belts, hoses, and electrical systems for signs of wear or leaks to avoid costly repairs later. |
| 3. Perform Regular Maintenance | Change oil and filters according to the manufacturer’s schedule to maintain engine performance and extend equipment life. |
| 4. Verify Performance Post-Maintenance | Test the tractor’s systems and controls for proper operation, ensuring no issues arise before heading to the field. |
| 5. Document Maintenance Activities | Keep detailed logs of inspections and repairs to track equipment health and identify emerging issues early. |
Step 1: Prepare your tractor and workspace
Before you start your engine, take 15 minutes to inspect your tractor and clean your work area. This simple routine prevents expensive breakdowns and keeps you safe in the field. You’ll check fluid levels, examine key components, and ensure your workspace is ready for a productive day.
Start by reviewing critical pre-operational checks that protect your machine. Walk around your tractor and look for obvious problems like loose bolts, cracked belts, or leaking fluids. Check that all safety equipment is in place, including the slow-moving vehicle emblem and fire extinguisher.
Fluid levels are your first priority:
- Engine oil: Check the dipstick with the tractor on level ground
- Coolant: Verify the reservoir is filled to the proper line
- Fuel: Ensure you have enough for your planned work
- Hydraulic fluid: Check if the system shows adequate pressure
Inspect your tires next. Look for proper inflation using a tire gauge, and examine the sidewalls for cracks or bulges. Check that all lug nuts are tight by giving them a quick test with your wrench. Flat or underinflated tires waste fuel and reduce your pulling power.
Take a moment to clean your operator platform before climbing aboard. Mud and grease on your steps create slip hazards that can cause serious falls. Wipe down the seat, check that your seatbelt functions properly, and ensure the steering wheel moves freely without grinding sounds.
Your workspace matters as much as your tractor. Clear the area of obstacles, debris, or tools that might get caught in moving parts. If you’re working in fields around Thessaloniki where moisture is common, ensure drainage is adequate so you’re not bogged down before you start.
A quick 15-minute pre-operation inspection saves you from sitting idle in the field waiting for parts or repairs.
Verify that your battery is secure and clean before starting. Corroded terminals slow your engine’s cranking speed and can leave you stranded. Check that all gauges on your dashboard respond when you turn the key to “on” but before you start the engine.
When your tractor starts, listen for abnormal sounds. Pay attention to how different systems respond during those first moments. Your oil pressure gauge should climb quickly, lights should illuminate, and flashers should activate without hesitation. If something sounds off or looks wrong, shut down and investigate before moving forward.
Pro tip: Keep a printed pre-operation checklist laminated and clipped to your tractor cabin so you never skip steps when you’re tired or rushing to start work.
Step 2: Inspect key tractor components thoroughly
Now that your workspace is clean, dive deeper into your tractor’s mechanical systems. This inspection catches problems before they strand you in the field and keeps your machine running reliably through the season. You’ll examine engine components, belts, hoses, and electrical systems with a critical eye.

Start with your engine compartment. Look for visible cracks, splits, or bulges in rubber hoses and belts. A cracked belt can snap without warning and leave you unable to operate your power take-off or hydraulics. Check that all hose connections are tight and show no signs of weeping fluid at the clamps.
Inspect the condition of critical tractor components by looking for leaks underneath the engine block. Place cardboard under the tractor overnight and check it in the morning. Any fluid seepage tells you where problems are developing and what to address before they become expensive repairs.
Examine these key mechanical elements:
- Engine belts and hoses for cracks or looseness
- Battery terminals for corrosion or loose connections
- Radiator fins for debris blocking airflow
- Air filter for excessive dirt or clogging
- Hydraulic lines for visible damage or leaks
Check your tires and wheels again with fresh eyes. Look not just at pressure but at tread depth using the penny test. Insert a penny upside down into the tread. If you can see Lincoln’s entire head, your tread is too worn and replacement is coming soon. Spin each wheel slowly and listen for grinding sounds that signal bearing problems.
Inspect the SMV emblem and safety equipment to ensure they’re visible and not faded. Farmers driving in Kavala and Thessaloniki operate on public roads where visibility matters for your safety and others on the road. Replace any faded emblems immediately.
Move to the operator station and verify that controls move smoothly without binding. Test your hydraulic lift by raising and lowering it without load. Listen for unusual noises or jerking movements that suggest wear in the hydraulic cylinders or pump.
Catching a worn belt or loose hose now beats waiting for a breakdown when you’re miles from the shop.
Check all warning lights and gauges as part of your inspection routine. Pay attention to oil pressure indicators, coolant temperature, and fuel level accuracy. Faulty gauges can hide serious problems developing inside your engine.
Use this table to quickly reference signs of mechanical issues and their possible consequences:
| Symptom | Possible Cause | Field Consequence |
|---|---|---|
| Leaks on cardboard | Faulty seals or hoses | Reduced hydraulic power |
| Grinding noises | Worn bearings | Risk of breakdown in field |
| Slow gauge response | Electrical problems | Inaccurate performance data |
| Faded SMV emblem | Sun exposure | Decreased road visibility |
Pro tip: Create a simple inspection log on your phone or clipboard, noting the date and any issues found, so you track patterns that suggest maintenance is becoming urgent.
Step 3: Perform essential maintenance tasks
Your inspections have revealed what needs attention. Now it’s time to act on those findings with hands-on maintenance that keeps your tractor running strong. These tasks follow manufacturer guidelines and prevent small problems from becoming expensive repairs.
Start with oil and filter changes. Dirty oil loses its ability to protect engine parts from friction and wear. Drain the old oil into a container when the engine is warm but not hot. Remove the old filter, apply a thin layer of fresh oil to the new filter’s rubber gasket, and install it hand-tight. Fill with the correct grade and amount of oil specified in your owner’s manual.
Perform preventive maintenance procedures by establishing a lubrication schedule. Grease fittings on the chassis, steering, and driveline components according to manufacturer intervals. Neglecting lubrication accelerates wear in joints and bearings, especially in the dusty conditions around your fields.
Complete these scheduled maintenance items:
- Replace air filters when clogged with dust and chaff
- Check and top off coolant levels weekly
- Inspect and replace fuel filters if engine performance drops
- Clean or replace hydraulic filters annually
- Verify transmission fluid level and condition
Check your tire condition and pressure regularly during the season. Underinflated tires waste fuel and cause uneven wear. Overinflated tires reduce traction and can damage the tire bead. Adjust pressure based on your load and field conditions.
Inspect safety systems including lights, reflectors, and the slow-moving vehicle emblem. Replace burned-out bulbs immediately and verify that flashers work properly. Test your seatbelt function and replace it if webbing is frayed or the latch mechanism is damaged.
Keep detailed maintenance records documenting every service performed, fluid changed, and part replaced. Note the date, hours on the tractor, and work completed. This record protects your equipment warranty and helps you identify patterns in maintenance needs.
Regular maintenance tasks performed on schedule cost far less than emergency repairs that pull you away from fieldwork.
Address minor issues immediately before they escalate. A worn belt should be replaced now, not when it snaps under load. A slow hydraulic leak should be traced and fixed before it causes pressure loss during critical operations.
Here’s how routine tractor maintenance benefits overall farm productivity:
| Maintenance Task | Short-Term Impact | Long-Term Benefit |
|---|---|---|
| Fluid checks | Prevents immediate faults | Reduces engine wear |
| Tire inspections | Improves fuel efficiency | Extends tire lifespan |
| Cleaning platform | Lowers slip hazards | Enhances operator safety |
| Scheduled lubrication | Smooth equipment operation | Minimizes joint damage |
| Record keeping | Tracks emerging issues | Supports equipment value |
Pro tip: Schedule your heaviest maintenance work during off-season periods so you’re not scrambling to fix things when planting or harvest deadlines are approaching.
Step 4: Verify performance and maintenance quality
After completing your maintenance tasks, it’s time to verify that everything is working as intended. This verification step confirms your work was effective and identifies any remaining issues before you head to the field. You’ll run tests, monitor performance, and document the results.
Start your tractor and listen carefully during the first few minutes of operation. The engine should start smoothly without grinding or hesitation. Oil pressure should rise quickly to normal operating range. If you hear knocking, grinding, or see warning lights, shut down immediately and investigate.
Test all engine systems and controls:
- Accelerate smoothly and listen for unusual noises
- Verify that coolant temperature rises gradually to normal range
- Check that hydraulic systems respond without lag or jerking
- Confirm that all gauges read accurately
- Test brake response and steering feel
Run your tractor under light load for 10 to 15 minutes to warm it up completely. This allows you to observe performance before putting it to work. Watch for leaks developing underneath the engine or transmission. Any visible seepage during this warm-up period signals issues requiring attention.
Apply maintenance metrics and performance indicators by tracking key measurements. Document fuel consumption, hydraulic pressure readings, and engine temperature. Compare these values against your baseline from previous seasons to identify gradual changes that suggest wear.
Test all attachments and hydraulic functions with care. Raise and lower any implements slowly and listen for smooth operation. Hydraulic systems should respond immediately without hesitation or jerking motions. Side-to-side movement should be controlled and predictable.
Inspect for new leaks or fluid seepage after running the engine. Place clean cardboard under critical areas and leave it for a few minutes. Any fresh fluid marks indicate recent problems developing that need monitoring or repair.
Verify that safety systems function correctly. Turn on all lights and confirm they illuminate brightly. Test flashers and backup alarms if equipped. Ensure that the slow-moving vehicle emblem is clearly visible from all angles.
A thorough verification run catches problems while you’re still at the shop, not stranded miles away.
Document your performance observations in your maintenance log. Note any unusual sounds, readings that differ from normal, or systems responding slowly. Compare this information against previous entries to track patterns over time.
Pro tip: Take photographs of your gauge readings after warm-up and keep them with your maintenance records so you can easily spot when future readings deviate from your normal baseline.
Keep Your Tractor Running Strong with Reliable Parts from Pexlivanidis
Preventative maintenance for tractors requires careful attention to key components like belts, hoses, filters, and hydraulic systems to avoid unexpected breakdowns and costly repairs. If you have discovered worn or damaged parts during your inspection or maintenance routine you know how important it is to find quality replacements that fit perfectly and perform reliably. Avoid the frustration of searching multiple suppliers or waiting for backordered items by turning to a trusted source with a large inventory.
At Pexlivanidis, we offer an extensive selection of tractor spare parts and accessories designed to help you complete your maintenance tasks efficiently and keep your equipment operating at peak performance. Benefit from free shipping in Greece on orders over 100€ and gain access to B2B wholesale options if you manage multiple machines. Whether you need belts, filters, hydraulic components, or safety equipment, our range supports your goal to maintain smooth equipment operation and maximize uptime.
Start protecting your investment today. Explore our inventory online and find the exact parts you need to support your preventative maintenance efforts. Visit our website now to shop with confidence and keep your tractor ready for every field challenge. Your reliable farming season begins with the right parts from Pexlivanidis.
Frequently Asked Questions
What are the key steps in preventative maintenance for tractors?
Preventative maintenance for tractors includes preparing your tractor and workspace, inspecting key components, performing essential maintenance tasks, and verifying performance and maintenance quality. Begin by conducting a thorough pre-operational inspection to identify any issues before they escalate.
How often should I check fluid levels in my tractor?
You should check fluid levels in your tractor before every use or at least once a week during the busy season. Maintaining proper levels helps prevent engine wear and avoids potential breakdowns.
What should I do if I notice a leak during my tractor inspection?
If you notice a leak during your inspection, immediately identify the source and assess the severity of the problem. Place cardboard under the area to track any further fluid seepage and address the issue before operating the tractor.
How can I keep detailed maintenance records for my tractor?
Maintain a log of every service performed, including fluid changes and parts replaced, by noting the date and hours used. This record helps track maintenance patterns and supports warranty claims and future repair decisions.
What are the common signs that my tractor needs maintenance?
Common signs that your tractor may need maintenance include unusual noises, changes in engine performance, and warning lights on your dashboard. Pay attention to these symptoms and address them promptly to avoid more significant issues.
How can I verify that my maintenance tasks were effective?
To verify effective maintenance tasks, run your tractor for a brief period and listen for any abnormal sounds while monitoring gauge readings. Conducting this verification helps ensure all systems are functioning correctly and allows you to catch any issues early.