

Every Thessaloniki or Kavala operator knows the frustration of a tractor sitting idle during peak fieldwork. Equipment trouble can bring progress to a halt, threatening both productivity and profit. By focusing on systematic visual checks and proactive maintenance, you gain control over potential breakdowns before they become major setbacks. This guide provides practical steps you can use right away to identify problems early, keep your machinery running smoothly, and minimize costly downtime.
Table of Contents
- Step 1: Inspect Equipment For Visible Issues
- Step 2: Assess Fluid Levels And Power Sources
- Step 3: Test Key Mechanical And Electrical Functions
- Step 4: Identify And Replace Faulty Parts
- Step 5: Verify Repairs For Reliable Operation
Quick Summary
| Key Insight | Explanation |
|---|---|
| 1. Conduct thorough visual inspections | Regularly check for wear, damage, and leaks to prevent costly breakdowns. |
| 2. Monitor fluid levels regularly | Ensure proper fluid levels in the engine, hydraulics, and cooling systems to maintain performance. |
| 3. Test mechanical and electrical functions | Systematically verify all controls and systems for reliable equipment operation. |
| 4. Replace faulty components promptly | Identify and swap out damaged parts based on manufacturer specifications to ensure machinery integrity. |
| 5. Verify repairs with comprehensive testing | After repairs, run equipment through full cycles to confirm everything works correctly and safely. |
Step 1: Inspect equipment for visible issues
Prepare to protect your agricultural machinery by performing a thorough visual inspection before operation. This critical first step helps you catch potential problems early and prevent expensive breakdowns.
Start by walking around your entire piece of equipment with good lighting and a keen eye. Systematic visual checks are essential for identifying potential issues quickly. Look carefully for signs of wear, damage, or abnormal conditions like rust, cracks, loose components, or fluid leaks. Pay special attention to key areas such as hydraulic lines, belts, hoses, and structural connections.
Focus on checking specific zones methodically. Examine tire conditions for uneven wear or damage. Inspect metal surfaces for significant rust or structural weakening. Check all electrical connections for corrosion or loose wiring. Verify that safety guards and protective covers are intact and properly secured. Agricultural equipment maintenance requires meticulous attention to detail.
Pro tip: Keep a flashlight and small notebook in your equipment inspection kit to document and illuminate hard-to-see areas during your visual assessment.
Here is a summary of the most important inspection zones and what to watch for:
| Inspection Zone | Key Issue to Watch For | Impact of Neglect |
|---|---|---|
| Tires | Uneven wear or damage | Reduced safety and performance |
| Hydraulic Lines | Leaks or cracks | Loss of pressure or failure |
| Electrical Systems | Corrosion, loose wiring | Potential start failure |
| Structural Parts | Rust or weakened connections | Risk of major breakdown |
| Safety Guards | Missing or loose covers | Increased injury risk |
Step 2: Assess fluid levels and power sources
Ensure your agricultural equipment runs smoothly by carefully checking all critical fluid levels and power sources. This essential maintenance step prevents unexpected breakdowns and helps you catch potential problems before they become serious.
Agricultural equipment maintenance requires systematic fluid and power checks. Start with the engine oil level using the dipstick. Pull it out, wipe clean, reinsert, then check the oil mark. Look for proper levels and signs of contamination or unusual color. Next, examine hydraulic fluid reservoirs checking both quantity and clarity. Check coolant levels in the radiator or overflow tank, ensuring they meet manufacturer recommended amounts.
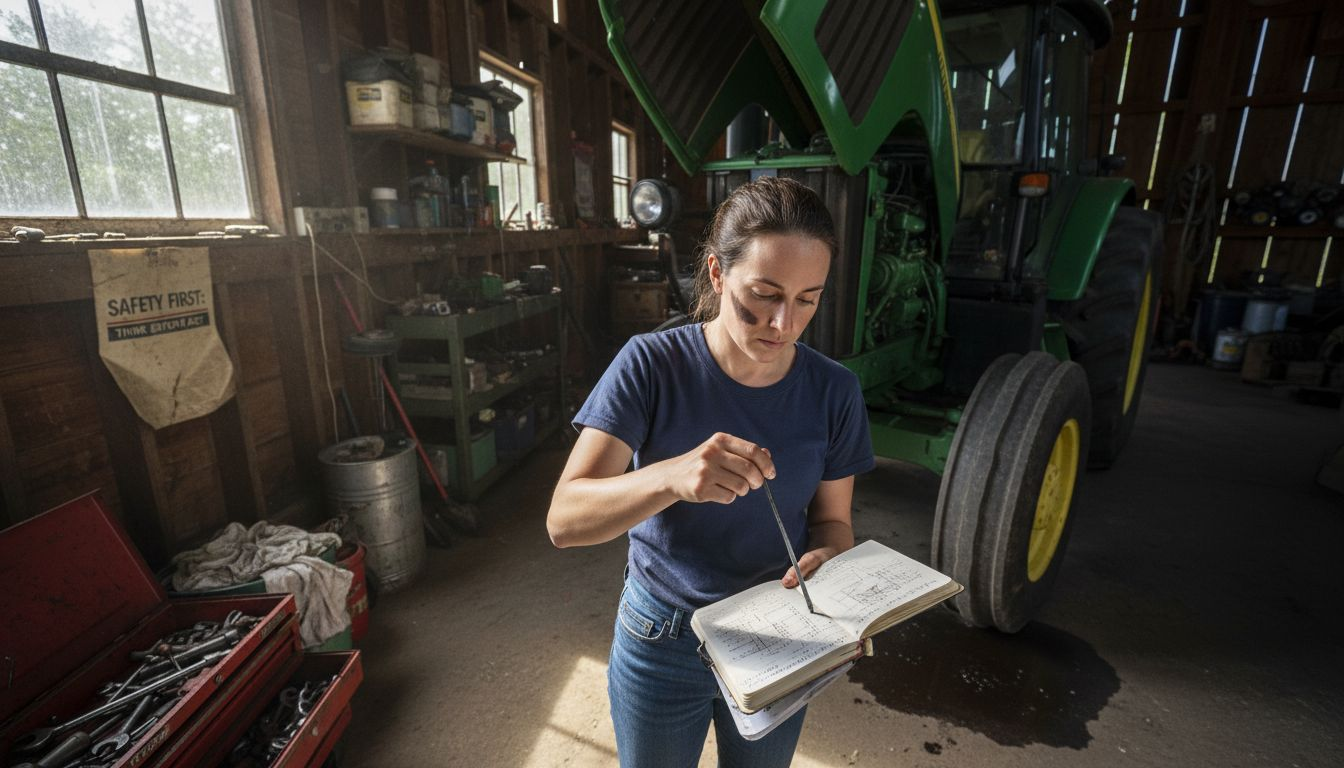
Move on to power source assessment. Inspect the battery terminals for corrosion, checking that connections are tight and clean. Verify battery charge using a multimeter or battery tester. Examine fuel levels and look for any signs of water or debris in the fuel system. Fluid testing protocols recommend careful visual and physical inspections to detect potential issues early.
Pro tip: Always keep a clean rag and notebook nearby during fluid checks to record exact levels and note any unusual observations for future reference.
Step 3: Test key mechanical and electrical functions
Prepare to verify the operational integrity of your agricultural equipment by systematically testing its critical mechanical and electrical systems. This crucial step ensures your machinery is ready for reliable field performance.
Agricultural machinery safety requires comprehensive functional testing. Begin with electrical systems by checking all control panel lights and indicators. Verify that warning lights activate correctly and that digital displays show proper readings. Test starter motors by engaging the ignition and listening for smooth startup sounds. Examine all electrical connections for secure mounting and absence of corrosion.
Move to mechanical function testing. Check hydraulic system responsiveness by slowly engaging different implement controls. Observe smooth movement without jerking or unusual resistance. Agricultural equipment testing involves verifying power take-off mechanisms, checking belt tensions, and ensuring all moving parts operate without unexpected noise or vibration. Simulate actual working conditions by running each mechanical system through its full range of motion.
Pro tip: Create a standardized checklist for each equipment test to ensure consistent and thorough evaluation of mechanical and electrical functions.
Step 4: Identify and replace faulty parts
Understanding how to diagnose and replace worn or damaged components is crucial for maintaining your agricultural equipment’s performance and preventing costly breakdowns. Your ability to quickly identify and swap out faulty parts can save significant time and money.
Agricultural machinery maintenance requires systematic inspection and strategic part replacement. Start by comparing the condition of suspected faulty components against manufacturer specifications. Look for signs of excessive wear such as metal fatigue, unusual surface textures, or components that show irregular movement. Pay special attention to parts experiencing high stress like belts, hydraulic seals, bearings, and electrical connections. Compare these components side by side with new parts to accurately assess their condition.
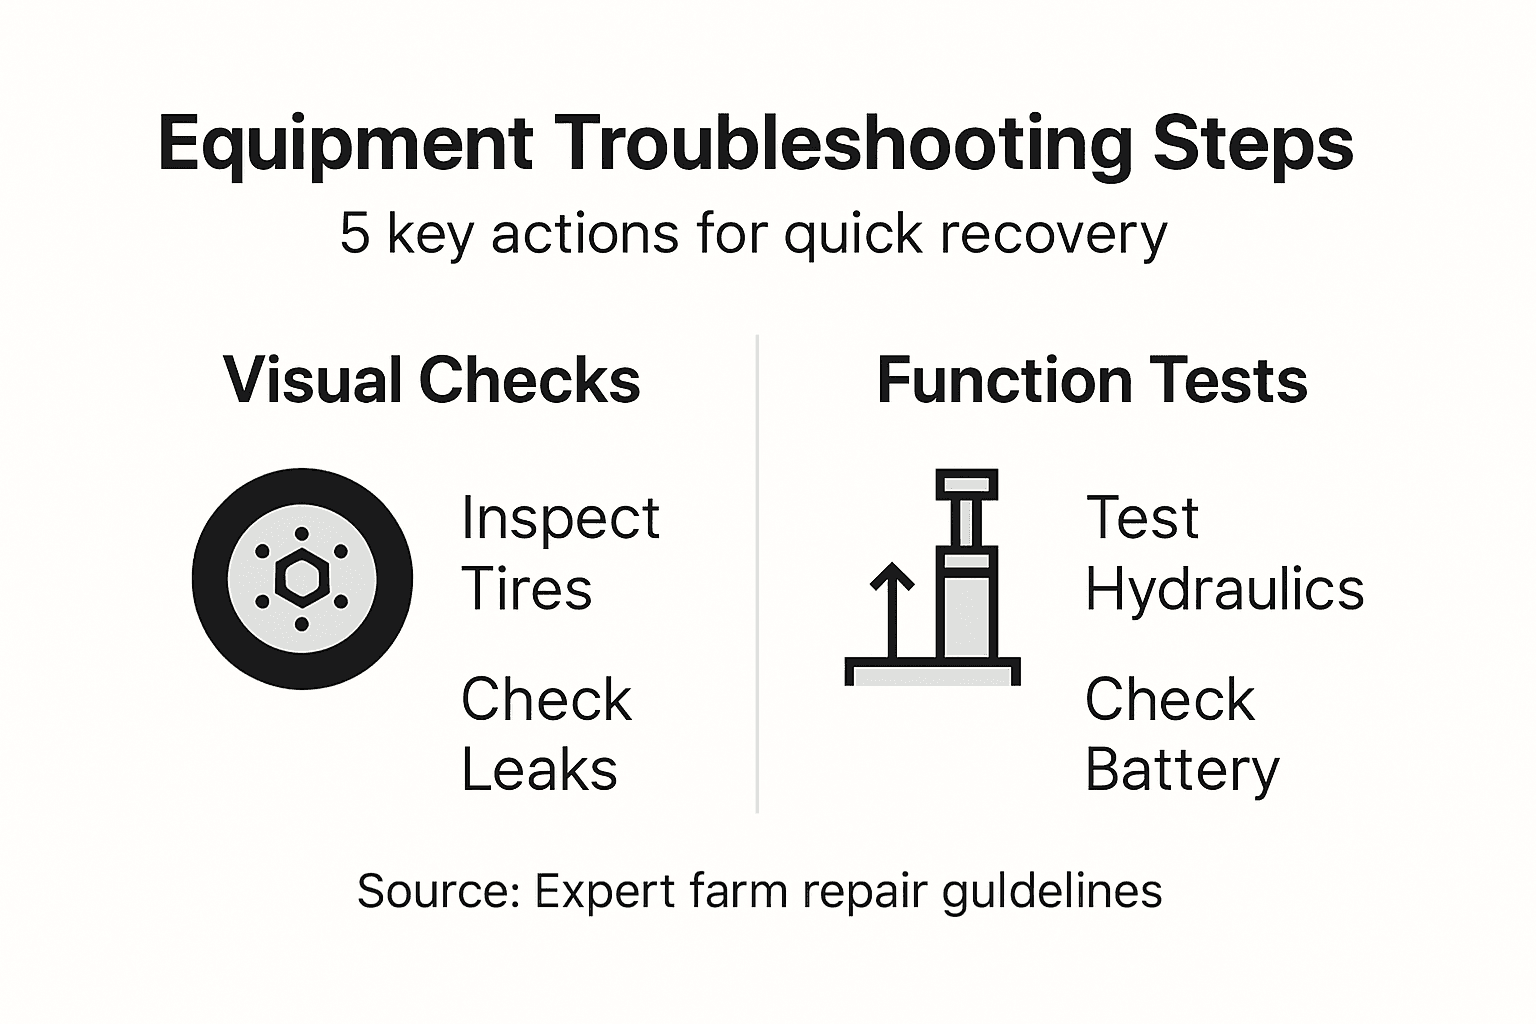
When replacing parts, ensure you have the exact manufacturer recommended replacement. Equipment reliability strategies emphasize using precise specifications to maintain machinery integrity. Before installation, clean the mounting area thoroughly. Check that new parts fit precisely without forcing or modifications. Lubricate moving parts according to manufacturer guidelines and verify proper alignment during installation. Double check all connection points and test the replaced component through its full range of motion.
Pro tip: Always photograph the original part configuration before disassembly to help ensure correct reinstallation and reference original positioning.
Step 5: Verify repairs for reliable operation
Concluding your equipment maintenance requires a comprehensive verification process to ensure all repairs meet performance and safety standards. This final step transforms your repair work from a simple fix into a guarantee of reliable agricultural machinery operation.
Agricultural maintenance procedures emphasize systematic post-repair testing. Start by running the equipment through a complete operational cycle under controlled conditions. Listen carefully for any unusual sounds, monitor temperature and pressure readings, and observe movement patterns. Check that all repaired components function smoothly without unexpected vibrations or resistance. Verify that electronic systems respond correctly and that mechanical movements align with manufacturer specifications.
Extend your verification beyond initial testing. Equipment reliability verification recommends monitoring the machinery during initial operational periods. Document performance metrics, track any emerging issues, and compare current functionality against pre-repair baseline measurements. Pay special attention to systems directly impacted by recent repairs, watching for signs of potential recurring problems or unexpected performance variations.
Pro tip: Create a detailed repair log documenting all testing procedures, observations, and performance metrics to establish a comprehensive maintenance history for future reference.
The following table contrasts pre-operation and post-repair checks for effective maintenance:
| Process Stage | Main Focus | Typical Outcome |
|---|---|---|
| Pre-operation | Detect potential threats | Avoids breakdowns and delays |
| Post-repair | Confirm repair integrity | Ensures long-term reliability |
Keep Your Agricultural Equipment Running Smoothly with Reliable Parts
Troubleshooting agricultural equipment quickly requires more than just knowledge it demands swift access to the right replacement parts when inspections reveal worn or faulty components. Whether you are dealing with hydraulic leaks, electrical issues, or worn belts the key pain points include avoiding costly breakdowns and ensuring safety during operation. The article highlights the importance of systematic checks and part replacement to maintain reliable field performance.
Don’t let equipment downtime stop your work Browse an extensive inventory of over 20,000 tractor accessories and spare parts at pexlivanidis.com. Enjoy free shipping in Greece for orders above 100€ and streamline your maintenance with parts that meet manufacturer specifications. Take advantage of our easy product search, wholesale membership options, and expert support to get your machinery back in action fast. Visit pexlivanidis.com now and prepare your equipment for uninterrupted productivity.
Frequently Asked Questions
What should I look for during a visual inspection of my agricultural equipment?
Start by checking for signs of wear, damage, or leaks. Focus on key areas like tires, hydraulic lines, and electrical connections to identify potential issues early and prevent breakdowns.
How do I assess fluid levels for proper equipment operation?
Check critical fluid levels such as engine oil, hydraulic fluid, and coolant. Make sure they meet manufacturer recommendations to ensure your equipment runs smoothly and reduce the risk of unexpected failures.
What are the key mechanical and electrical functions I should test?
Verify that all control panel indicators work, and check the responsiveness of hydraulic systems and moving parts. Conduct these tests methodically to ensure reliable performance and catch any abnormalities before using the equipment in the field.
How can I identify and replace faulty parts in my equipment?
Inspect components for signs of excessive wear, such as unusual surface textures or irregular movements. Ensure you have the exact manufacturer-recommended replacements and install them according to proper guidelines for optimal performance.
What steps should I take to verify repairs after maintenance?
Run the equipment through a complete operational cycle to check for unusual sounds or movements. Document your observations and monitor performance to ensure the repairs meet safety and reliability standards.