
Farmers across Greece know how quickly tractors can gather stubborn dirt and residue after long days in the field. Keeping your machine clean is more than just for looks—it directly affects performance, safety, and long-term reliability. With the right selection of cleaning tools and methods, you can protect your investment, reduce costly repairs, and keep your equipment running at its best. Discover how professional cleaning strategies make a powerful difference for your machinery’s lifespan.
Table of Contents
- Step 1: Gather Essential Cleaning Tools and Supplies
- Step 2: Prepare Tractor for Safe and Effective Washing
- Step 3: Remove Dirt and Debris from Exterior Surfaces
- Step 4: Clean Cab, Engine, and Key Components Thoroughly
- Step 5: Inspect and Confirm Cleaning Quality on All Parts
Quick Summary
| Key Point | Explanation |
|---|---|
| 1. Assemble the right cleaning tools | Use specialized tools like pressure washers, stiff brushes, and biodegradable detergents for effective cleaning. |
| 2. Properly prepare your tractor | Ensure safety by parking on a level surface, engaging the brake, and covering sensitive components before cleaning. |
| 3. Systematically clean exterior surfaces | Remove dirt using a pre-rinse and gentle scrubbing techniques, focusing on hard-to-reach and sensitive areas. |
| 4. Clean interior and critical components | Pay careful attention to the cab and engine, using appropriate cleaning agents to avoid damage to sensitive parts. |
| 5. Conduct a thorough final inspection | Review all cleaned parts for remaining dirt or damage, ensuring everything functions properly before use. |
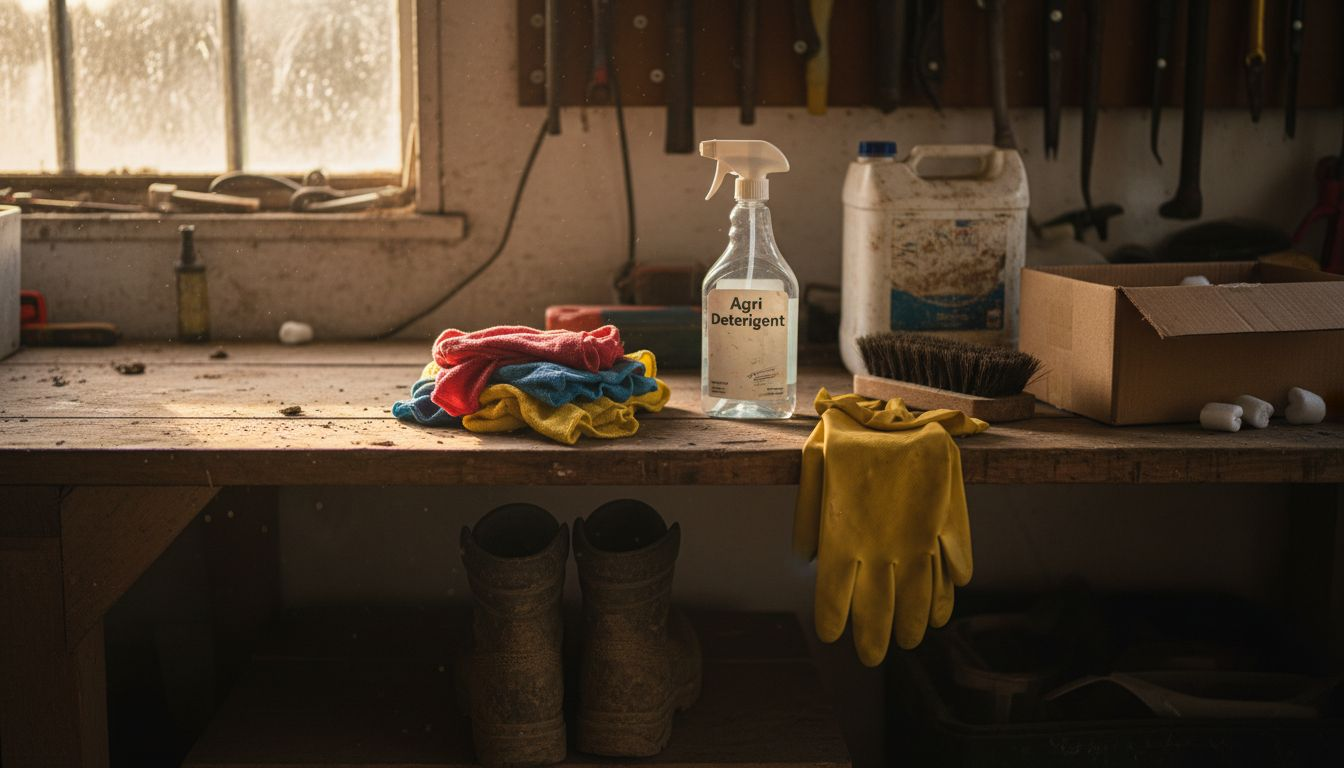
Step 1: Gather Essential Cleaning Tools and Supplies
Preparing for a thorough tractor cleaning starts with assembling the right equipment and supplies. You’ll need a comprehensive toolkit that allows you to remove dirt, grime, and agricultural residue effectively while protecting your valuable machinery.
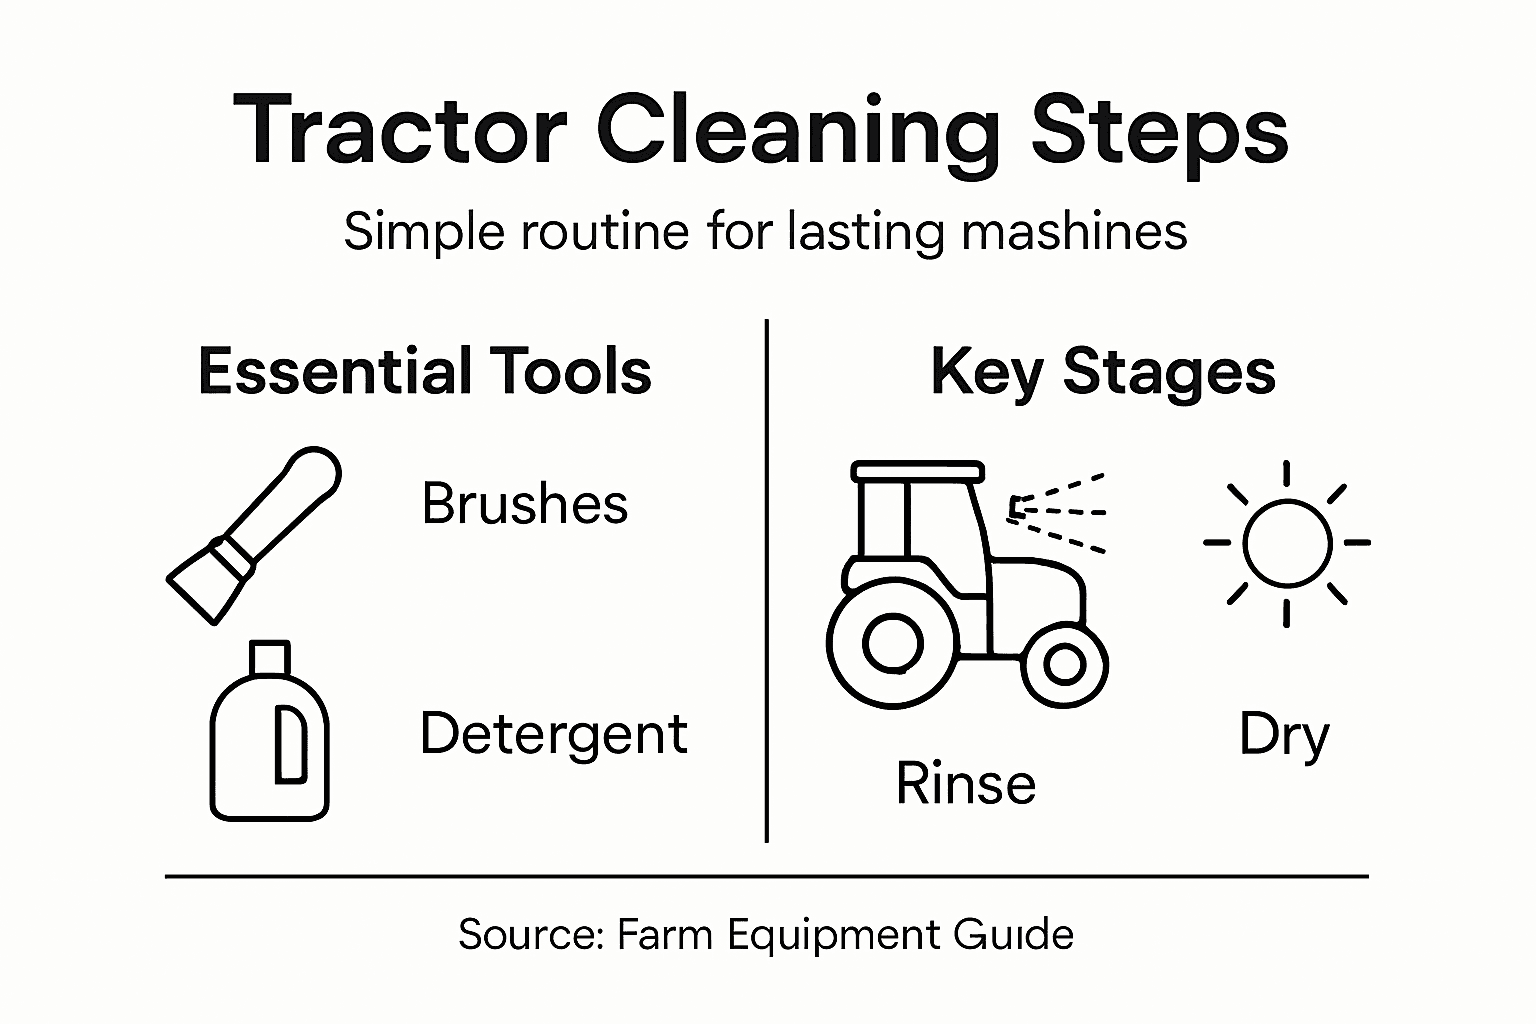
Start by collecting heavy-duty cleaning materials that can withstand rigorous farm work. Your essential toolkit should include:
- Pressure washer for powerful cleaning
- Stiff-bristled brushes with varying sizes
- Specialized agricultural cleaning and sanitizing supplies
- Biodegradable detergents designed for heavy equipment
- Microfiber towels and clean rags
- Protective rubber gloves
- Safety glasses
- Bucket or cleaning caddy
When selecting cleaning agents, choose products specifically formulated for agricultural machinery. These specialized detergents effectively break down tough dirt, grease, and organic matter without damaging your tractor’s sensitive surfaces. Avoid using household cleaners that might contain harsh chemicals.
Here’s a summary comparing the impact of proper and improper tractor cleaning approaches:
| Approach | Benefits | Risks |
|---|---|---|
| Proper Cleaning | Prolongs machinery lifespan | Minimal risk, prevents costly repairs |
| Improper Cleaning | Quick but potentially damaging results | Increased wear, electrical or mechanical damage |
| Use of Specialized Agents | Safeguards sensitive surfaces | Reduces chance of chemical corrosion |
| Use of Household Cleaners | May save time initially | Damages paint, harms electronic components |
Your cleaning supplies are your first line of defense in maintaining your tractor’s performance and longevity.
Pro tip: Invest in color-coded cleaning rags to prevent cross-contamination and make your cleaning process more organized.
Step 2: Prepare Tractor for Safe and Effective Washing
Before you start cleaning your tractor, proper preparation is crucial to ensure both safety and equipment protection. Getting your machine ready involves several key steps that will help you avoid potential damage and work efficiently.
Begin by performing a comprehensive tractor inspection checklist to identify any potential issues before washing. Your pre-cleaning preparation should include:
- Park the tractor on a level, well-drained surface
- Engage the parking brake firmly
- Turn off the engine completely
- Allow the engine to cool down
- Disconnect the battery
- Cover sensitive electrical components with waterproof protective materials
- Check and remove any loose debris from exterior surfaces
Pay special attention to protecting electrical systems and sensitive mechanical components during preparation. Moisture can cause significant damage if not managed correctly, so use waterproof covers and carefully seal any exposed electrical connections. Modern tractors have complex electronic systems that require extra care during cleaning.
Thorough preparation prevents potential water damage and ensures a safe, effective cleaning process.
Pro tip: Keep a dedicated set of clean, dry towels nearby to immediately address any unexpected water intrusion during the washing process.
Step 3: Remove Dirt and Debris from Exterior Surfaces
Cleaning a tractor’s exterior requires a systematic approach to effectively remove accumulated dirt, mud, and agricultural residue. Your goal is to strip away layers of grime without damaging the tractor’s sensitive surfaces or delicate components.
Begin by implementing equipment cleaning techniques that prioritize thorough yet gentle removal of debris. Follow these key steps for comprehensive dirt removal:
- Use a pre-rinse spray to loosen stubborn dirt
- Start with soft brushes for initial surface cleaning
- Progress to stiffer brushes for hardened mud and grime
- Work from top to bottom to prevent re-contaminating clean areas
- Rinse thoroughly between cleaning stages
- Pay special attention to wheel wells and undercarriage
- Use specialized agricultural cleaning detergents
Focus on using the right pressure and technique when scrubbing. Too much force can scratch paint or damage protective coatings, while too little won’t effectively remove tough dirt. Rotate your brushes and cleaning tools to ensure even cleaning and prevent potential surface damage.
Systematic dirt removal protects your tractor’s exterior and prevents long-term wear and corrosion.
Pro tip: Invest in microfiber towels for final surface drying to prevent water spots and minimize potential rust formation.
Step 4: Clean Cab, Engine, and Key Components Thoroughly
Cleaning your tractor’s most critical components requires precision and careful attention to detail. Each area demands a specific approach to ensure thorough cleaning without risking damage to sensitive mechanical systems.
Begin by following tractor inspection cleaning guidelines that prioritize careful handling of electrical and mechanical components. Your comprehensive cleaning process should address these key areas:
- Cab Interior Cleaning:
- Remove floor mats
- Vacuum all surfaces thoroughly
- Wipe down controls and dashboard
- Clean air vents and hard-to-reach corners
- Engine Bay Preparation:
- Disconnect battery
- Cover electrical connections
- Use specialized degreasing agents
- Apply gentle, targeted cleaning techniques
- Key Component Maintenance:
- Clean hydraulic system exterior
- Inspect belts and hoses
- Remove accumulated grease and dirt
- Check for potential wear or damage
Pay special attention to preventing water from entering sensitive electrical systems. Use compressed air and microfiber cloths to remove dust and debris without introducing moisture. Professional-grade degreasers work best for stubborn grime, but always follow manufacturer recommendations for your specific tractor model.
Precision cleaning protects your tractor’s performance and extends its operational lifespan.
Pro tip: Photograph key components before deep cleaning to help you remember their original configuration and spot any changes during the process.
Step 5: Inspect and Confirm Cleaning Quality on All Parts
After thoroughly cleaning your tractor, a comprehensive final inspection ensures every component meets the highest standards of cleanliness and functionality. Your goal is to identify any missed spots, potential issues, or areas requiring additional attention.
Follow tractor inspection guidelines to systematically evaluate your cleaning results. Your detailed inspection should cover these critical areas:
- Exterior Surface Check:
- Verify no dirt or grime remains
- Inspect paint for scratches or damage
- Check for even cleaning across all surfaces
- Mechanical Components:
- Examine belts and hoses for cleanliness
- Confirm no water residue in sensitive areas
- Verify electrical connections are dry
- Functional Verification:
- Test all lights and electrical systems
- Check tire condition and pressure
- Ensure no loose parts or cleaning residue
Use good lighting and take your time during the inspection. A bright work area helps you spot even minor imperfections. Consider using a clean white cloth to wipe surfaces, which will quickly reveal any remaining dirt or cleaning residue.
Here’s a quick reference for inspecting cleaning quality after washing:
| Inspection Step | What to Look For | Next Action if Needed |
|---|---|---|
| Surface Check | No dirt, no scratches | Spot clean or rewash areas |
| Mechanical Components | Dry belts, clean hoses | Remove moisture, re-clean |
| Electrical Systems | Dry, all connections secure | Dry, reseal connections |
| Functional Testing | Lights function, tires inflated | Repair or adjust as needed |
A thorough final inspection prevents potential mechanical issues and ensures your tractor is truly clean and ready for work.
Pro tip: Keep a digital camera or smartphone handy to document your cleaning process and capture any areas that might need future attention.
Keep Your Tractor Running Strong with the Right Parts and Supplies
Maintaining your tractor through detailed cleaning steps like protecting electrical components and using specialized detergents is essential to extend its lifespan and avoid costly repairs. However, even the best cleaning routine cannot replace the need for high-quality tractor parts and accessories that keep your machine operating at peak performance. Finding reliable replacement parts and accessories that match your tractor’s model can be challenging and time-consuming.
At Pexlivanidis.com, we understand these challenges and provide a comprehensive selection of over 20,000 agricultural machinery parts including tractor accessories and spare parts. Whether you need components to replace worn belts, hoses, or electrical connections highlighted in the cleaning process, or want to prepare for ongoing maintenance, our inventory supports every step to keep your machine durable and dependable. Benefit from free shipping within Greece on orders over 100€ and explore options tailored for both retail and wholesale customers.
Don’t wait for small problems to become expensive repairs. Explore our wide range of tractor parts today and take control of your tractor’s longevity with parts that match the care you give it. Visit Pexlivanidis.com now and ensure your tractor stays clean, strong, and ready for the toughest jobs.
Frequently Asked Questions
What are the essential tools needed for tractor cleaning?
To clean a tractor effectively, gather tools like a pressure washer, stiff-bristled brushes, biodegradable detergents, microfiber towels, protective gloves, and safety glasses. Start by assembling these items to ensure a thorough cleaning process without damaging equipment.
How should I prepare my tractor before washing it?
Before washing your tractor, park it on a level surface, engage the parking brake, turn off the engine, and allow it to cool down. Disconnect the battery and cover sensitive electrical components to prevent water damage during the cleaning process.
What steps should I follow for removing dirt and debris from my tractor’s exterior?
Begin by using a pre-rinse spray to loosen stubborn dirt, then clean with soft brushes before progressing to stiffer brushes for hardened mud. Always work from top to bottom and rinse thoroughly between cleaning stages to prevent re-contamination.
How can I ensure that I clean the engine and cab interior properly?
While cleaning the cab interior, vacuum all surfaces and wipe down controls carefully. For the engine bay, cover electrical connections, use specialized degreasers, and employ gentle cleaning techniques to avoid moisture intrusion in sensitive areas.
What should I do after cleaning my tractor to verify it is properly cleaned?
After cleaning, conduct a thorough inspection, checking for remaining dirt, water residue, and ensuring all electrical connections are dry. Look closely at the surfaces, mechanical components, and perform functional tests to confirm that everything is operating correctly.
How often should I clean my tractor for optimal maintenance?
Aim to clean your tractor after every major use, especially if it has been exposed to dirt or agricultural residue. Regular cleaning not only enhances appearance but can also reduce wear and tear, extending the machine’s lifespan by up to 30%.