
Most Greek farmers in Thessaloniki and Kavala know that a neglected tractor can cost thousands in unexpected repairs, yet fewer than half keep detailed maintenance records like American operators. Tractor performance and reliability depend on proactive checks, safe workspaces, and well-organized tools. This guide delivers practical service steps and proven inspection strategies tailored for agricultural professionals who want to increase equipment lifespan and achieve safer, more productive seasons.
Table of Contents
- Step 1: Prepare Essential Tools And Workspace For Service
- Step 2: Inspect Vital Fluids And Filters In Your Tractor
- Step 3: Clean Engine, Radiator, And Key Components Thoroughly
- Step 4: Test Electrical Systems And Lighting For Reliability
- Step 5: Verify Tire Condition And Adjust For Optimal Traction
- Step 6: Record Maintenance Results And Plan Next Checks
Quick Summary
| Key Insight | Explanation |
|---|---|
| 1. Organize Tools and Workspace | Clearing your workspace and organizing tools enhances safety and operational efficiency. |
| 2. Regularly Check Fluids and Filters | Inspecting engine oil, coolant, and filters prevents machinery wear and maintains performance. |
| 3. Clean Key Components Thoroughly | Keeping components like the engine and radiator clean optimizes performance and prevents issues. |
| 4. Test Electrical Systems for Safety | Regular testing of the electrical systems ensures reliability and safe operation of the tractor. |
| 5. Document Maintenance Activities | Keeping a detailed maintenance log helps track service history and plan future maintenance needs. |
Step 1: Prepare essential tools and workspace for service
Preparing your workspace and gathering the right tools before servicing your tractor is more than just good practice it is critical for safety and efficiency. Comprehensive tractor inspection checklists emphasize the importance of setting up a clean organized workspace with all necessary equipment within reach.
Start by clearing a flat level surface in your maintenance area and gather essential tools like wrenches socket sets screwdrivers pliers measuring tape safety gloves and protective eyewear. Spread out a clean tarp or workmat to protect sensitive parts and prevent dirt contamination. Check your operators manual to confirm the specific tools recommended for your tractor model and have them neatly arranged in order of potential use. Ensure good lighting and ventilation in your workspace and keep a fire extinguisher nearby as a safety precaution.
Place your tractor on a stable surface with ample room to move around it fully. If working on uneven ground use sturdy jack stands and wheel chocks to prevent unexpected movement. Agricultural safety guidelines recommend creating a clear perimeter around your work area to minimize potential accidents and interruptions.
Pro Tip: Keep a dedicated toolbox or rolling cart specifically for tractor maintenance to streamline your workflow and ensure you always have the right tools readily accessible.
Step 2: Inspect vital fluids and filters in your tractor
Maintaining proper fluid levels and clean filters is crucial for your tractor’s performance and longevity. Daily tractor inspection checklists provide comprehensive guidance on checking essential fluids that keep your machinery running smoothly.
Begin by parking your tractor on a level surface and allowing the engine to cool down. Check the engine oil level using the dipstick carefully wiping it clean before reinserting and checking the actual reading. Examine the oil for any unusual discoloration or debris that might indicate internal wear. Next inspect the coolant reservoir ensuring the fluid is at the correct level and appears clean without any signs of contamination. For hydraulic systems carefully examine the hydraulic fluid looking for clarity and checking that it is within the recommended range. Agricultural equipment maintenance guidelines emphasize the importance of monitoring these critical fluids to prevent potential mechanical failures.
Move on to inspecting air filters fuel filters and hydraulic filters. Remove each filter carefully and check for accumulated dirt debris or signs of wear. Replace filters that appear clogged or damaged as these can significantly impact your tractors overall performance and fuel efficiency. Clean the filter housing before installing a new filter to prevent potential contamination.
Pro Tip: Always keep a log of fluid checks and filter replacements to track your tractors maintenance history and anticipate future service needs.
Step 3: Clean engine, radiator, and key components thoroughly
Thorough cleaning of your tractor’s key components is essential for maintaining optimal performance and preventing potential mechanical issues. Agricultural safety component guides highlight the critical importance of regular engine and radiator maintenance to ensure efficient operation.
Start by disconnecting the battery and allowing the engine to cool completely. Use compressed air or a soft brush to remove loose dirt and debris from the engine block radiator fins and surrounding areas. Pay special attention to the radiator cooling fins carefully blowing out accumulated dust and grass clippings that can impede airflow. For stubborn grime use a specialized engine degreaser spraying carefully and avoiding electrical components. Wipe down metal surfaces with clean microfiber cloths being careful not to leave any moisture that could cause corrosion. Tractor inspection protocols recommend thorough yet gentle cleaning techniques to prevent damage while removing contaminants.
Inspect all cleaned components for signs of wear damage or potential issues. Check radiator hoses for cracks or brittleness examine belts for fraying and look for any unusual signs of wear on key mechanical parts. After cleaning ensure all components are completely dry before reconnecting any electrical systems or starting the engine.
Pro Tip: Invest in specialized tractor cleaning tools and use compressed air with variable pressure settings to clean delicate components without causing damage.
Step 4: Test electrical systems and lighting for reliability
Ensuring your tractor’s electrical systems and lighting are functioning correctly is critical for safe and efficient operation. Tractor testing laboratories conduct rigorous evaluations to verify electrical system performance under various challenging conditions.
Start by checking the battery terminals for corrosion and ensuring tight clean connections. Use a multimeter to test battery voltage checking that it reads between 12.4 and 12.7 volts for a fully charged battery. Inspect all wiring harnesses for signs of wear fraying or damage looking closely at connection points and areas near moving mechanical components. Test all exterior and interior lights including headlights tail lights brake lights and work lights. Replace any dim or flickering bulbs and verify that each light functions consistently. Electrical safety testing practices recommend comprehensive continuity checks to prevent potential electrical failures during critical farming operations.
Examine the alternator and starter motor for any unusual sounds or resistance when engaging. Check fuses and relays replacing any that appear burnt or damaged. Ensure all electrical connections are secure and free from moisture or dirt that could compromise their performance. Pay special attention to ground connections as poor grounding can cause multiple electrical system issues.
Pro Tip: Invest in a quality digital multimeter with automotive testing capabilities to perform precise electrical diagnostics on your tractor.
Step 5: Verify tire condition and adjust for optimal traction
Maintaining proper tire condition is crucial for your tractor’s performance safety and soil management. Traction mechanics research highlights the critical role that tire condition plays in agricultural machinery efficiency.
Begin by thoroughly inspecting each tire for signs of wear damage or uneven tread. Look carefully for cuts bulges or deep cracks that could compromise tire integrity. Measure tread depth using a standard tire tread gauge ensuring that the depth is uniform across the tire surface. Check tire pressure with a reliable gauge verifying that it matches the manufacturers recommended specifications for your specific tractor model and intended use. Traction and performance guidelines/03%3A_Machinery_Systems/3.01%3A_Traction) suggest adjusting tire pressure based on the current load and terrain to optimize traction and minimize soil compaction.
Consider the specific agricultural tasks you will be performing and adjust tire ballast and configuration accordingly. For heavy soil work you might need to add wheel weights or adjust tire pressure to increase ground contact and stability. Pay attention to the front and rear tire combinations ensuring they provide balanced support and traction across different working conditions. Remove any debris stones or foreign objects embedded in the tire treads that could affect performance or cause potential damage during operation.
Pro Tip: Invest in a digital tire pressure monitoring system to consistently track tire conditions and receive real time performance insights.
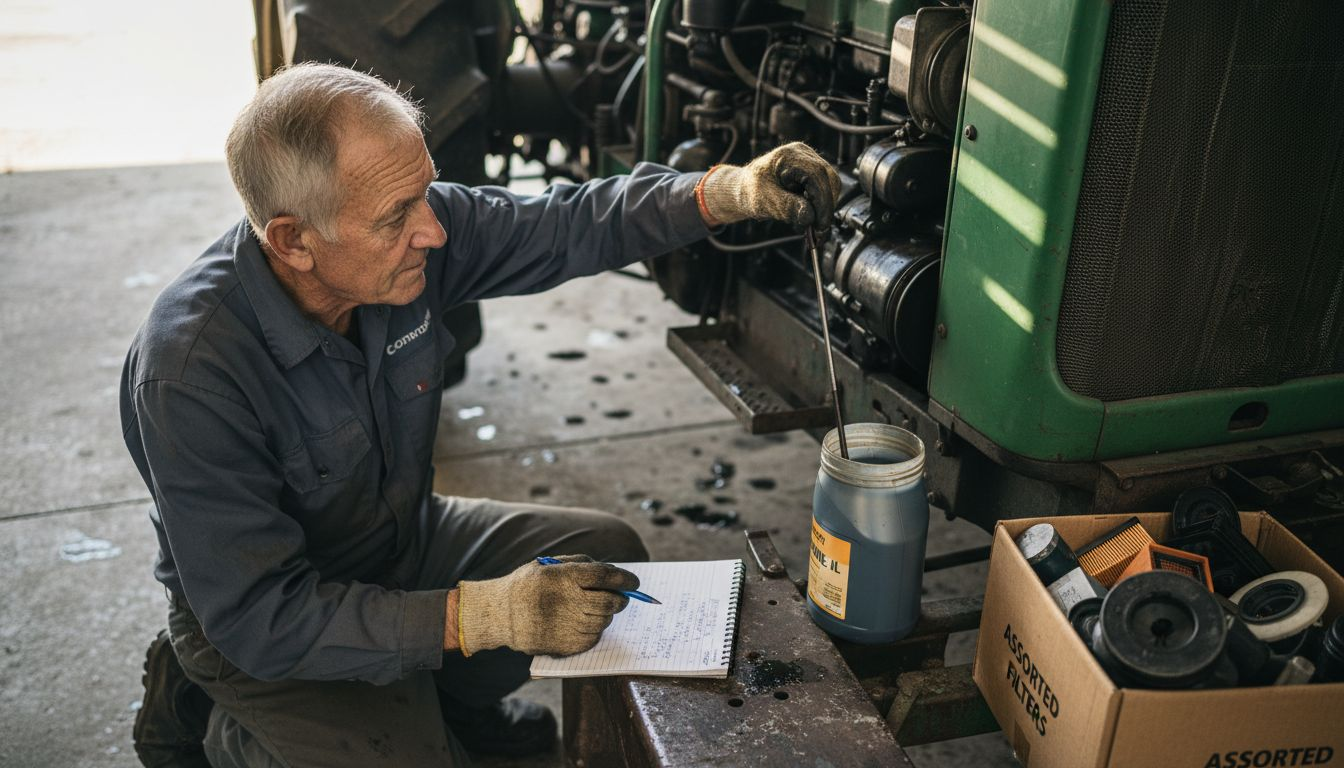
Step 6: Record maintenance results and plan next checks
Documenting your tractor maintenance activities is essential for tracking performance and anticipating future service needs. Maintenance management frameworks emphasize the strategic importance of comprehensive record keeping for agricultural equipment.

Create a detailed maintenance log that captures every inspection performed during this service session. Include specific observations such as fluid levels tire conditions electrical system performance and any components that showed signs of wear or required replacement. Note the date current equipment operating hours and specific details about each maintenance task completed. Photograph key areas or components if possible to create a visual record that can help track changes over time. Maintenance best practices recommend establishing a systematic approach to documenting maintenance activities to support long term equipment reliability.
Develop a proactive maintenance schedule based on your current findings. Calculate the next recommended service intervals using manufacturer guidelines equipment age and your specific usage patterns. Set digital or physical reminders for upcoming maintenance tasks and identify any potential issues that might require closer monitoring in future inspections. Consider creating a digital spreadsheet or using specialized maintenance tracking software to streamline your record keeping process.
Pro Tip: Use cloud based maintenance tracking apps that automatically calculate service intervals and send maintenance reminders directly to your smartphone.
Below is a comparison of digital and manual tractor maintenance record-keeping methods:
| Method | Ease of Use | Accessibility | Best For |
|---|---|---|---|
| Manual Logbook | Moderately easy | Limited (on-site) | Simple, small operations |
| Spreadsheet | Easy with setup | Computer/tablet | Historical data review |
| Cloud Maintenance App | Very easy | Anywhere, real-time | Multi-tractor fleets |
Here’s a summary of common tractor maintenance tasks and their key purpose:
| Maintenance Task | Key Purpose | Tools Needed |
|---|---|---|
| Fluid & Filter Check | Prevent engine wear and failure | Dipstick, filter wrench |
| Engine Cleaning | Improve cooling and efficiency | Compressed air, degreaser |
| Electrical System Test | Ensure safety and reliability | Multimeter, screwdriver |
| Tire Inspection | Maximize traction & safety | Tire gauge, tread depth tool |
| Record Keeping | Track service & plan future checks | Logbook, maintenance app |
Enhance Your Tractor Maintenance with Reliable Spare Parts
Proper tractor maintenance is key to preventing costly breakdowns and boosting performance. This article highlighted critical steps like fluid checks, engine cleaning, tire inspections, and electrical system tests. Tackling these challenges means you need easy access to high-quality tractor parts designed for durability and exact fit. Avoid downtime and ensure your tractor operates at peak efficiency by using trusted components that stand up to rigorous agricultural work.
Explore our extensive collection of tractor spare parts at Pexlivanidis where over 20,000 items are readily available. Benefit from free shipping within Greece when you place orders above 100€, making it easier than ever to keep your equipment in top shape. Take control of your tractor’s maintenance today by visiting pexlivanidis.com and find the parts you need to get the job done right now.
Frequently Asked Questions
What are the essential tools I need for tractor maintenance?
To perform effective tractor maintenance, gather essential tools such as wrenches, socket sets, screwdrivers, pliers, and safety gear like gloves and protective eyewear. Organize them neatly and ensure they are easily accessible for streamlined workflow.
How do I check the fluid levels in my tractor?
To check fluid levels, park your tractor on a level surface and allow the engine to cool down. Use a dipstick for engine oil and visually inspect coolant and hydraulic fluid levels, ensuring they are clean and within the recommended range.
What steps should I take to clean my tractor’s engine and radiator?
Start by disconnecting the battery and using compressed air or a soft brush to remove dirt and debris from the engine and radiator. For stubborn grime, apply a specialized engine degreaser and wipe surfaces with a microfiber cloth to prevent moisture buildup.
How can I ensure my tractor’s electrical systems are functioning properly?
Check the battery terminals for corrosion and use a multimeter to measure battery voltage, ensuring it’s between 12.4 and 12.7 volts. Inspect wiring harnesses for any signs of damage and test all lights to confirm consistent performance.
Why is it important to inspect tractor tires regularly?
Regular inspection of tractor tires is crucial for performance and safety, as it helps you identify signs of wear, damage, and correct tire pressure. Check tread depth and ensure it’s within specifications to maximize traction and reduce soil compaction during operations.
How should I record my tractor maintenance results?
Create a detailed maintenance log that includes observations about fluid levels, tire conditions, and any components requiring replacement. Document the date and service details to establish a proactive maintenance schedule and forecast future service needs.