
TL;DR:
- If your New Holland tractor brakes feel spongy, pull to one side, or sink slowly under pressure, it signals a warning rather than normal wear. The wet-disc hydraulic system relies on oil quality and internal seals, so contamination or leaks cause brake failure, requiring proper diagnosis and timely maintenance. Regular checks of oil condition, pedal feel, and leak inspection can prevent costly repairs and ensure safe tractor operation.
If your New Holland brakes feel spongy, pull to one side, or slowly sink under pressure, that’s not just wear. It’s a warning. New Holland tractor brakes operate on hydraulic wet-disc systems that are fundamentally different from the drum or disc setups most operators recognize from automotive experience, and the failure modes reflect that difference entirely. This guide walks you through how these systems work, what causes them to fail, how to diagnose the problem yourself, and what your repair options actually look like, from a quick fluid check to a full brake pack replacement.
Table of Contents
- Key takeaways
- How New Holland brakes are designed to work
- Common causes of New Holland brake issues
- Step-by-step troubleshooting and maintenance
- Brake repair and replacement options
- Best practices to prevent brake problems
- My take on New Holland brake maintenance
- Where to find quality New Holland brake parts
- FAQ
Key takeaways
| Point | Details |
|---|---|
| Wet-disc design changes everything | New Holland uses oil-submerged brake discs shared with transmission fluid, so contamination destroys braking fast. |
| Sinking pedal means internal leak | A pedal that slowly drops under steady pressure points to a master cylinder or brake valve bypass, not external loss. |
| Oil quality is your best defense | Using the wrong grade or mixing oils degrades friction material and accelerates brake failure over time. |
| Repair costs vary significantly | Services range from around €60 for bleeding to over €800 for axle seal work depending on the model. |
| Early action prevents accidents | Weak brakes signal critical risk and should never be treated as something to adjust around. |
How New Holland brakes are designed to work
Before you can troubleshoot effectively, you need to understand what you are actually dealing with. New Holland tractor brakes are wet multi-disc systems submerged in oil that is shared with the transmission and rear axle housing. That last part is critical. These are not independent brake circuits sealed off from everything else.
Here is how the system works in practice:
- Master cylinder and brake valve: When you press the pedal, hydraulic pressure travels from the master cylinder through the brake valve and applies force to the brake pack inside the rear axle.
- Wet-disc packs: Multiple friction discs and steel separator plates are stacked together. Clamping force from hydraulic pressure squeezes them together to slow the tractor.
- Shared oil circuit: The same oil that lubricates your transmission also bathes these brake discs. This is intentional. The oil dissipates heat, reduces wear, and keeps the friction material conditioned.
- Independent left and right pedals: Unlike a car, New Holland tractors have separate left and right brake pedals, allowing sharp turns at low speed. This also means uneven brake performance is immediately noticeable during field work.
The big implication here: because your brake oil is your transmission oil, anything that contaminates or degrades that fluid affects braking directly. This is not a system where you top up a separate brake fluid reservoir and call it done. Oil condition and the health of internal seals govern everything.
Common causes of New Holland brake issues
Frequent causes of brake power loss include worn or glazed discs, contaminated oil, and internal hydraulic leaks. Knowing which one you are dealing with saves you from replacing parts that do not need replacing.
Worn or glazed brake discs
Friction material on brake discs wears down with use, but glazing is a separate problem. Glazed discs develop a hardened, smooth surface that reduces grip even when thickness is still acceptable. You will notice grinding noises and decreased braking power during normal operation. If the tractor has sat unused for a season, light glazing from corrosion can develop even without heavy use.
Contaminated hydraulic oil
Wrong oil or contamination destroys friction material faster than almost anything else. Using oil that is too thick, mixing different oil types, or allowing water ingress into the axle housing will all compromise the friction coefficient of the brake discs. Braking feels progressively softer over weeks, not overnight, which makes this cause easy to miss.
Internal hydraulic leaks
This is the one that catches operators off guard. Internal leaks cause the pedal to sink slowly under steady pressure without any visible external oil loss. The leak happens inside the master cylinder or brake valve where worn seals allow fluid to bypass the piston rather than building pressure. You press, hold, and the pedal gradually travels toward the floor. That is a bypass leak, not a mechanical wear problem.
Axle seal failure
When the seal between the axle housing and the brake cavity fails, oil migrates onto the disc pack. This causes uneven braking between the left and right sides and is one of the most common reasons a tractor pulls hard in one direction during braking. Hydraulic fluid leaks reduce brake pressure and create environmental hazards that require prompt attention.
Overheating from poor technique
Riding the brake pedal on long downhill runs or through repeated short stops causes glazing from heat, producing smell and dust. Wet-disc systems are heat-tolerant compared to dry systems, but they are not immune. Repeated thermal stress hardens the friction material over time.
Pro Tip: If your tractor pulls left or right under braking and the axle housing oil looks milky or smells burnt, do not assume it is just low oil. That discoloration is contamination, and adding fresh oil on top of contaminated oil only dilutes the problem.
Step-by-step troubleshooting and maintenance
Work through these steps in order. They move from simple to complex, so you are not pulling apart an axle to find a problem that a visual check could have caught in ten minutes.
- Check pedal travel and balance. Push each pedal independently. They should feel firm and reach a hard stop at roughly the same travel point. If one pedal travels noticeably farther, the brake pack on that side is worn or the adjustment needs attention before anything else.
- Inspect the transmission oil. Pull the dipstick and look at the oil on a white rag. Clean oil is amber and transparent. Dark, gritty, or milky oil signals contamination that is actively degrading your brake discs. Regular inspection of brake oil quality is one of the most effective preventive steps you can take.
- Perform the pedal hold test. Press one pedal firmly and hold it with steady pressure for 30 seconds. If it slowly sinks toward the floor, you have an internal bypass leak at the master cylinder or brake valve. This does not show external oil loss, so do not waste time looking for puddles.
- Test braking on a gentle slope. Drive on a mild incline and apply brakes repeatedly. Testing on a gentle hill reveals brake fade that flat-ground testing will never catch. If stopping power drops noticeably after three or four applications in a row, you are dealing with heat-related glazing or oil contamination rather than a simple mechanical wear issue.
- Check for external leaks. Inspect the area around the rear axle housing, brake valve connections, and master cylinder for oil seepage. Even a slow drip from an axle seal will eventually soak the brake pack.
- Bleed the hydraulic circuit. If braking feels inconsistent or spongy despite intact seals and clean oil, air in the hydraulic circuit may be the culprit. Bleeding brakes fixes air-related issues but will not resolve contamination or seal leaks. Work from the wheel farthest from the master cylinder to the closest, keeping the reservoir full throughout the process to prevent new air from entering the system.
- Inspect the brake packs. If all of the above checks fail to identify the issue, or if you already know the discs are due for replacement, the brake pack needs to come out. This means draining the axle oil and removing the brake cover. Measure disc thickness against the manufacturer’s service limit before ordering parts.
Pro Tip: Never bleed brakes with a low reservoir. The moment the fluid level drops below the pickup point, you pull air straight into the circuit and have to start the process over.
Brake repair and replacement options
Once you have diagnosed the problem, here is what the actual repair involves along with realistic cost expectations.
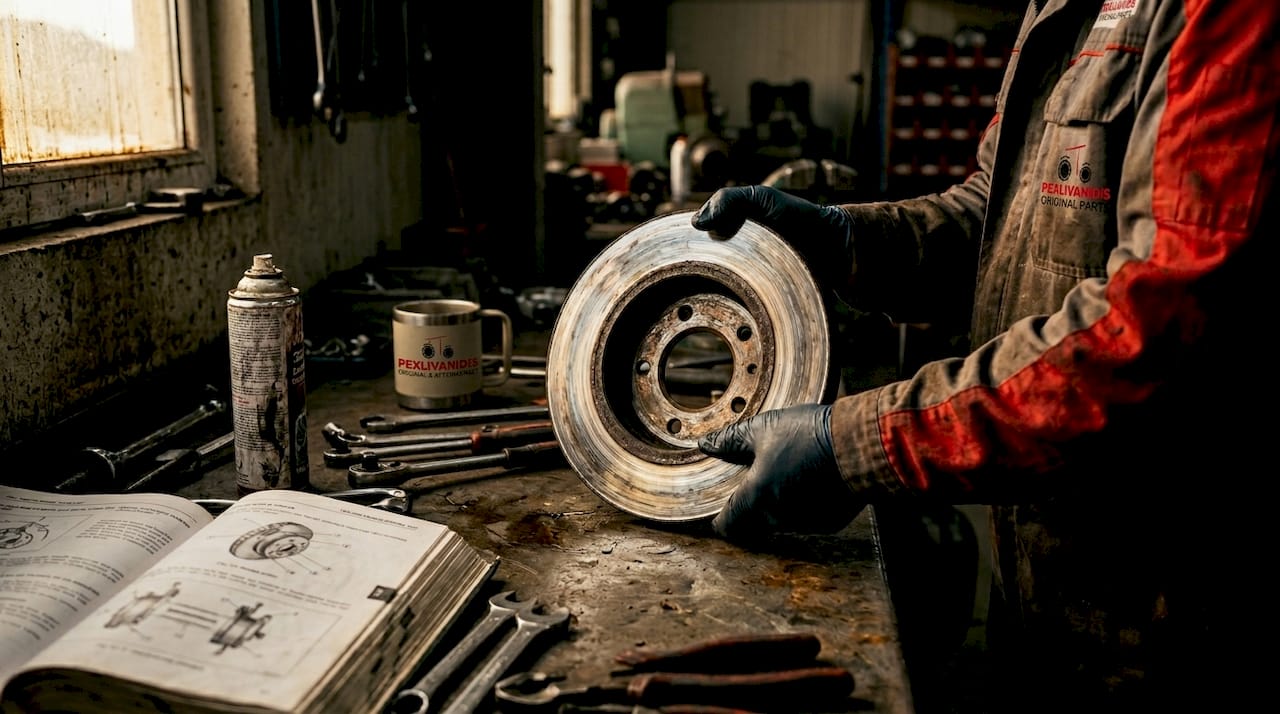
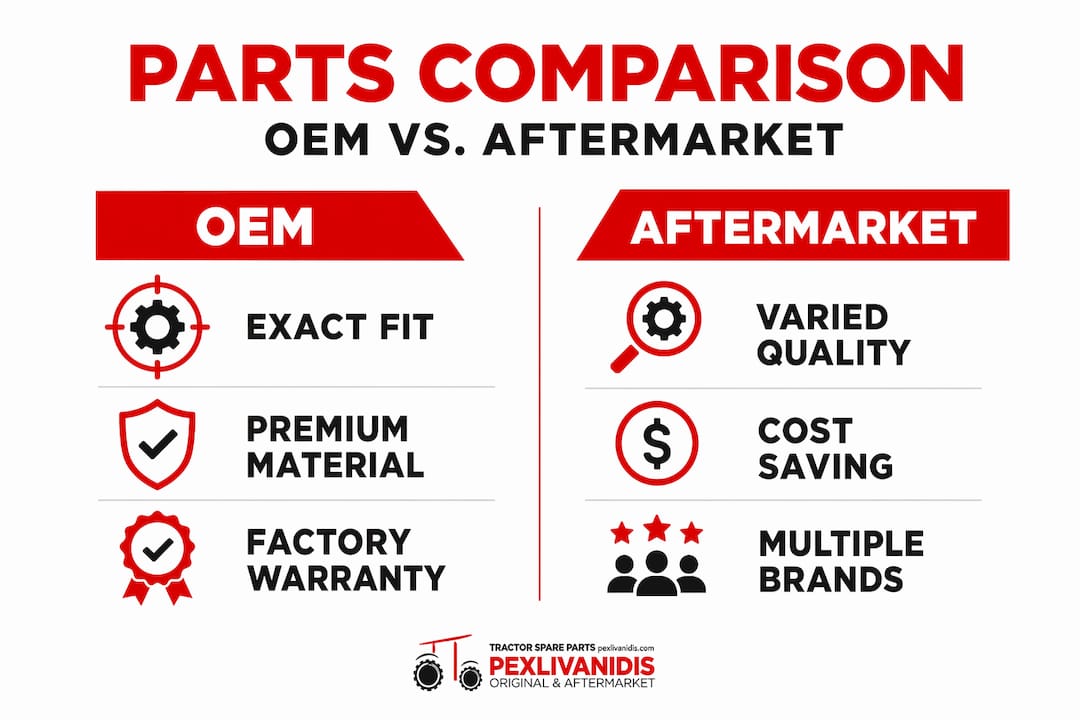
OEM vs. aftermarket parts
| Criteria | OEM parts | Aftermarket parts |
|---|---|---|
| Friction material quality | Matched to factory spec | Varies by manufacturer |
| Availability | Slower, dealer-dependent | Often faster to source |
| Price | Higher | Lower by 20–40% typically |
| Warranty fit | Guaranteed compatibility | Check specifications carefully |
| Best use case | Safety-critical seals and valves | Discs and basic hardware |
Repair costs vary widely depending on service type: an oil change and full service runs roughly €120 to €300, brake bleeding costs €60 to €180, and axle seal repairs can reach €200 to €800 depending on the model. Master cylinder replacement falls in the middle of that range and is often worth tackling yourself if you are comfortable with hydraulic systems and have the correct service manual.
Key replacement decisions to keep in mind:
- Disc and pad sets: Always replace discs and friction plates as a set, not individually. A new disc against a worn plate creates uneven contact and accelerates wear on the new component.
- Seals and O-rings: Use only the specified seal material. Some aftermarket kits use seals that are not compatible with the oil chemistry inside wet-disc systems, leading to premature failure.
- Master cylinder rebuilds: Rebuild kits exist for most New Holland master cylinders and cost significantly less than full replacement. If the bore is not scored, a kit is usually the right call.
- Compatible New Holland brake parts: When sourcing replacements, verify part numbers against your tractor’s model and serial number. The same brake design appears across multiple generations of New Holland equipment but with slightly different dimensions.
You can also find the broader context of which components are typically replaced together in this tractor parts replacement guide, which helps you avoid coming back to do the same job twice.
Best practices to prevent brake problems
Prevention costs far less than repair, and most brake failures on New Holland tractors are preventable with consistent habits.
Pro Tip: Never use a heavier oil grade to compensate for weak brakes. Thicker oil reduces the friction coefficient of wet discs and makes the problem worse, not better. If brakes feel weak, find the cause.
- Use only the oil grade specified in your tractor’s manual and keep the axle housing full to the correct level. Choosing the right oil for your tractor’s hydraulic and transmission system directly affects brake longevity.
- Change transmission oil at the manufacturer’s recommended interval. Contaminated oil is the single most overlooked cause of gradual brake degradation.
- Use engine braking on long downhill runs instead of riding the pedal the entire way down.
- Inspect pedal feel and brake balance at the start of every season, not just when something feels wrong.
- Schedule a full brake inspection including oil drain and disc thickness check every 1,000 to 1,500 hours of operation, or sooner if the tractor works in dusty or wet field conditions regularly.
My take on New Holland brake maintenance
I have seen operators run tractors for two or three seasons with brakes they describe as “a bit soft” before anything serious happens. The honest truth is that most of them got lucky. What I have learned over years of working with agricultural equipment is that weak brakes indicate real safety risk and should never be normalized.
The mistake I see most often is operators adjusting the pedal linkage when braking feels weak rather than finding out why it feels weak. Tightening the linkage masks the symptom for a few weeks while the underlying cause continues to get worse. I have talked to farmers who eventually traced a brake failure to contaminated oil that had been in the axle for four seasons past its service date. A €150 oil change would have prevented a €600 repair and a genuinely dangerous situation on a slope with a loaded trailer.
The other thing worth stating plainly: oil quality and brake performance are inseparable on these systems. Mixing two different oil types, even both within spec, can reduce friction performance enough to cause noticeable brake fade within a few months. If you are buying oil in bulk for convenience, make sure every fill comes from the same product specification.
Prioritizing brakes as part of your regular maintenance routine is not overcautious. It is what keeps the equipment and the people around it safe.
— George
Where to find quality New Holland brake parts
When you are ready to source parts, Pexlivanidis carries a broad inventory of agricultural machinery components with over 20,000 items available and free shipping within Greece on orders over €100. Whether you need friction disc sets, master cylinder rebuild kits, or axle seals, you can check availability directly through the site and get wholesale pricing through their B2B membership program.
For a deeper understanding of machinery maintenance practices that extend beyond brakes, Pexlivanidis also publishes guides covering full-system tractor care. You can explore their agricultural machinery parts catalog to identify exactly which components your model requires before placing an order.
FAQ
What type of brake system do New Holland tractors use?
New Holland tractors use wet multi-disc brake systems where friction discs are submerged in transmission and axle oil. This design provides better heat dissipation than dry systems but makes oil quality critical to brake performance.
Why does my New Holland brake pedal sink slowly to the floor?
A slowly sinking pedal under steady pressure points to an internal bypass leak in the master cylinder or brake valve. This happens without visible external oil loss because the fluid leaks past worn internal seals rather than escaping the system.
How often should I change the oil in a New Holland brake system?
The oil shared with the transmission and axle housing should be changed at the manufacturer’s recommended interval, typically every 500 to 1,000 hours. Contaminated oil degrades friction material and is one of the leading causes of gradual brake failure.
Can I fix New Holland brakes by bleeding the hydraulic circuit?
Bleeding resolves braking issues caused by air in the hydraulic circuit but does not fix oil contamination or seal leaks. If the problem persists after bleeding, the oil condition and internal seals need to be inspected.
What do axle seal repairs typically cost on a New Holland tractor?
Axle seal repair costs range from approximately €200 to €800 depending on the model and labor involved. Catching seal failure early before it soaks the brake disc pack will significantly reduce the total repair cost.