

TL;DR:
- Effective tractor troubleshooting involves systematically checking electrical, fuel, and mechanical systems to identify common issues early. Using proper tools, safety equipment, and a structured approach prevents costly repairs and reduces downtime. Recognizing when to seek professional help ensures accurate diagnostics for complex engine, hydraulic, or ECM-related problems.
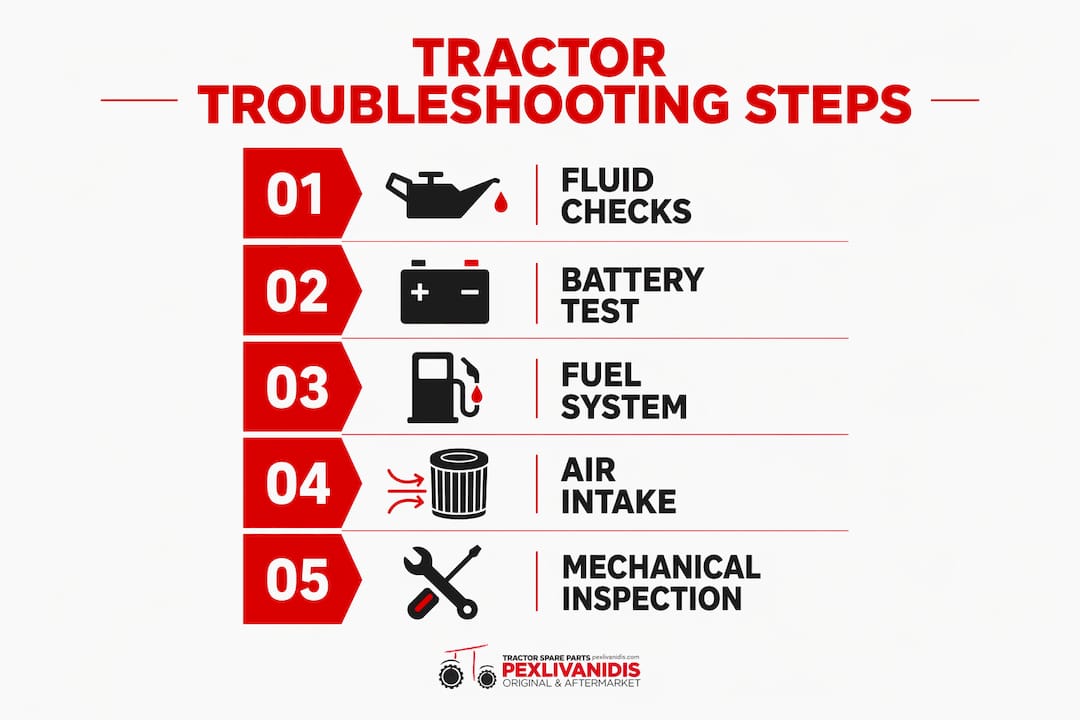
Tractor troubleshooting is the systematic process of checking electrical, fuel, and mechanical systems to identify and fix common issues before they become costly repairs. For farmers and machinery operators, a structured diagnostic workflow is the difference between a two-hour fix and a two-day shutdown. The core tractor troubleshooting steps focus on four key systems: battery, fuel supply, air intake, and hydraulics. Get those four right, and you resolve the vast majority of field problems without calling a technician. This guide walks you through each step with the specificity your operation demands.
What tools do you need before you start?
Arriving at a broken tractor without the right tools wastes time. Before running any tractor troubleshooting workflow, gather your diagnostic kit and complete a visual scan of the machine.
Basic diagnostic tools every operator should carry:
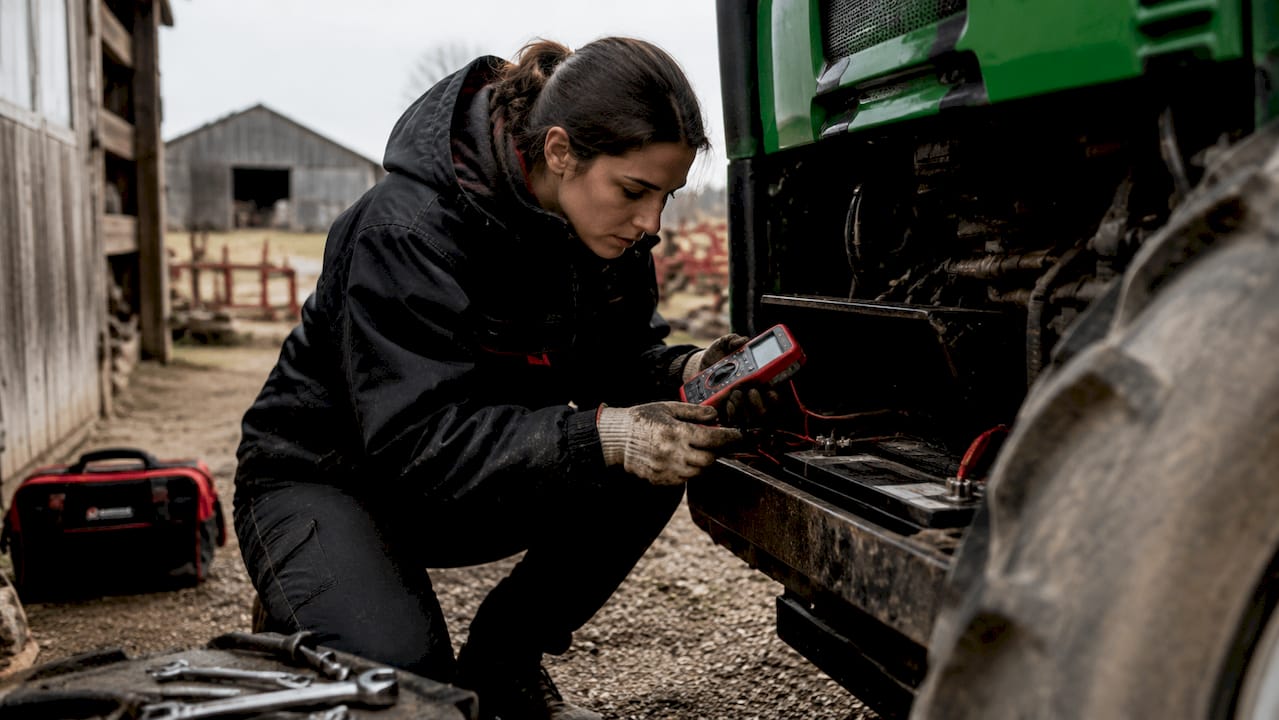
- Multimeter (such as a Fluke 117 or equivalent): tests battery voltage, checks fuses, and confirms continuity in wiring circuits
- Fuel pressure gauge: confirms whether the fuel pump is delivering adequate pressure to the injectors
- Mechanic’s flashlight or headlamp: lets you inspect tight spaces around the engine block, hoses, and connectors
- OBD/diagnostic scanner (for modern tractors with ECM systems): reads fault codes from John Deere, Kubota, or New Holland control modules
- Compression tester: identifies cylinder pressure loss when engine performance drops without an obvious cause
Safety equipment is non-negotiable:
| Safety Item | Purpose |
|---|---|
| Nitrile gloves | Protects hands from fuel, hydraulic fluid, and hot surfaces |
| Safety glasses | Shields eyes during fluid checks and electrical testing |
| Wheel chocks | Prevents tractor movement on uneven ground |
| Fire extinguisher (Class B) | Required when working near fuel lines or batteries |
Before touching any component, complete three preliminary checks. Verify all fluid levels (engine oil, coolant, hydraulic fluid). Do a visual inspection of wiring harnesses and connectors, since damaged insulation or corroded terminals cause more problems than most operators expect. Finally, confirm that all safety interlocks are accessible and testable. Skipping these basics is the single fastest way to misdiagnose a problem.
How to troubleshoot a tractor that won’t start
About 80% of tractor no-start problems come from three sources: battery failure, fuel supply blockage, or air intake restriction. That concentration matters because it tells you exactly where to look first.
Follow these steps in order. Do not skip ahead.
- Test the battery voltage. A fully charged 12V tractor battery reads 12.6V or higher at rest. Anything below 12.0V means the battery cannot reliably crank the engine. Check terminal connections for corrosion and clean them with a wire brush before condemning the battery itself.
- Check the safety interlocks. Operator safety interlocks on the seat, PTO, clutch, and neutral switch are a leading cause of no-crank symptoms. Test each switch with a multimeter before assuming the starter motor has failed. No-crank symptoms are 90% likely due to external circuit issues such as switches or wiring rather than internal engine faults.
- Inspect the fuel system. Pull the primary fuel filter and check for discoloration, sediment, or slime. A clogged filter starves the engine of fuel before it can fire. Check the fuel shutoff valve is fully open and that no air has entered the fuel lines.
- Check the air intake. A blocked air filter on a dusty farm can restrict airflow enough to prevent starting. Remove the filter element and inspect it visually. Replace it if it shows heavy dust loading or physical damage. You can find detailed guidance on tractor filter maintenance to understand how air, oil, and fuel filters interact.
- Escalate when needed. If the battery, interlocks, fuel, and air intake all check out, the problem likely involves the starter motor, fuel injectors, or internal engine compression. At that point, a 5–10 minute quick-check has already ruled out the most common causes, and professional diagnostics are the right next move.
Pro Tip: Before replacing any part, use the SSCC method: confirm the Symptom, identify the System, isolate the Component, and verify the Cause. The SSCC diagnostic method reduces misdiagnosis and prevents the costly cycle of swapping parts that don’t fix the root problem.
What causes engine overheating, stalling, or power loss?
Engine performance problems are the second most common category of tractor issues after no-start faults. Each symptom points to a different system, so your approach changes based on what the engine is actually doing.
Overheating almost always traces back to the cooling system. Low coolant levels, clogged radiators, faulty thermostats, or broken fan belts are the primary culprits. Check coolant level first, then inspect the radiator fins for debris (chaff and dust pack tightly in agricultural environments). Squeeze the upper radiator hose with the engine cold. A hose that feels hard or brittle needs replacement before it fails under pressure.
Stalling and power loss usually point to fuel delivery or air filtration problems. Work through this checklist:
- Check fuel quality in the tank. Diesel stored for more than 12 months is susceptible to microbial contamination and water accumulation, which creates slime that clogs filters repeatedly. Operators often replace filters two or three times without realizing the tank itself is the source.
- Inspect the air filter. A heavily loaded filter cuts airflow, reduces combustion efficiency, and causes the engine to run rich and lose power.
- Examine fuel injectors for fouling or wear. Dirty injectors produce uneven fuel spray patterns, which shows up as rough idle, black smoke, or hesitation under load.
| Symptom | Most Likely Cause | First Check |
|---|---|---|
| Engine overheats | Low coolant or blocked radiator | Coolant level and radiator fins |
| Stalls under load | Fuel starvation or clogged filter | Fuel filter condition and tank quality |
| Black smoke | Rich fuel mixture or dirty injectors | Air filter and injector spray pattern |
| Power loss | Air restriction or weak fuel pressure | Air filter and fuel pressure gauge reading |
Pro Tip: On modern diesel tractors from Kubota or John Deere, DPF-related faults require a diagnostic scanner for forced regeneration. Attempting manual DPF cleaning without scanning first risks permanent damage to the particulate filter and voids most manufacturer warranties.
How do you diagnose hydraulic and transmission problems?
Hydraulic and transmission failures feel dramatic when they happen, but most start with small, detectable warning signs. Catching them early saves you from a full system rebuild.
Hydraulic system checks:
- Check hydraulic fluid level with the system cold and the tractor on level ground. Low fluid is the most common cause of sluggish implement response. Use only the fluid grade specified in your operator’s manual since mixing grades degrades seal integrity.
- Inspect all hoses, fittings, and couplers for leaks or physical damage. A weeping fitting loses pressure gradually, which shows up as slow lift speed rather than a sudden failure.
- Test hydraulic responsiveness under load. Raise a loaded implement and hold it at full height for 60 seconds. If it drifts down more than a few inches, the control valve or cylinder seals need attention.
- Check the hydraulic filter. Most manufacturers recommend replacement every 200–500 hours of operation. A saturated filter bypasses fluid, which sends unfiltered oil through the entire system.
Transmission warning signs to act on immediately:
- Slipping between gears under load indicates clutch wear or low transmission fluid pressure.
- Hard shifting or grinding when engaging gears points to linkage adjustment issues or worn synchronizers.
- Unusual whining or clunking noises during operation suggest bearing wear or gear damage that worsens quickly if ignored.
For a broader look at common tractor problems and their fixes, Pexlivanidis has compiled a practical reference that covers both hydraulic and drivetrain faults in field-applicable detail.
Key takeaways
Effective tractor troubleshooting requires a structured, system-by-system approach that starts with the most common causes and escalates only when simpler checks are exhausted.
| Point | Details |
|---|---|
| Start with the big three | Battery, fuel supply, and air intake account for 80% of no-start problems. |
| Use the SSCC method | Confirm symptom, system, component, and cause before replacing any part. |
| Check safety interlocks first | Seat, PTO, clutch, and neutral switches cause most no-crank faults before internal parts fail. |
| Fuel quality matters | Stored diesel with microbial contamination causes repeat filter clogging and injector damage. |
| Know your DIY limits | DPF faults and ECM issues on modern tractors require a diagnostic scanner, not guesswork. |
What i’ve learned after years of watching operators troubleshoot wrong
The most expensive mistake I see operators make is replacing parts before confirming the root cause. A farmer replaces the fuel pump because the tractor won’t start, then discovers the real problem was a corroded safety interlock switch that cost three dollars. That pattern repeats constantly, and it’s entirely avoidable.
The second mistake is treating maintenance as a calendar task instead of an hours-based one. A tractor that runs 600 hours in a single harvest season needs filter changes and fluid checks on a completely different schedule than one that runs 200 hours across a full year. Preventive maintenance tied to running hours rather than calendar dates is the single most effective way to prevent breakdowns in the field.
The third mistake is underestimating how far DIY troubleshooting should go. On older mechanical tractors, a skilled operator can handle most repairs. On a modern Kubota M7 or John Deere 6R with full ECM integration, attempting to clear emission faults or reprogram control modules without proper equipment causes more damage than the original fault. Knowing where your skills end is not a weakness. It’s good judgment that protects your investment. For operators who want a structured approach to preventative maintenance scheduling, the resource from Pexlivanidis is worth bookmarking before the next season starts.
— George
Keep your tractor running with Pexlivanidis
When troubleshooting reveals a worn part, getting the right replacement fast is what keeps downtime short. Pexlivanidis stocks over 20,000 agricultural machinery parts, covering everything from fuel filters and hydraulic seals to electrical components and cooling system parts. Whether you need a single replacement filter or are sourcing parts for a full fleet, the catalog is built for operators who cannot afford to wait. Explore the full range of agricultural machinery parts to find what your tractor needs, and check the machinery maintenance guide for expert advice on keeping your equipment at peak performance all season long.
FAQ
What are the first tractor troubleshooting steps for a no-start?
Check the battery voltage, safety interlocks, fuel filter, and air intake in that order. These four checks resolve about 80% of no-start problems without any specialized tools.
How often should tractor filters be replaced?
Replace filters based on hours of operation, not calendar time. Most manufacturers recommend fuel and air filter changes every 200–500 hours depending on operating conditions and dust levels.
What causes a tractor engine to overheat?
Low coolant, a clogged radiator, a faulty thermostat, or a broken fan belt are the most common causes. Inspect the coolant level and radiator fins first before checking mechanical components.
Can i troubleshoot hydraulic problems myself?
Yes, for basic checks. Verify fluid level and condition, inspect hoses and fittings for leaks, and test lift performance under load. Internal valve or cylinder seal repairs typically require a qualified technician.
When should i stop DIY troubleshooting and call a professional?
Stop DIY work when the problem involves ECM fault codes, DPF regeneration, or internal transmission components. These systems require diagnostic scanners and specialized training to repair without causing further damage.