
Over 60 percent of American farmers rely on routine tractor maintenance to avoid costly breakdowns each year. Keeping tractors running smoothly is vital for productivity and safety on any American farm, yet even simple repairs can turn stressful without clear steps and the right tools. This step-by-step guide highlights how preparation, thorough inspection, and careful replacement make a major difference in keeping your tractor reliable throughout every season.
Table of Contents
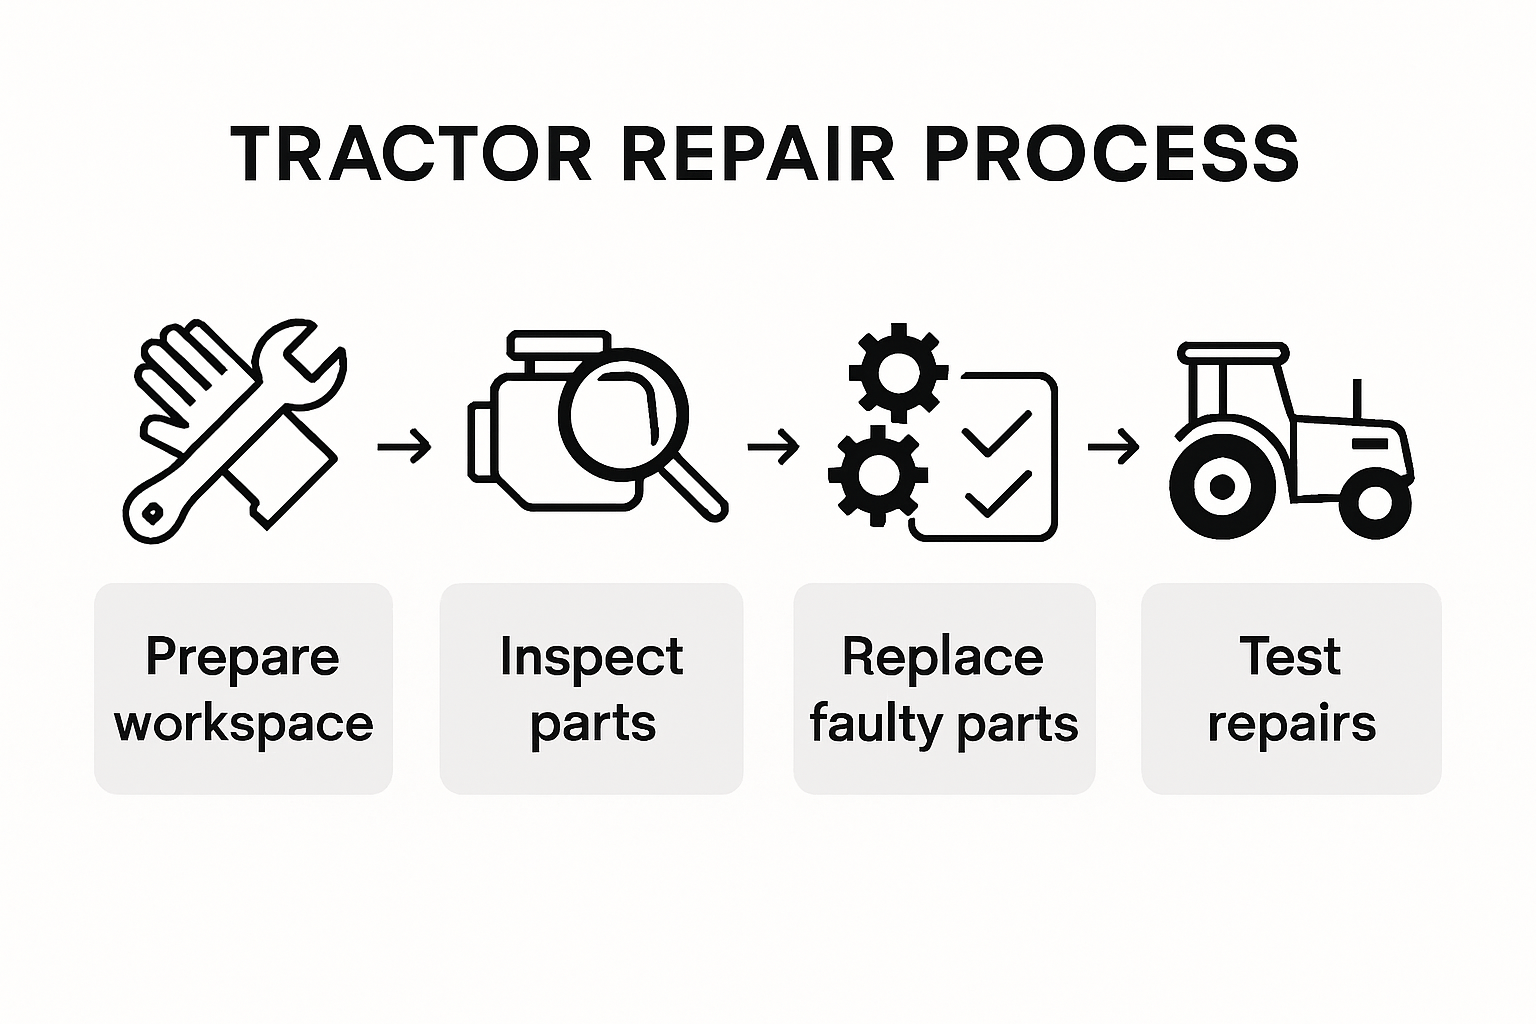
- Step 1: Prepare Workspace And Gather Tractor Tools
- Step 2: Inspect Tractor Components For Wear And Damage
- Step 3: Identify And Diagnose Common Tractor Issues
- Step 4: Replace Worn Or Faulty Tractor Parts
- Step 5: Test Repairs And Confirm Tractor Functionality
Quick Summary
| Key Point | Explanation |
|---|---|
| 1. Organize Your Workspace | A clean, well-lit workspace with accessible tools lays the foundation for safe and efficient tractor repairs. |
| 2. Thorough Component Inspection | Conduct thorough visual and hands-on inspections to identify signs of wear or damage in key tractor components. |
| 3. Systematic Problem Diagnosis | Record symptoms and operational conditions to effectively diagnose tractor issues before they escalate into costly repairs. |
| 4. Follow Replacement Procedures | Use manufacturer guidelines to replace worn parts, ensuring correct installation and safety during the process. |
| 5. Perform Post-Repair Testing | Conduct comprehensive operational tests after repairs to ensure all systems function correctly and safely. |
Step 1: Prepare Workspace and Gather Tractor Tools
Preparing a well-organized workspace is crucial for efficient and safe tractor repairs. Your workspace sets the foundation for successful maintenance and prevents potential accidents or tool misplacement.
Start by selecting a clean, well-lit area with enough space to move around your tractor comfortably. Ideally, choose a flat surface like a concrete garage floor or a dedicated workshop space. The workspace should have adequate lighting to help you see small parts and intricate mechanical components. Workspace organization guidelines from UNESCO highlight the importance of a safe maintenance environment for preventing potential workplace injuries.
Next, gather all necessary tools before beginning your repair work. Your basic toolkit should include wrenches (adjustable and socket sets), screwdrivers, pliers, jack stands, a hydraulic jack, measuring tape, torque wrench, safety glasses, work gloves, and cleaning rags. Arrange these tools within arm’s reach on a clean workbench or tool cart. Pro tip: Use a magnetic tool tray to prevent small metal parts from getting lost during repairs.
Before starting any maintenance, ensure you have a clean work surface and all safety equipment readily available. This preparation will help you work efficiently and minimize potential disruptions during your tractor repair process.
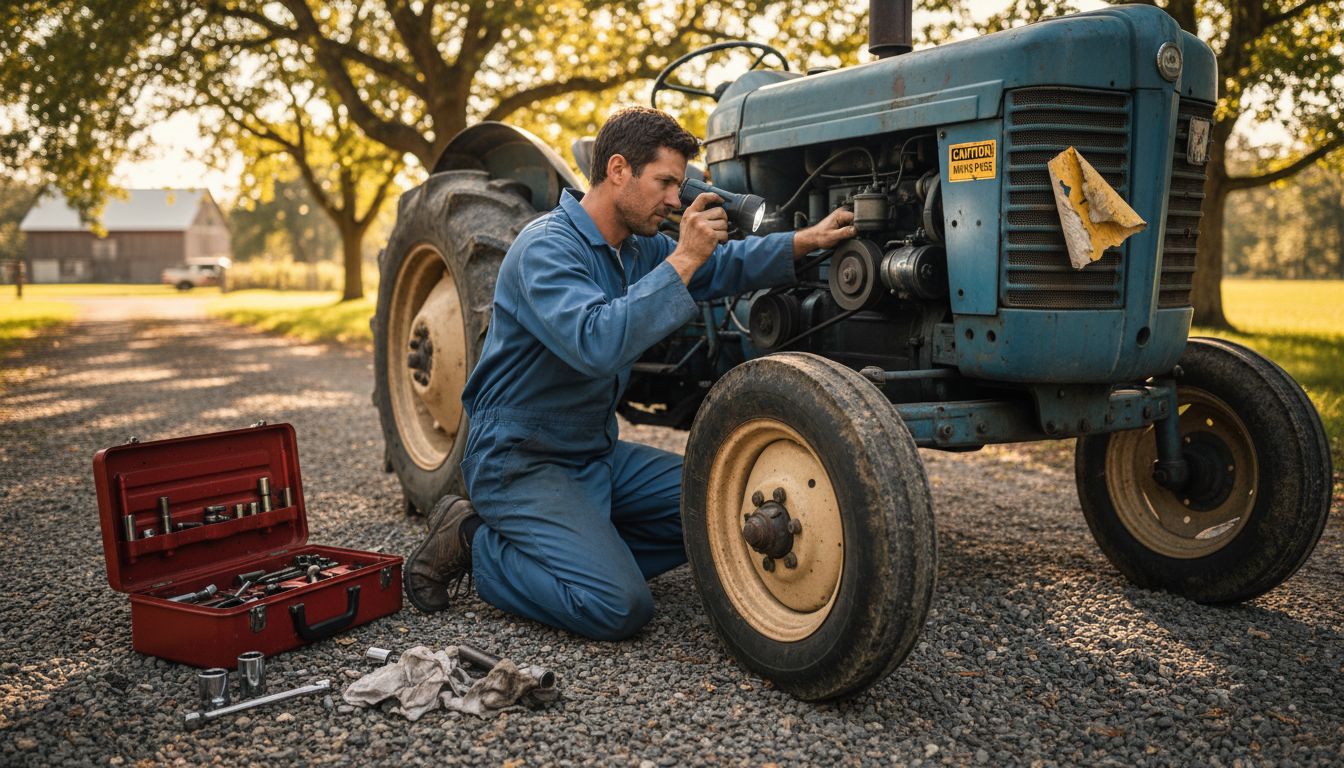
Step 2: Inspect Tractor Components for Wear and Damage
Inspecting your tractor components thoroughly is a critical maintenance step that prevents unexpected breakdowns and extends the machine’s operational life. A systematic and comprehensive examination helps you catch potential issues before they escalate into costly repairs.
Start by performing a visual inspection of key mechanical systems. Check the engine for oil leaks, examine belts for cracks or fraying, and look for any signs of rust or corrosion on metal components. Identifying signs of worn tractor parts requires careful attention to subtle changes in your equipment’s condition. Focus on areas like the cooling system, hydraulic lines, electrical connections, and structural components like the frame and attachment points.
Next, perform a hands on inspection of moving parts. Check wheel bearings for play or unusual movement, inspect tire treads for uneven wear, and examine the PTO shaft for alignment and potential damage. Listen for any unusual sounds during a brief engine run test these can indicate internal wear or misalignment. Pay special attention to suspension components, linkages, and joints that experience high stress during regular operation.
Remember that early detection of wear and potential damage can save significant time and money in the long run. If you are unsure about any specific component’s condition, consult a professional tractor technician who can provide a detailed assessment and recommend appropriate repairs or replacements.
Step 3: Identify and Diagnose Common Tractor Issues
Identifying and diagnosing tractor problems requires a systematic approach that combines visual inspection, listening for unusual sounds, and understanding your equipment’s performance patterns. This critical step helps you catch potential issues before they become expensive repairs.
Start by examining common tractor problems that frequently impact agricultural machinery. Pay close attention to symptoms like unusual engine noises, reduced power output, hydraulic system irregularities, and unexpected vibrations. Check for warning lights on your instrument panel, which often indicate specific system malfunctions. Engine performance issues might stem from fuel system problems, while transmission difficulties could signal worn clutch components or low hydraulic fluid levels.
During your diagnostic process, document any observed symptoms systematically. Record the frequency of issues, specific operational conditions when problems occur, and any recent changes in maintenance or usage patterns. Listen carefully to engine sounds warning signs like knocking, squealing, or grinding can indicate internal mechanical wear. Check fluid levels and quality look for contamination, unusual color changes, or low fluid conditions that might suggest underlying mechanical stress.
Remember that early detection and precise diagnosis can save significant time and money. If you encounter complex issues beyond your expertise, consulting a professional tractor technician can provide comprehensive insights and prevent potential long term damage to your valuable agricultural equipment.
Step 4: Replace Worn or Faulty Tractor Parts
Replacing worn or faulty tractor parts is a critical maintenance skill that can prevent costly breakdowns and extend your equipment’s operational life. Understanding the precise process of component replacement helps you maintain your tractor’s performance and reliability.
Before beginning any part replacement, consult comprehensive tractor parts replacement guidelines to ensure you follow manufacturer recommended procedures. Start by identifying the specific component that needs replacement. Carefully remove the old part by disconnecting electrical connections, removing mounting bolts, and gently extracting the component without damaging surrounding mechanisms. Inspect the mounting surface and surrounding areas for additional wear or damage that might require additional attention.
When installing new parts, ensure you have the exact matching replacement component for your specific tractor model. Clean the installation area thoroughly, apply appropriate lubricants, and align the new part precisely. Use torque specifications recommended by the manufacturer when reinstalling bolts and connectors. Verify all electrical connections are secure and properly seated. After installation, perform a comprehensive system test to confirm the new part functions correctly and integrates seamlessly with your tractor’s existing systems.
Warning: Always prioritize safety during parts replacement. Disconnect battery terminals, use proper lifting equipment, and wear appropriate protective gear. If you are uncertain about any aspect of the replacement process, consult a professional tractor technician to prevent potential damage to your equipment.
Step 5: Test Repairs and Confirm Tractor Functionality
Testing and confirming your tractor’s functionality after repairs is a critical final step that ensures your maintenance work was successful and the equipment operates safely and efficiently. Proper post-repair testing helps prevent potential failures and validates the quality of your maintenance efforts.
Begin by systematically checking the performance of repaired components through a comprehensive operational test. Start the engine and listen carefully for any unusual sounds or vibrations. Check that all control systems respond smoothly electrical systems activate correctly, hydraulic functions operate without resistance, and mechanical components move as expected. Pay close attention to temperature gauges, pressure readings, and system response times during this initial test.
Conduct a detailed field test by operating the tractor under various load conditions. Simulate realistic working scenarios that represent the typical stress your equipment experiences during agricultural tasks. Monitor fuel consumption, power output, and overall system stability. Check for any fluid leaks, unusual temperature fluctuations, or performance inconsistencies. Document your observations meticulously, noting any areas that might require further adjustment or professional evaluation.
Warning: If you notice any persistent issues or unexpected behavior during testing, stop operation immediately. Continuing to use the tractor with unresolved mechanical problems can lead to significant damage and potential safety risks. When in doubt, consult a professional tractor technician who can provide a comprehensive diagnostic assessment and ensure your equipment returns to optimal working condition.
Keep Your Tractor Running Strong With Trusted Parts and Support
Maintaining reliable tractor performance requires more than just knowing how to inspect and replace worn components. The challenge lies in finding high quality parts that fit perfectly and last long. When you face issues like unusual engine noises or suspect faulty hydraulic systems, having a dependable source for authentic tractor accessories can ease your repair process and safeguard your investment. The article’s focus on thorough inspection, precise diagnosis, and correct replacement highlights how critical it is to use the right components and tools for each repair.
Don’t let downtime or poor parts quality slow you down. At pexlivanidis.com, explore a vast inventory of over 20,000 tractor parts and accessories. Benefit from free shipping within Greece on orders over 100€, and access expert support designed specifically for farmers and agricultural professionals in Thessaloniki, Kavala, and beyond. Whether you need a replacement PTO shaft, hydraulic hoses, or engine-related parts, our reliable stock will help you fix your tractor efficiently and confidently. Ready to upgrade your repair process? Visit pexlivanidis.com now and take the first step toward longer equipment life and worry-free operation.
Frequently Asked Questions
How do I prepare my workspace for tractor repairs?
To prepare your workspace for tractor repairs, select a clean, well-lit area with ample space to maneuver around your tractor safely. Gather all necessary tools like wrenches, screwdrivers, and safety equipment before starting work, ensuring they are arranged within arm’s reach for efficiency.
What should I inspect when assessing my tractor for wear and damage?
When inspecting your tractor, focus on key components such as the engine, belts, hydraulic lines, and electrical connections for signs of wear like leaks or cracks. Conduct a visual inspection followed by a hands-on assessment of moving parts to identify any issues that could affect performance.
What are common symptoms that indicate my tractor needs repairs?
Common symptoms that suggest your tractor needs repairs include unusual engine noises, reduced power output, and visible hydraulic system irregularities. Be attentive to warning lights on the instrument panel and document any operational changes to diagnose issues effectively.
How do I replace a worn tractor part properly?
To replace a worn tractor part, first identify the specific component and carefully remove it while checking for any additional damage in the surrounding areas. Once you have your replacement part, install it according to the manufacturer’s guidelines, ensuring all connections are secure and correctly torqued.
What steps should I take after completing tractor repairs to ensure functionality?
After completing tractor repairs, conduct a thorough operational test by starting the engine and observing for any unusual sounds or vibrations. Simulate realistic working conditions during a field test to monitor performance, fuel consumption, and pressure readings for optimal functionality.
What should I do if my tractor shows persistent issues after repairs?
If your tractor shows persistent issues after repairs, stop operation immediately to prevent further damage. Consult with a professional tractor technician for a detailed assessment to address any underlying mechanical problems.