
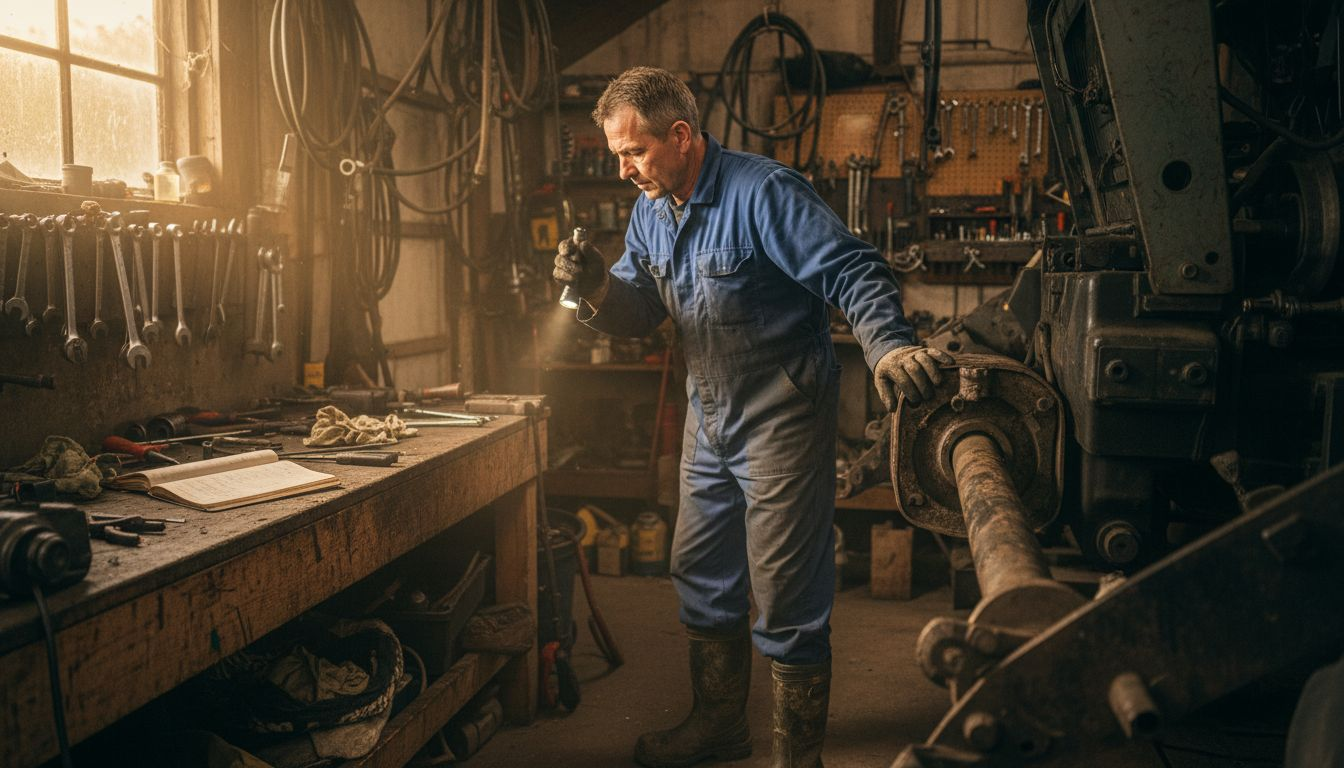
Mud, dust, and crop residue can turn even the most reliable tractor into a headache for farmers in Thessaloniki and Kavala. Operators here know how quickly dirt builds up and accelerates wear, making maintenance both challenging and essential. This guide highlights proven strategies and expert-backed techniques, including regular cleaning routines recommended by the Food and Agriculture Organization, to help maximize tractor lifespan and keep your machinery running strong despite tough operating conditions.
Table of Contents
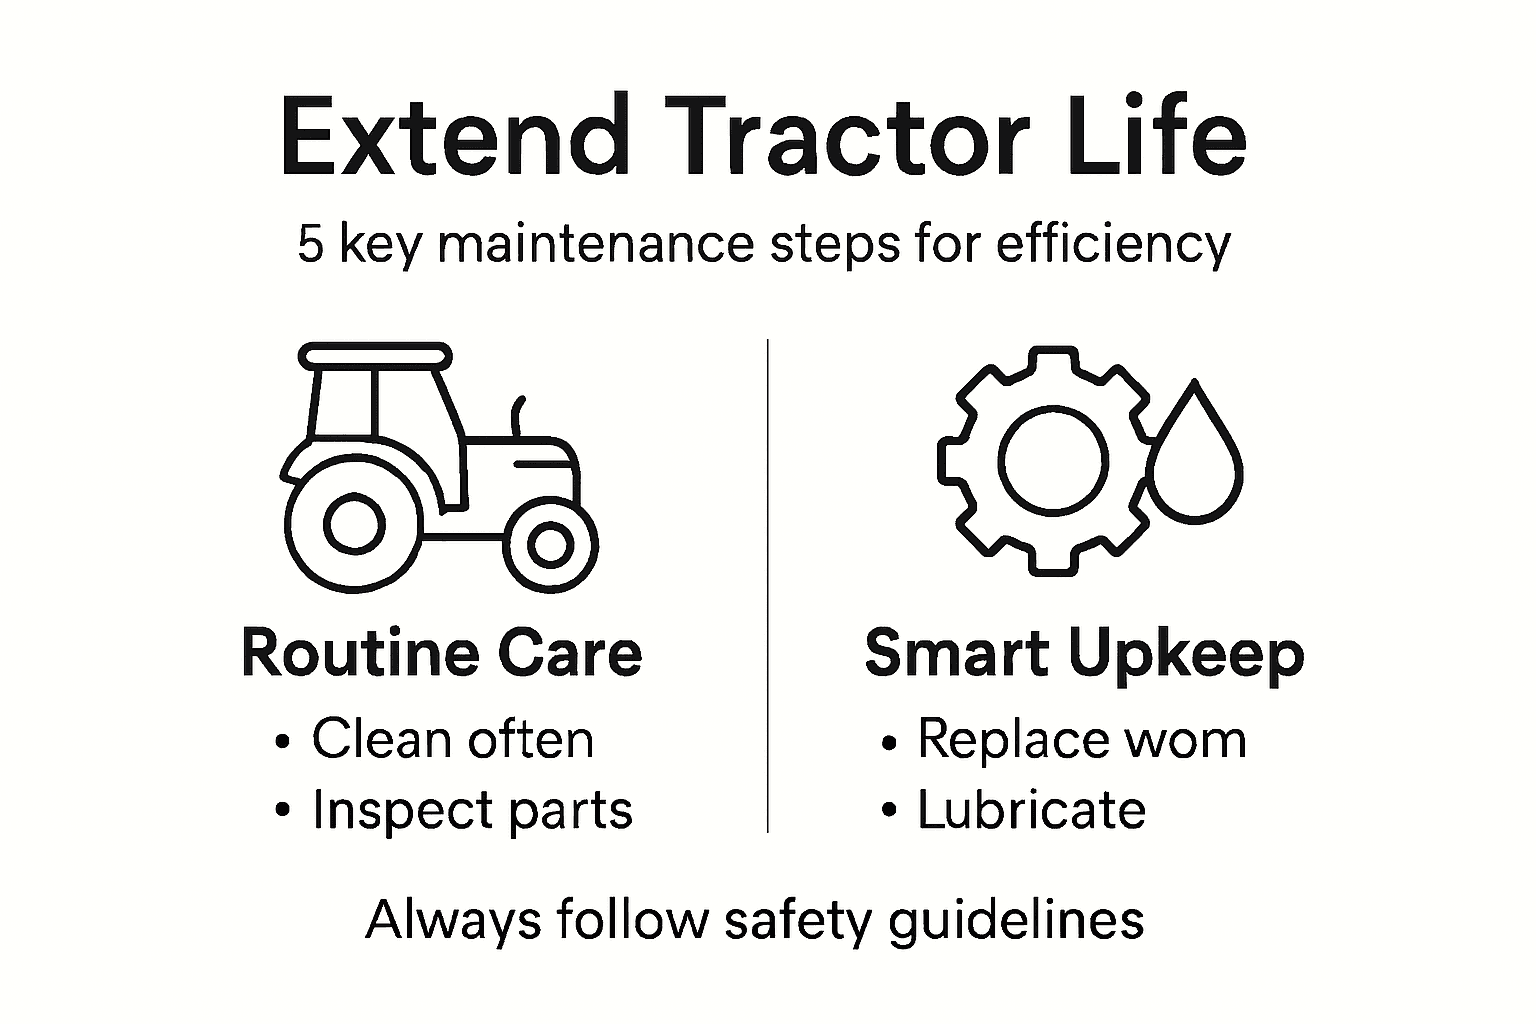
- Step 1: Prepare Tractors With Regular Cleaning Routines
- Step 2: Inspect Critical Components For Early Wear Signs
- Step 3: Replace Worn Parts Using Quality Spares
- Step 4: Lubricate Moving Parts To Minimize Friction
- Step 5: Verify Performance Through Scheduled Checks
Quick Summary
| Key Point | Explanation |
|---|---|
| 1. Regular cleaning enhances longevity | Consistent cleaning prevents debris buildup, protecting critical components from wear and damage. |
| 2. Early inspection prevents breakdowns | A systematic check for wear on critical components can identify issues before they escalate. |
| 3. Use quality parts for replacements | Selecting high-quality replacement parts ensures optimal performance and extends machinery life. |
| 4. Proper lubrication reduces friction | Regular lubrication minimizes wear by creating a protective barrier against metal-to-metal contact. |
| 5. Scheduled performance checks improve safety | Regular verification of performance can detect anomalies early, ensuring efficient tractor operation. |
Step 1: Prepare tractors with regular cleaning routines
Regular cleaning is a fundamental strategy to extend the life and performance of your agricultural machinery. By implementing a systematic cleaning approach, you’ll prevent debris buildup and protect critical tractor components from unnecessary wear and potential damage.
Maintaining a clean tractor involves several strategic practices. Comprehensive cleaning guidelines from agricultural experts recommend focusing on key areas that accumulate dirt and residue:
- Remove mud and crop residue from external surfaces
- Clean undercarriage components thoroughly after fieldwork
- Wipe down hydraulic systems and exposed mechanical parts
- Inspect and clean air intake and exhaust systems
- Clear radiator fins of dust and agricultural debris
Pay special attention to hard-to-reach areas where contaminants can accumulate. Use compressed air, soft brushes, and appropriate cleaning solutions designed for agricultural equipment. Start from top surfaces and work downward, ensuring you remove all dirt without forcing debris into mechanical systems.
Regular cleaning is not just about appearance – it’s a critical maintenance practice that directly impacts your tractor’s operational efficiency and longevity.
Safety precautions are paramount during cleaning. Always disconnect battery terminals, use appropriate protective gear, and ensure the tractor is cool and stationary. Work in a well-ventilated area with proper drainage, and avoid using high-pressure water directly on electrical components or sensitive mechanical systems.
Pro tip: Keep a dedicated cleaning kit with microfiber cloths, biodegradable degreasers, and compressed air for quick and effective tractor maintenance.
Step 2: Inspect critical components for early wear signs
Detecting potential issues before they escalate is crucial for maintaining your tractor’s performance and preventing expensive repairs. Comprehensive tractor inspection guidelines recommend a systematic approach to identifying early signs of wear across critical machinery components.
Your inspection should cover several key areas to ensure comprehensive assessment:
- Check fluid levels for engine oil, hydraulic fluid, and coolant
- Examine tire condition including tread depth and sidewall integrity
- Inspect belts and hoses for cracks, fraying, or signs of deterioration
- Evaluate electrical connections for corrosion or looseness
- Look for unusual leaks under the tractor or around mechanical systems
Pay special attention to components that experience high stress during agricultural operations. Start with visual inspections, looking for subtle changes in color, texture, or alignment that might indicate emerging problems. Use a bright flashlight to illuminate hard-to-see areas and wear indicators.
Early detection of minor issues can prevent catastrophic equipment failure and save significant maintenance costs.
When examining mechanical parts, run your hands carefully over surfaces to feel for irregularities that visual inspection might miss. Listen for unusual sounds during operation, as they often signal internal component wear before visible symptoms emerge. Document your findings in a maintenance log to track changes over time.
Pro tip: Photograph critical components during each inspection to create a visual record and easily track progressive wear patterns.
Step 3: Replace worn parts using quality spares
Replacing worn tractor components is a critical strategy for maintaining long-term machinery performance and preventing costly breakdowns. Farmers’ equipment repair guidelines emphasize the importance of using high-quality replacement parts to ensure optimal tractor functionality.
When selecting replacement components, focus on these key considerations:
- Verify part compatibility with your specific tractor model
- Choose original manufacturer parts or high-quality aftermarket alternatives
- Inspect replacement components for manufacturing quality
- Check warranty and return policies for purchased spares
- Compare prices from multiple reputable suppliers
Prior to installation, thoroughly clean the mounting area and prepare the surrounding mechanical components. Remove any residual dirt or corrosion that might compromise the new part’s performance. Use appropriate tools and follow manufacturer-recommended torque specifications during installation.
Quality replacement parts are an investment in your tractor’s longevity and operational reliability.
Safety precautions are paramount during parts replacement. Always disconnect the battery, use proper lifting equipment, and wear protective gear. If you’re uncertain about the replacement process, consult a professional agricultural machinery technician who can ensure proper installation.
Pro tip: Maintain a detailed inventory of replaced parts, including purchase dates and installation details, to track your tractor’s maintenance history.
Step 4: Lubricate moving parts to minimize friction
Proper lubrication is the lifeline of any high-performance tractor, protecting critical mechanical components from unnecessary wear and potential failure. Effective lubrication techniques create a protective barrier that reduces friction, dissipates heat, and prevents direct metal-to-metal contact.
When lubricating your tractor, focus on these essential areas:
- Identify critical friction points like bearings, joints, and moving linkages
- Select appropriate lubricant grade matching manufacturer specifications
- Clean components thoroughly before applying lubricant
- Apply consistent and even coating across moving surfaces
- Remove excess lubricant to prevent dust and debris accumulation
Pay special attention to the viscosity and temperature ratings of lubricants. Different tractor components require specific lubricant types, ranging from light machine oils to heavy-duty greases. Always consult your tractor’s manual for precise lubrication recommendations and interval guidelines.
A well-lubricated machine is a long-lasting machine – protect your investment through systematic maintenance.
Safety considerations are crucial during lubrication. Work in a well-ventilated area, wear protective gloves, and ensure the tractor is completely stationary. Use clean application tools to prevent introducing contaminants into mechanical systems.
Pro tip: Create a lubrication schedule and log to track when and where you’ve applied lubricants, ensuring no critical components are overlooked.
Use this reference to select proper lubricants for various parts of your tractor:
| Tractor Part | Recommended Lubricant Type | Maintenance Frequency |
|---|---|---|
| Engine | Multi-grade engine oil | Check every 50 hours |
| Hydraulic System | Hydraulic fluid (OEM grade) | Check monthly or per manual |
| Bearings/Joints | High-pressure grease | Grease every 10-20 operating hrs |
| Transmission | Transmission oil (specified) | Inspect every 100 hours |
| Linkages | Light machine oil | Lubricate before each use |
Step 5: Verify performance through scheduled checks
Scheduled performance verification is your strategic approach to maintaining peak tractor efficiency and preventing unexpected breakdowns. Agricultural machinery performance guidelines emphasize systematic checks as a critical maintenance practice for ensuring long-term operational reliability.
Develop a comprehensive performance verification routine that includes:
- Track total operating hours since last comprehensive inspection
- Measure fuel consumption rates against manufacturer specifications
- Test hydraulic system pressure and responsiveness
- Evaluate engine performance metrics like compression and idle stability
- Review maintenance and repair history for recurring issues
Consider using digital tracking tools or maintenance logs to document each performance check systematically. Modern tractors often have onboard diagnostic systems that can provide real-time performance data, making verification more precise and straightforward.
Consistent performance checks transform reactive maintenance into proactive equipment management.
Technical assessments require attention to detail. Use calibrated instruments, follow manufacturer guidelines, and compare current performance against baseline measurements. When anomalies emerge, address them immediately to prevent potential system failures.
Pro tip: Create a digital or physical checklist with specific performance benchmarks to standardize your verification process and ensure nothing gets overlooked.
Here’s a summary of how each major maintenance step impacts tractor performance and longevity:
| Maintenance Step | Key Benefit | Long-Term Impact |
|---|---|---|
| Regular Cleaning | Removes harmful debris | Reduces wear, extends lifespan |
| Component Inspection | Identifies early problems | Prevents costly breakdowns |
| Quality Parts Replacement | Maintains optimal operation | Enhances reliability |
| Proper Lubrication | Minimizes friction and heat | Prevents premature failure |
| Scheduled Performance Checks | Tracks efficiency and safety | Improves operational planning |
Protect Your Tractor Investment with Reliable Parts and Support
Extending the life of your tractor requires regular cleaning, detailed inspections, quality spare parts, and proper lubrication as highlighted in the article. These essential maintenance steps directly address the challenges of wear and tear, unexpected machinery failures, and costly repairs that every farmer faces. If you want to maximize efficiency and keep your tractor performing at its best, sourcing the right parts from a trusted supplier is critical.
Explore our extensive inventory of over 20,000 tractor accessories and replacement parts designed to fit your specific model. With free shipping within Greece for orders over 100€, and options for wholesale membership, pexlivanidis.com offers the solutions you need to maintain your equipment effectively. Don’t wait for a breakdown to happen. Take proactive control of your tractor’s performance by visiting our online store today, where quality, availability, and expert support come together to help you extend your tractor’s life.
Frequently Asked Questions
How often should I clean my tractor to extend its life?
Regular cleaning is essential for your tractor’s maintenance. Aim to clean it after every field use and perform deeper cleaning at least once per month to remove accumulated dirt and residue.
What should I inspect during my tractor’s maintenance checks?
Focus on checking fluid levels, tire conditions, belts, hoses, and electrical connections during each inspection. Schedule these checks at least every 50 operating hours to catch early wear signs before they escalate into costly repairs.
How do I choose the right replacement parts for my tractor?
Always verify part compatibility with your specific tractor model and opt for original manufacturer parts or high-quality aftermarket alternatives. Inspect new components for quality and check their warranty before purchasing.
What are the best practices for lubricating my tractor’s moving parts?
Identify critical friction points and apply the appropriate lubricant as specified in your tractor manual. Ensure all components are clean before lubrication, and maintain a regular schedule, ideally every 10 to 20 operating hours.
How can I effectively verify my tractor’s performance?
Track total operating hours and measure fuel consumption against manufacturer specifications. Implement a performance verification routine every 100 hours to ensure your tractor operates efficiently and address any anomalies right away.
What is the impact of scheduled maintenance on tractor longevity?
Scheduled maintenance, including cleaning, inspections, and lubrication, helps catch issues early and prevents unexpected breakdowns. This proactive approach can significantly extend your tractor’s lifespan and improve its overall efficiency.