
TL;DR:
- Regular maintenance routines prevent costly breakdowns and extend tractor lifespan.
- Daily checks of oil, coolant, tires, and leaks take less than 15 minutes.
- Proper record-keeping and using the right tools ensure effective, safe tractor servicing.
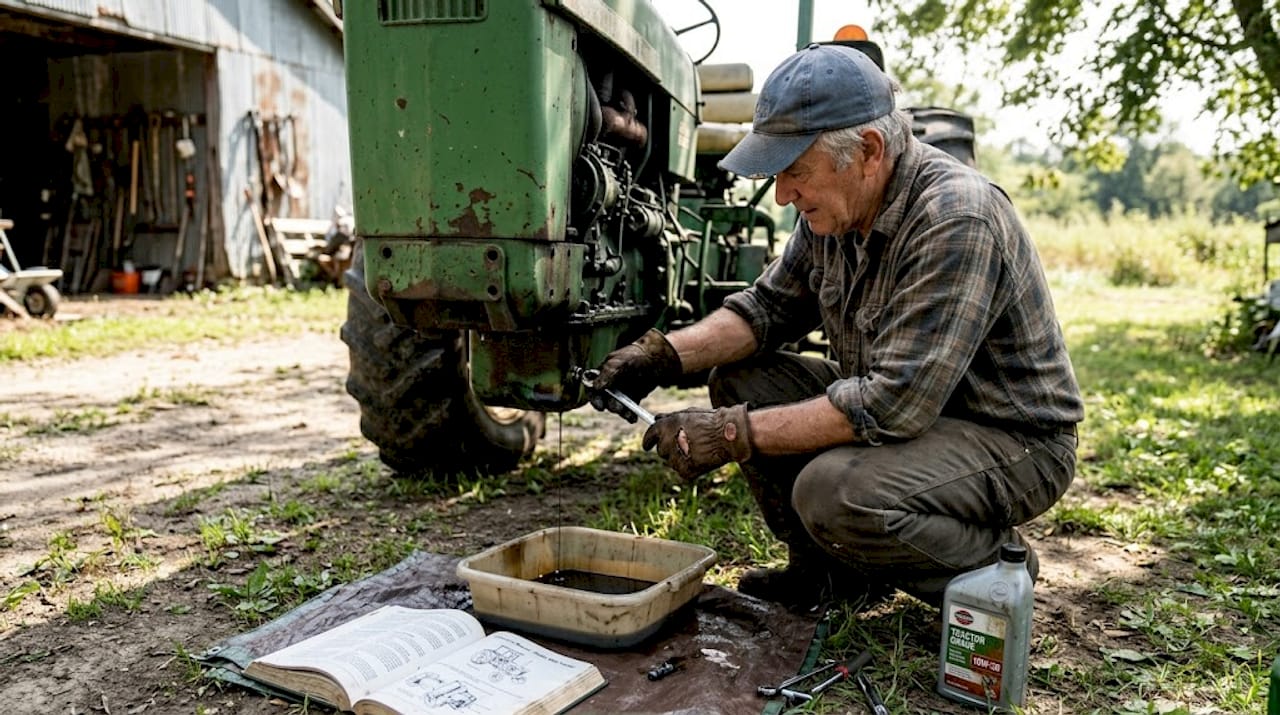
A tractor breaking down in the middle of harvest is not just frustrating. It can cost you an entire day of productivity, emergency repair fees, and the kind of stress that follows you home. The good news is that most major breakdowns are preventable. A consistent, step-by-step maintenance routine keeps your machinery running at its best season after season. Whether you operate a small family farm or manage a larger agricultural operation, this guide gives you the exact preparation, checks, fluid changes, and verification steps you need to protect your tractor investment and avoid costly surprises.
Table of Contents
- Preparation and required tools for tractor maintenance
- Daily and periodic checks: fluids, tires, and engine
- Step-by-step guide: changing fluids and filters
- Troubleshooting, common mistakes, and verification
- Why consistent maintenance trumps emergency repairs
- Explore reliable maintenance resources and tools
- Frequently asked questions
Key Takeaways
| Point | Details |
|---|---|
| Preparation is essential | Organize tools and materials before starting maintenance for a safe and efficient workflow. |
| Daily checks prevent breakdowns | Simple daily checks of fluids, tires, and engine spot issues before they escalate. |
| Follow step-by-step routines | Adhering to clear maintenance steps maximizes tractor reliability and lifespan. |
| Consistency saves time | Regular scheduled maintenance reduces costly emergency repairs and downtime. |
| Leverage expert resources | Comprehensive guides and reliable parts support make upkeep easier for Greek farmers. |
Preparation and required tools for tractor maintenance
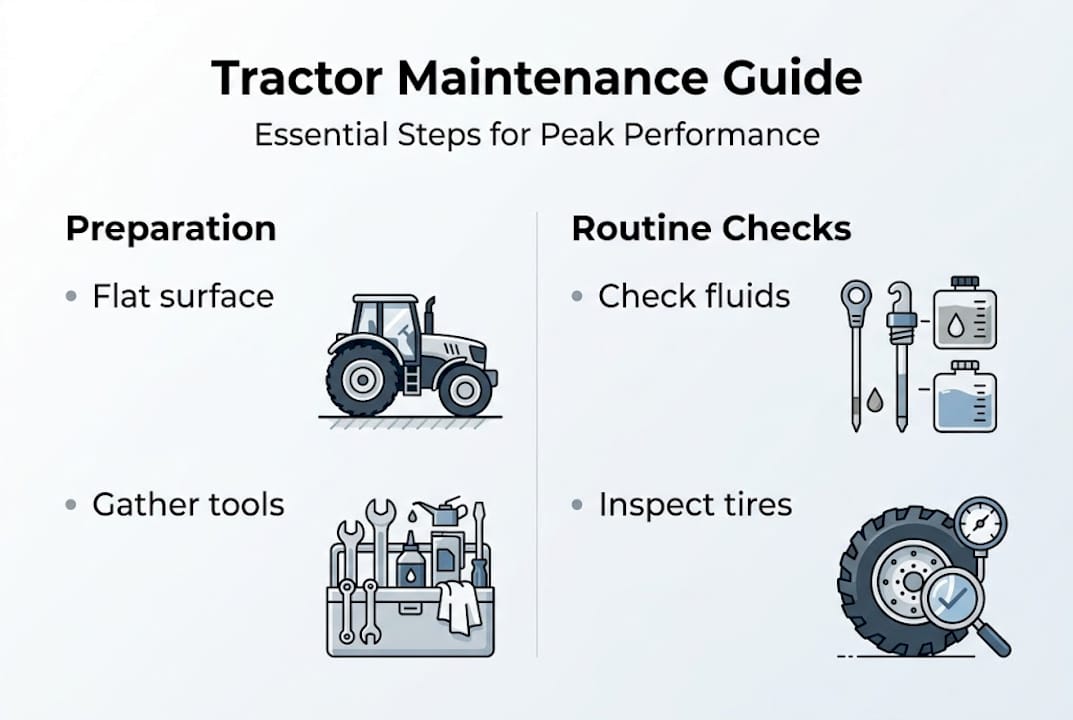
Before you touch a wrench, preparation is everything. Rushing into maintenance without the right tools or a clean workspace leads to mistakes, missed steps, and sometimes new problems created by the very work meant to prevent them. Taking 20 minutes to set up properly saves hours later.
Essential tools you need on hand:
- Socket and wrench set (metric and standard)
- Oil drain pan (large enough for your engine capacity)
- Tire pressure gauge
- Funnel and fluid transfer pump
- Torque wrench for precise bolt tightening
- Filter wrench for removing oil and fuel filters
- Flashlight or work light
- Clean rags and absorbent mats
Safety gear is non-negotiable:
- Chemical-resistant gloves
- Safety goggles
- Coveralls or work clothes you don’t mind getting dirty
- Steel-toed boots
Your work area matters just as much as your tools. Choose a flat, stable surface. Make sure the space is well-lit. Keep a fire extinguisher nearby when working with fluids, and always let the engine cool before opening any fluid caps. Parking the tractor on level ground prevents accidental rolling and gives you accurate fluid level readings.
Common tools vs. specialized tools:
| Task | Common tool | Specialized tool |
|---|---|---|
| Oil change | Socket wrench | Filter wrench |
| Tire pressure check | Basic gauge | Digital pressure gauge |
| Torque checks | Standard wrench | Calibrated torque wrench |
| Fluid transfer | Funnel | Pneumatic transfer pump |
| Belt inspection | Visual check | Belt tension gauge |
Knowing which fluids and filters you need before starting is just as important as the tools. Stock up on the correct engine oil grade, hydraulic fluid, coolant, and replacement filters for your specific tractor model. Refer to a tractor maintenance checklist to make sure nothing gets missed. Keep in mind that transmission fluid intervals call for checking levels daily and performing a full fluid change every 300 to 1,000 hours depending on your model and operating conditions.
Pro Tip: Lay out every tool and fluid you need before you begin. A prepared workspace cuts your actual maintenance time by a third and reduces the chance of skipping a step.
Daily and periodic checks: fluids, tires, and engine
With the right tools ready, you can confidently proceed to the essential daily and periodic checks that keep your tractor operating smoothly. These checks take less than 15 minutes each morning but catch small issues before they become expensive repairs.
Step-by-step daily inspection:
- Check engine oil level using the dipstick. Oil should sit between the min and max marks.
- Inspect coolant level in the overflow reservoir. A coolant level drop daily signals a leak that needs immediate attention.
- Check tire pressure on all four tires using your gauge. Proper tire inflation can improve fuel efficiency by 10 to 20% and significantly boost traction in field conditions.
- Walk around the tractor and look for fluid puddles, cracks, or loose components.
- Inspect belts and hoses visually for fraying or swelling.
- Test all lights, brakes, and safety interlocks before moving.
Maintenance frequency reference table:
| Check item | Daily | Every 50 hours | Every 250 hours | Every 500 hours |
|---|---|---|---|---|
| Engine oil level | Yes | Yes | Change | Change |
| Coolant level | Yes | Yes | Inspect | Flush check |
| Tire pressure | Yes | Yes | Inspect | Full inspection |
| Air filter | Visual | Clean | Replace | Replace |
| Fuel filter | No | Inspect | Inspect | Replace |
Warning signs to watch for:
- Milky or foamy engine oil (coolant contamination)
- Dark, gritty oil that smells burnt (overdue for a change)
- Low or uneven tire pressure across axles
- Coolant that looks rusty or has debris floating in it
- Bubbling in the coolant reservoir (possible head gasket issue)
For a deeper look at how these checks connect to overall machine health, the tractor performance maintenance tips resource covers additional inspection points specific to Greek farming conditions. A solid preventative maintenance guide can also help you build a schedule that fits your workload.
Pro Tip: Keep a simple paper log or phone note for each day’s checks. Even a quick note like “tire pressure checked, all normal” creates a record that helps you spot slow trends, like a tire that keeps losing a few PSI every week.
Step-by-step guide: changing fluids and filters
After daily and periodic checks, scheduled fluid and filter changes are the backbone of preventive maintenance. Skipping them is one of the fastest ways to shorten your tractor’s lifespan.
“Neglecting fluid changes can cut tractor lifespan by years.”
Oil change process:
- Run the engine for 5 to 10 minutes to warm up the oil. Warm oil flows faster and carries more contaminants out with it.
- Shut off the engine and place your drain pan under the drain plug.
- Remove the drain plug and let the oil drain fully. This takes 10 to 15 minutes.
- Replace the drain plug and torque it to spec.
- Remove the old oil filter using your filter wrench. Lightly oil the new filter’s gasket before installing.
- Fill with the correct grade and quantity of fresh engine oil.
- Run the engine briefly, check for leaks, then recheck the level.
Transmission fluid and coolant changes:
For transmission fluid, change intervals run every 300 to 1,000 hours depending on the brand and use intensity. Always check transmission fluid daily since a low level can cause serious gear damage fast. For coolant, the flush schedule is every 2,000 hours or every 2 years, whichever comes first. Never mix coolant types, and always flush with clean water before refilling.
Signs of dirty or degraded fluids:
- Engine oil that looks black and smells sharp
- Transmission fluid that appears cloudy or has a burnt smell
- Coolant with visible rust, scale, or a brown discoloration
- Fuel that looks cloudy or has sediment at the bottom
Common mistakes to avoid:
- Using the wrong viscosity oil for your engine spec
- Skipping the air filter when changing oil (they work together)
- Incomplete coolant flushes that leave old coolant mixing with new
- Over-tightening the drain plug and stripping the threads
For a complete walkthrough of the full process, the step by step maintenance guide and common tractor repair methods are practical references that cover different tractor models and conditions common in Greek agriculture.
Pro Tip: Always warm the engine before draining oil. Cold oil drains slowly and leaves more contaminants behind. Five extra minutes of warm-up makes a real difference in the quality of your oil change.
Troubleshooting, common mistakes, and verification
Completing maintenance is just part of the job. Ensuring it was done correctly is equally important. A quick verification routine after every service prevents the costly consequence of discovering an error days later in the middle of a workday.
Common mistakes that cause problems after maintenance:
- Under-torquing drain plugs or filter housings, leading to slow leaks
- Forgetting to reinstall the oil cap before starting the engine
- Skipping the post-service fluid level check
- Not resetting service hour counters if your tractor has them
- Using filters that are not rated for your tractor’s specific engine
Step-by-step verification after maintenance:
- Double-check all drain plugs and filter installations for tightness.
- Fill all fluids to correct levels and confirm cap installation.
- Start the engine and let it idle for 3 to 5 minutes while you watch for leaks underneath.
- Check all fluid levels again after the engine has run.
- Perform a coolant level check within the first 50 hours after a coolant flush to catch any air pockets that work themselves out after the first heat cycles.
- Take the tractor for a slow test drive and listen for unusual sounds.
Quick symptom guide:
- Oil pressure warning light after a change? Check the oil filter installation and oil level first.
- Engine running hotter than usual? Air trapped in the cooling system after a coolant flush is the most common cause.
- Transmission slipping? Check fluid level and confirm the correct fluid type was used.
For a reference on what proper maintenance should look like from start to finish, the essential tractor maintenance steps guide provides a clear framework.
Pro Tip: Document every maintenance task with the date, hour meter reading, and what was done. This record is invaluable for warranty claims and helps the next person who services the machine pick up exactly where you left off.
Why consistent maintenance trumps emergency repairs
Here is a truth most farmers learn the hard way: emergency repairs always cost more than the maintenance that would have prevented them. Not just in parts and labor, but in lost field days during critical planting or harvest windows. A breakdown at the wrong moment can cost more than an entire season of scheduled maintenance.
We have seen too many operators wait for a warning light before acting. By the time that light comes on, the damage is usually already done. Routine checks and step by step maintenance catch the small issues, a worn belt, a slow coolant leak, a slightly low transmission fluid level, before they cascade into something that requires a full engine or transmission rebuild.
Farmers who follow a consistent schedule report less stress and more predictable operating costs. The machine becomes reliable because you made it reliable. That is the real value of maintenance: not just keeping a tractor running, but keeping your entire operation on schedule.
“An ounce of prevention is worth a pound of cure in farming.”
Explore reliable maintenance resources and tools
Having understood the importance of consistent maintenance, it is time to leverage professional resources to make upkeep easier and more effective. At Pexlivanidis, we support Greek farmers with access to over 20,000 spare parts and maintenance components, with free shipping across Greece on orders over 100€. Whether you need filters, fluids, or hard-to-find spare parts, we have you covered. Start with our full agricultural maintenance guide for a broad overview, explore agricultural machinery parts explained to understand what each component does, and check our machinery maintenance tips for practical, field-tested advice tailored to local conditions.
Frequently asked questions
How often should I change tractor transmission fluid?
Transmission fluid should be changed every 300 to 1,000 hours and checked daily to catch level drops before they cause gear damage.
What are the daily checks every tractor operator should perform?
Check engine oil, coolant levels daily, tire pressure, and inspect for leaks or unusual sounds before each use. These checks take under 15 minutes and prevent the majority of field breakdowns.
How can proper tire inflation affect tractor efficiency?
Maintaining correct tire pressure improves fuel efficiency by 10 to 20% and enhances traction, reducing wheel slip and wear on field surfaces.
When should coolant be flushed in agricultural tractors?
Coolant should be flushed every 2,000 hours or 2 years, whichever comes first, to prevent scale buildup and corrosion inside the cooling system.